- by Ahmed Shareek
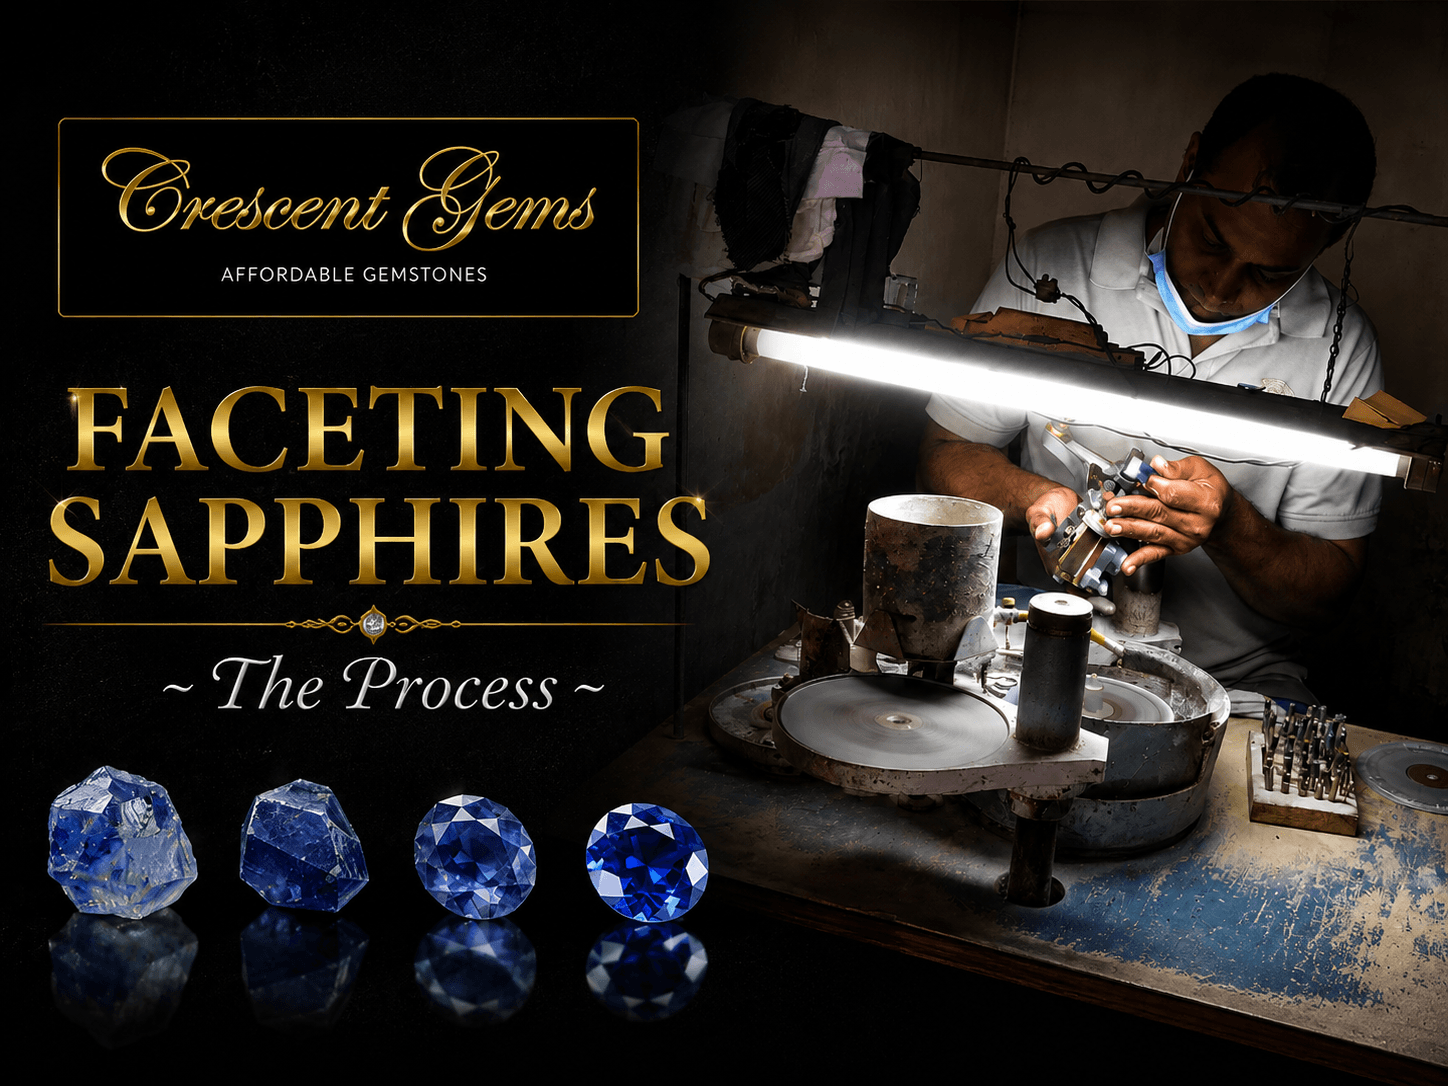
Faceting Sapphires ~ The Process
- by Ahmed Shareek
For cut quality guidance: How Cut Affects a Sapphire. For shape selection: Best Sapphire Cut for an Engagement Ring. For the full buying foundation: Ultimate Sapphire Buying Guide.

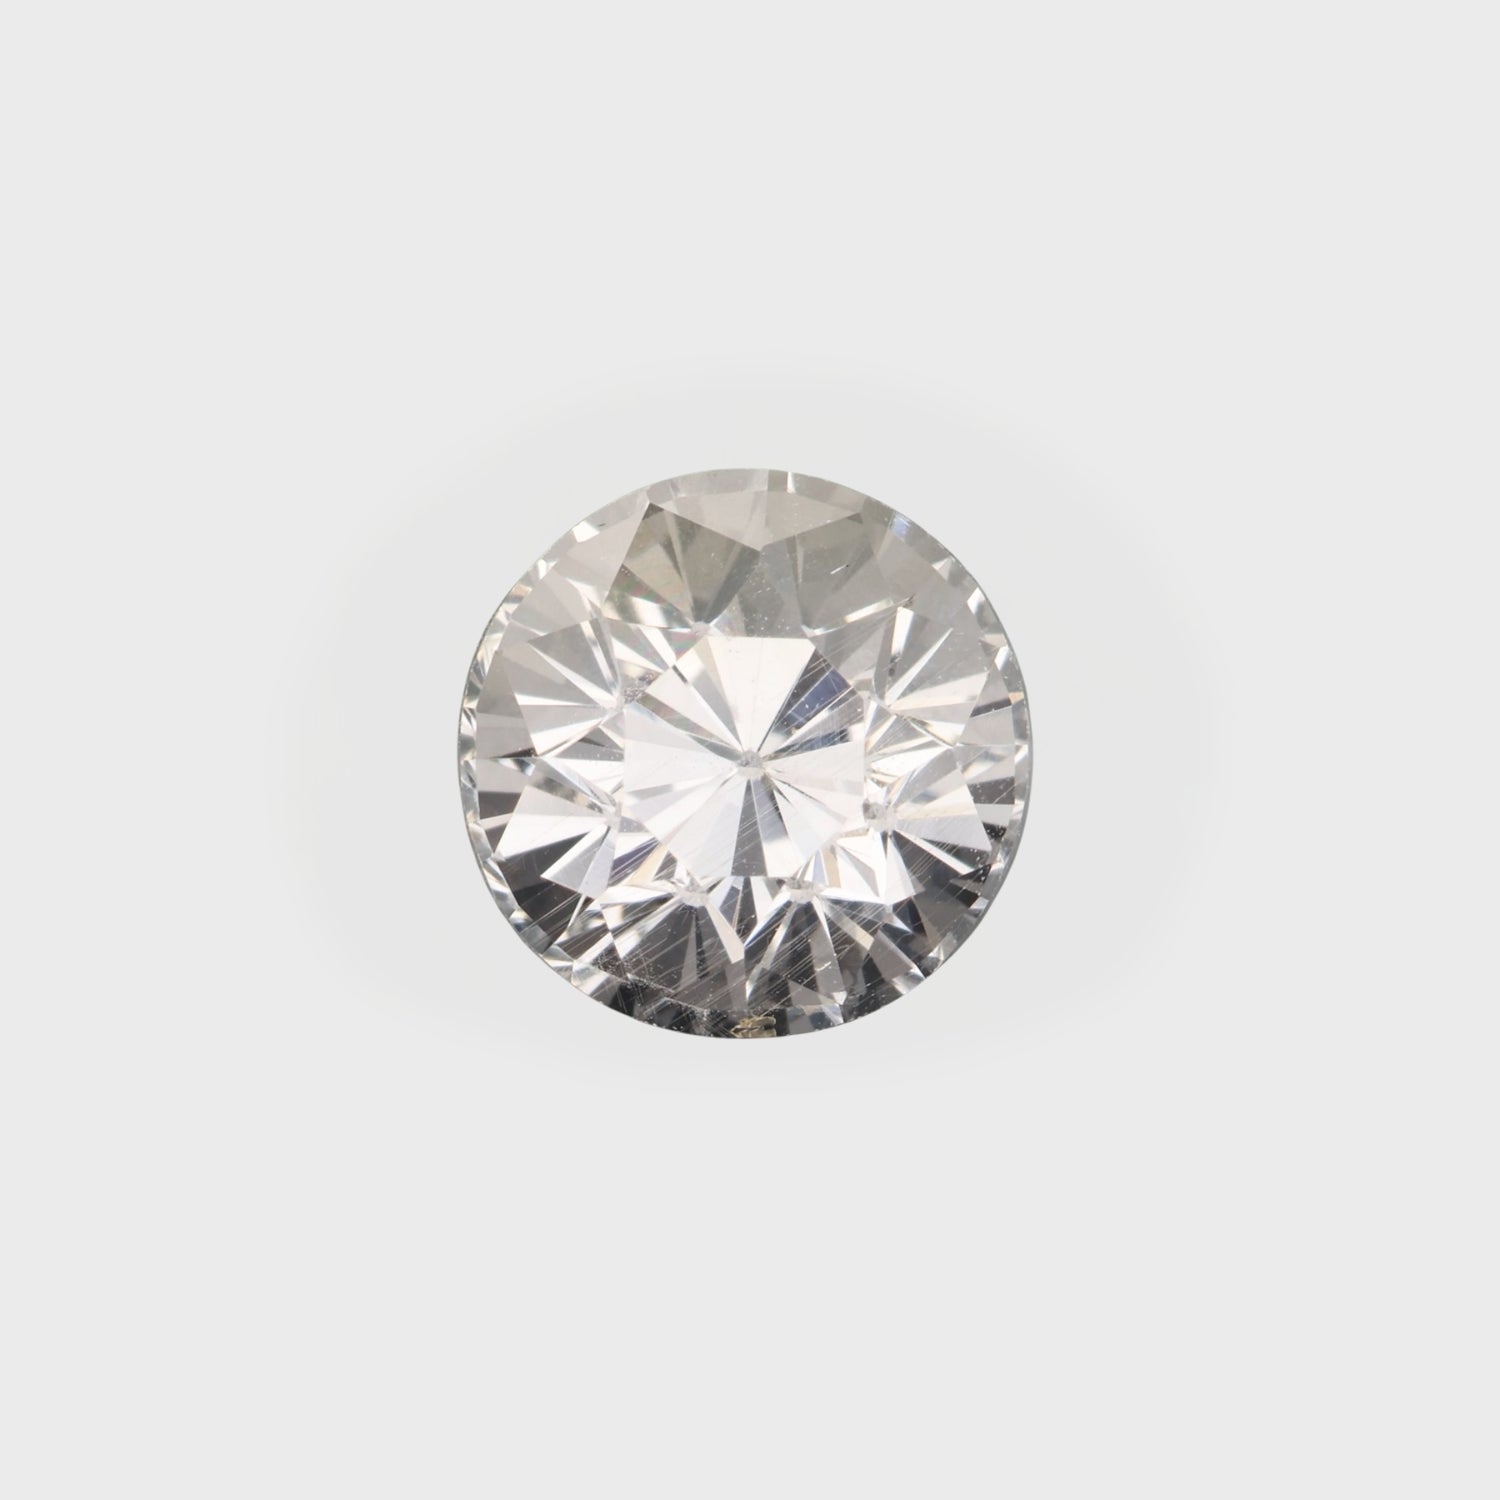
Faceting is the difference between a dull pebble and a stone that lights up across a room. A rough sapphire crystal pulled from Sri Lankan gravel looks like a translucent, slightly blue rock. After a skilled cutter is finished with it, that same material returns light from every angle, displays its color at maximum saturation, and fits precisely into a ring setting. The transformation is entirely a product of geometry — calculated angles, precise proportions, and thousands of passes across an abrasive lap.
Sapphire is corundum — aluminum oxide at Mohs 9, second only to diamond in hardness. That hardness makes it one of the most durable gemstones for daily wear, but it also makes it one of the most demanding materials to cut. The wheel turns slowly. The polish takes patience. And every decision the cutter makes about angle, orientation, and proportion shows up permanently in the finished gem's brilliance, color, and weight.
Watch: Sapphire faceting in action at our workshop in Sri Lanka.
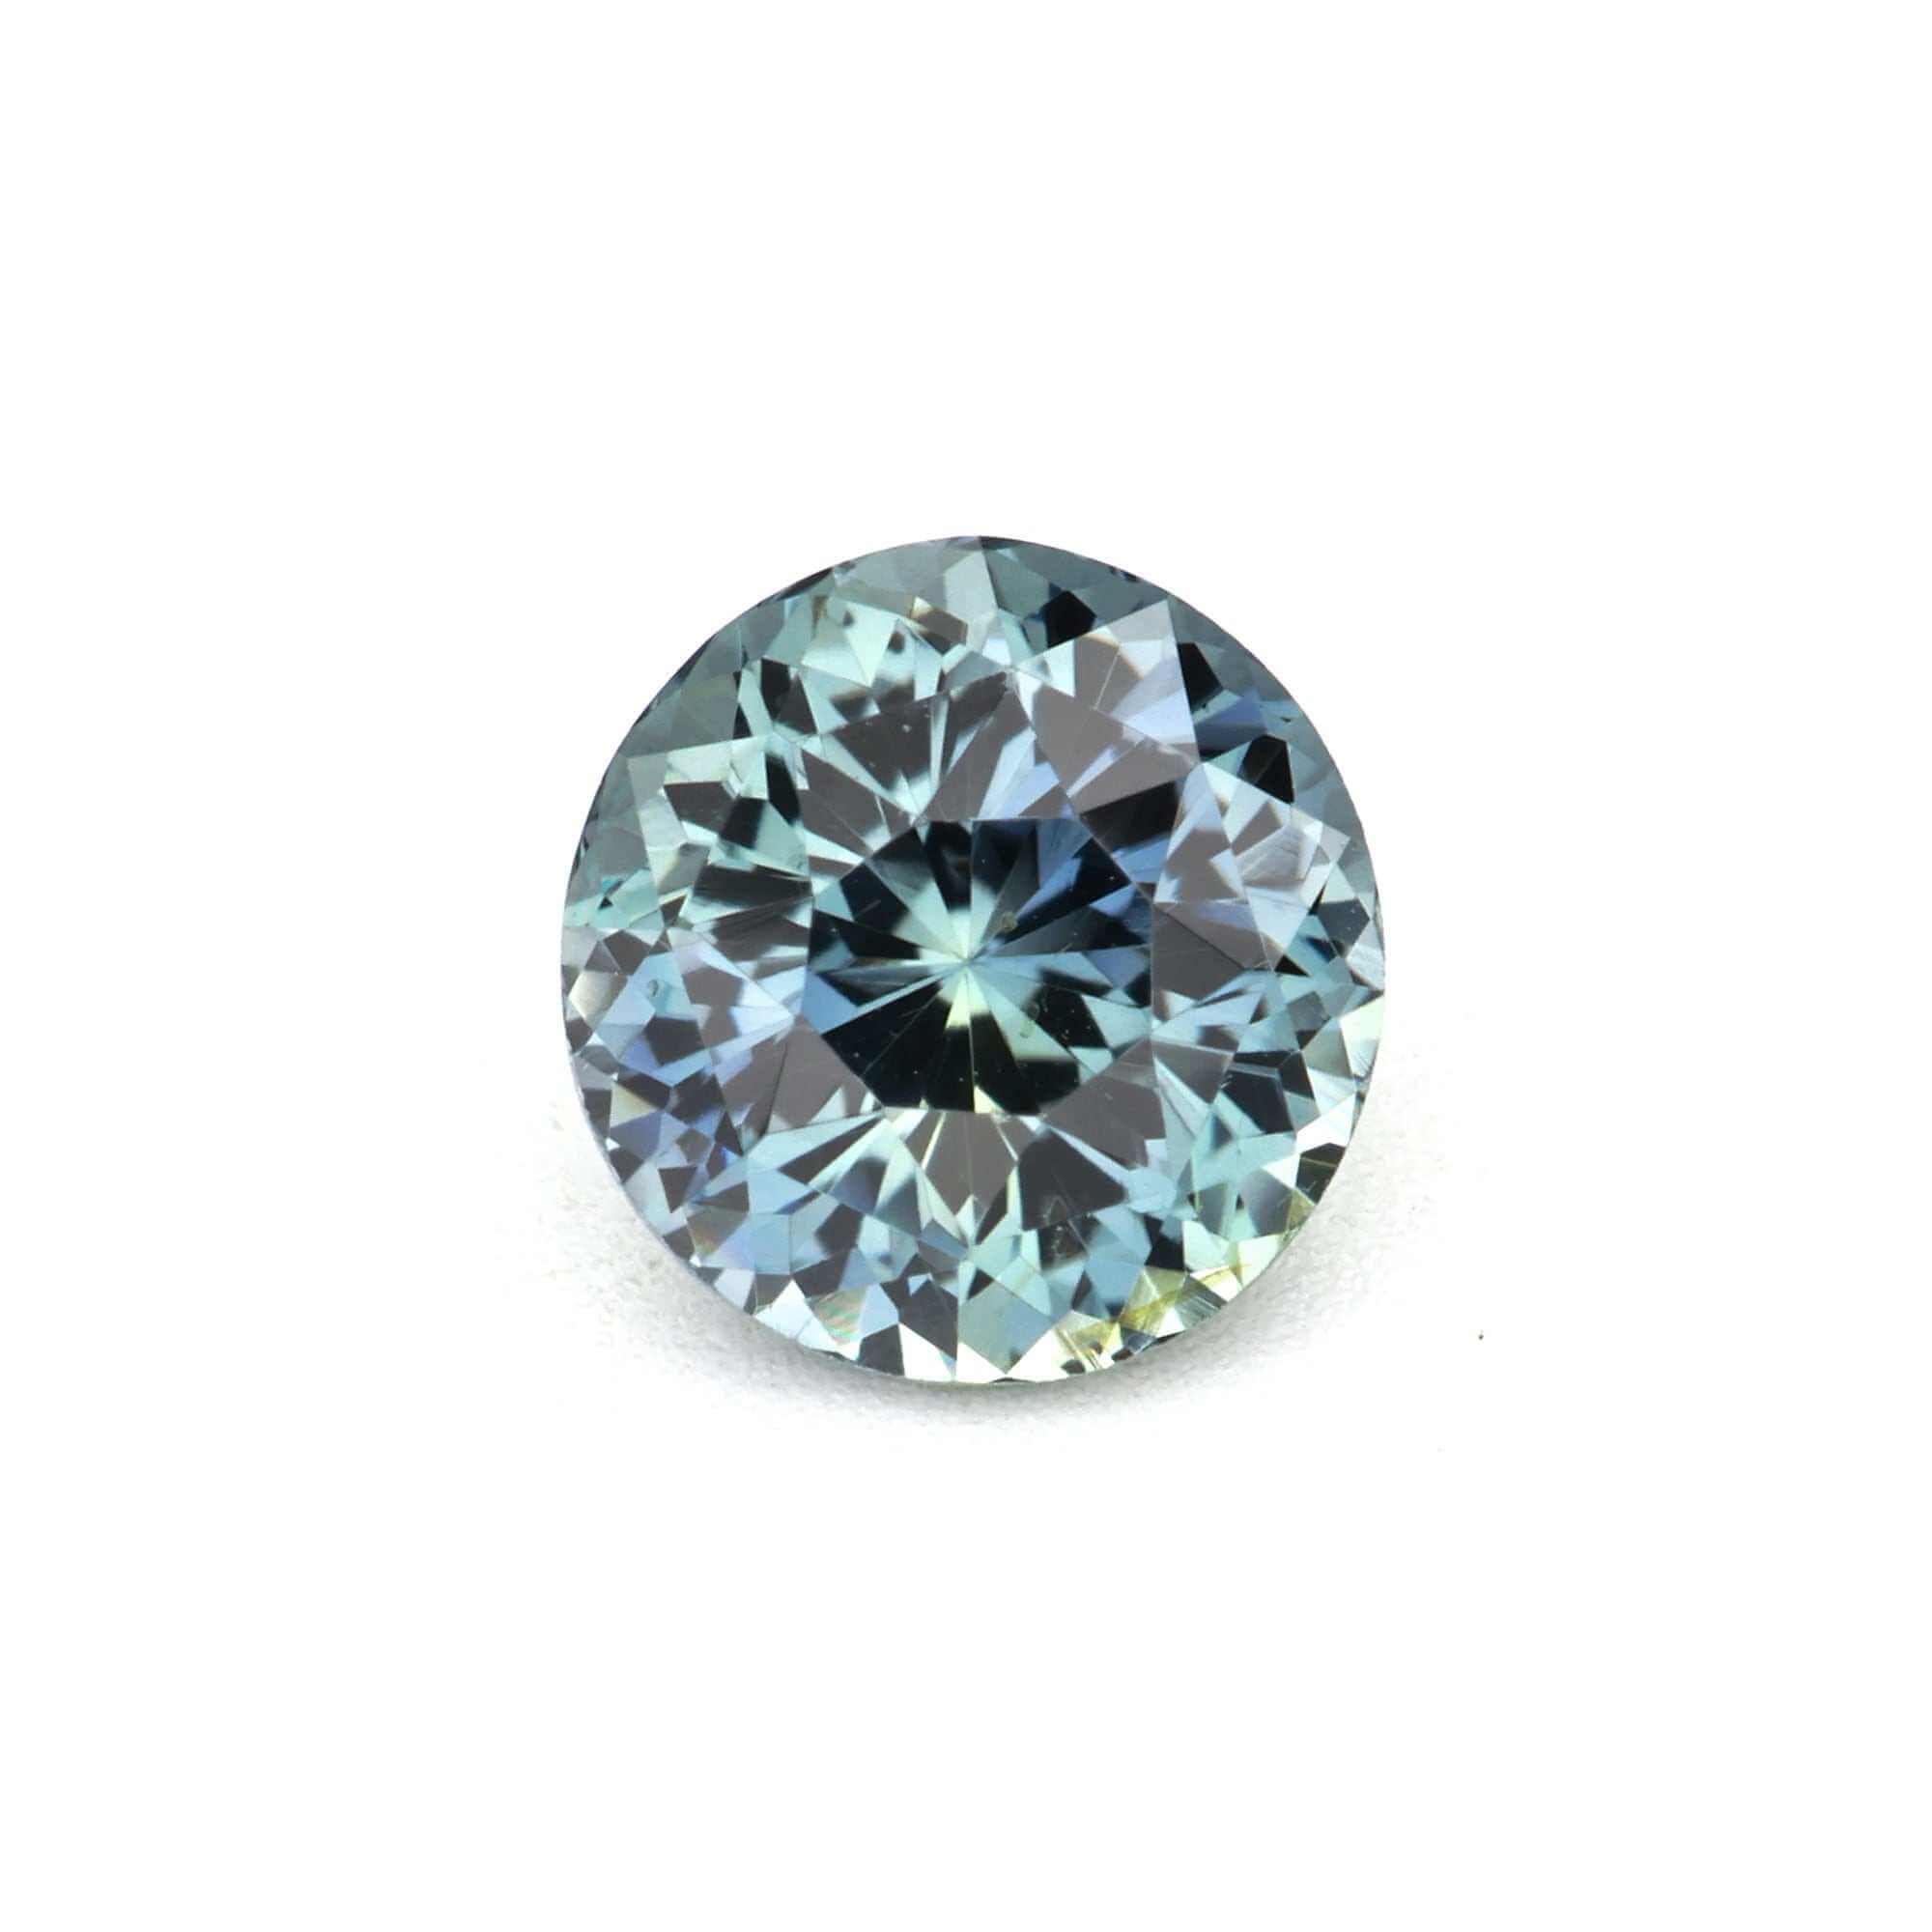
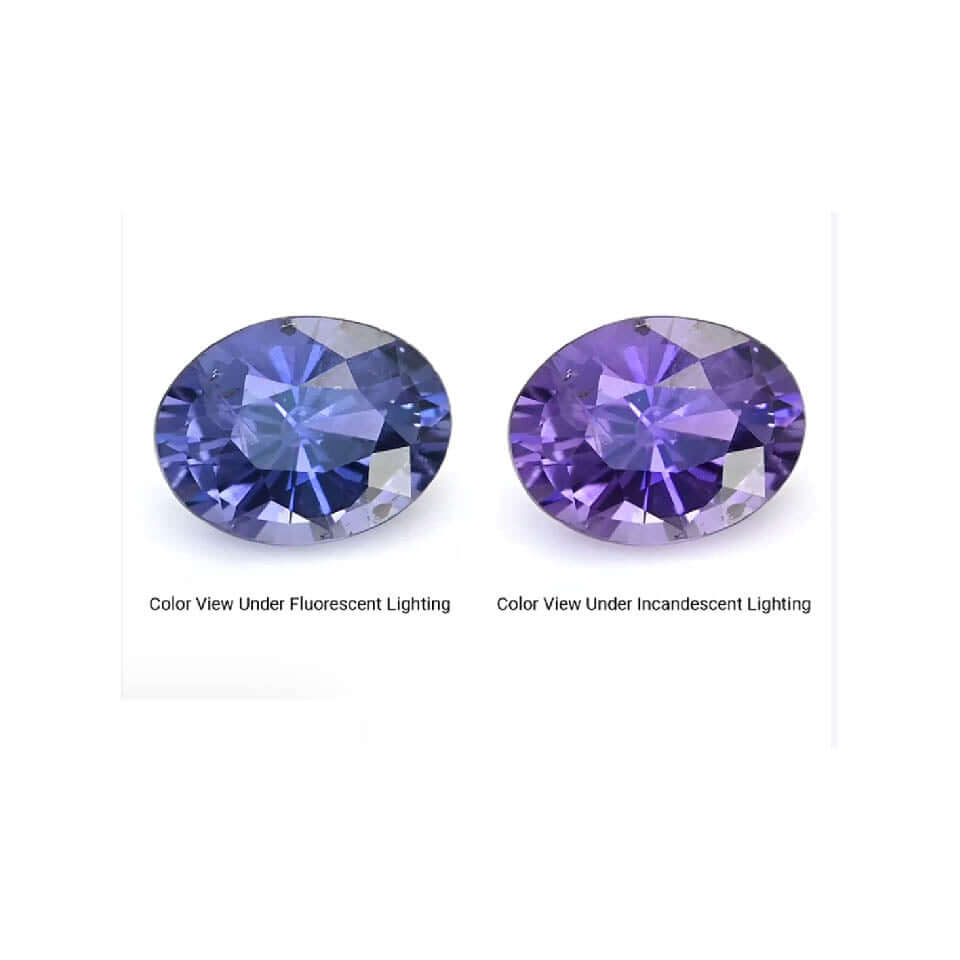
Color orientation. Sapphire is pleochroic — it shows different colors when viewed along different crystal axes. The cutter orients the table facet to look down the axis that produces the best face-up color. For more on how color varies across sapphire types, see our Sapphire Colors Explained guide. Inclusion mapping. Natural sapphires contain inclusions — rutile silk, mineral crystals, fingerprint patterns, growth zoning. The cutter maps these features and positions the facet arrangement to minimize their visibility. See our How to Read Sapphire Inclusions guide. Shape decision. The rough's natural shape strongly influences the finished cut. Elongated crystals favor ovals and pears. Blocky fragments favor cushions. Flat rough might work better as a shallow emerald cut.
Step 1: Preforming. The rough is ground into an approximate shape on a coarse diamond lap, establishing the basic outline. Preforming is where the major weight loss happens: depending on the rough's shape and the target cut, 40-70% of the original crystal weight may be removed. For sapphire at Mohs 9, preforming is significantly slower than for softer gems.
Step 2: Faceting the Pavilion. The pavilion is faceted first, with each facet cut individually by lowering the stone onto a spinning diamond-impregnated lap at precise angles. The pavilion angles are critical — they determine whether light entering through the crown is reflected back to the viewer's eye (producing brilliance) or passes straight through (producing a window). For sapphire, pavilion main angles typically range from 39-42 degrees. Angles that are even two degrees too shallow produce visible windowing. See our How Cut Affects a Sapphire guide.
Step 3: Faceting the Crown. Crown angles for sapphire typically range from 35-40 degrees for the main facets, with break facets at steeper and shallower angles to create the pattern of light return visible when the stone is viewed face-up.
Step 4: Polishing. Each facet is polished on progressively finer laps. Polishing sapphire is slow. Each facet may require several minutes of polishing to achieve a clean, scratch-free surface. Under a 10x loupe, a well-polished sapphire facet looks like a mirror.
Sapphire takes two to four times as long to cut as a tourmaline of equivalent size. The material has directional hardness — slightly different hardness along different crystal directions. Sapphire's pleochroism means the cut geometry affects not just brilliance but color. And friction near inclusions can cause stress fractures, requiring careful pressure management. See our Sapphire Fluorescence Guide for more on how trace elements interact with light.
A significant proportion of sapphire rough is initially cut by native cutters who prioritize weight retention over optical performance. At Crescent Gems, we routinely recut native-cut sapphires to improve their optical performance — accepting a 15-25% weight loss in exchange for a stone that shows its color correctly, has no window, and looks its best face-up in a ring setting. A well-cut 1.20-carat sapphire with excellent face-up color sells for more per carat than a poorly cut 1.50-carat stone of the same rough quality. See our Sapphire Pricing Explained guide.
Check for a window: Hold face-up over a white surface. If you can see through the center, the pavilion angles are too shallow. Check for extinction: View under normal room lighting. Dark patches occupying more than 30-40% of the face area indicate excessive extinction. Assess color evenness across the face-up surface. Compare face-up size to carat weight: A 1-carat oval should measure approximately 7x5mm; 1.5ct approximately 8x6mm. For the full cut quality picture, see our How Cut Affects a Sapphire guide.
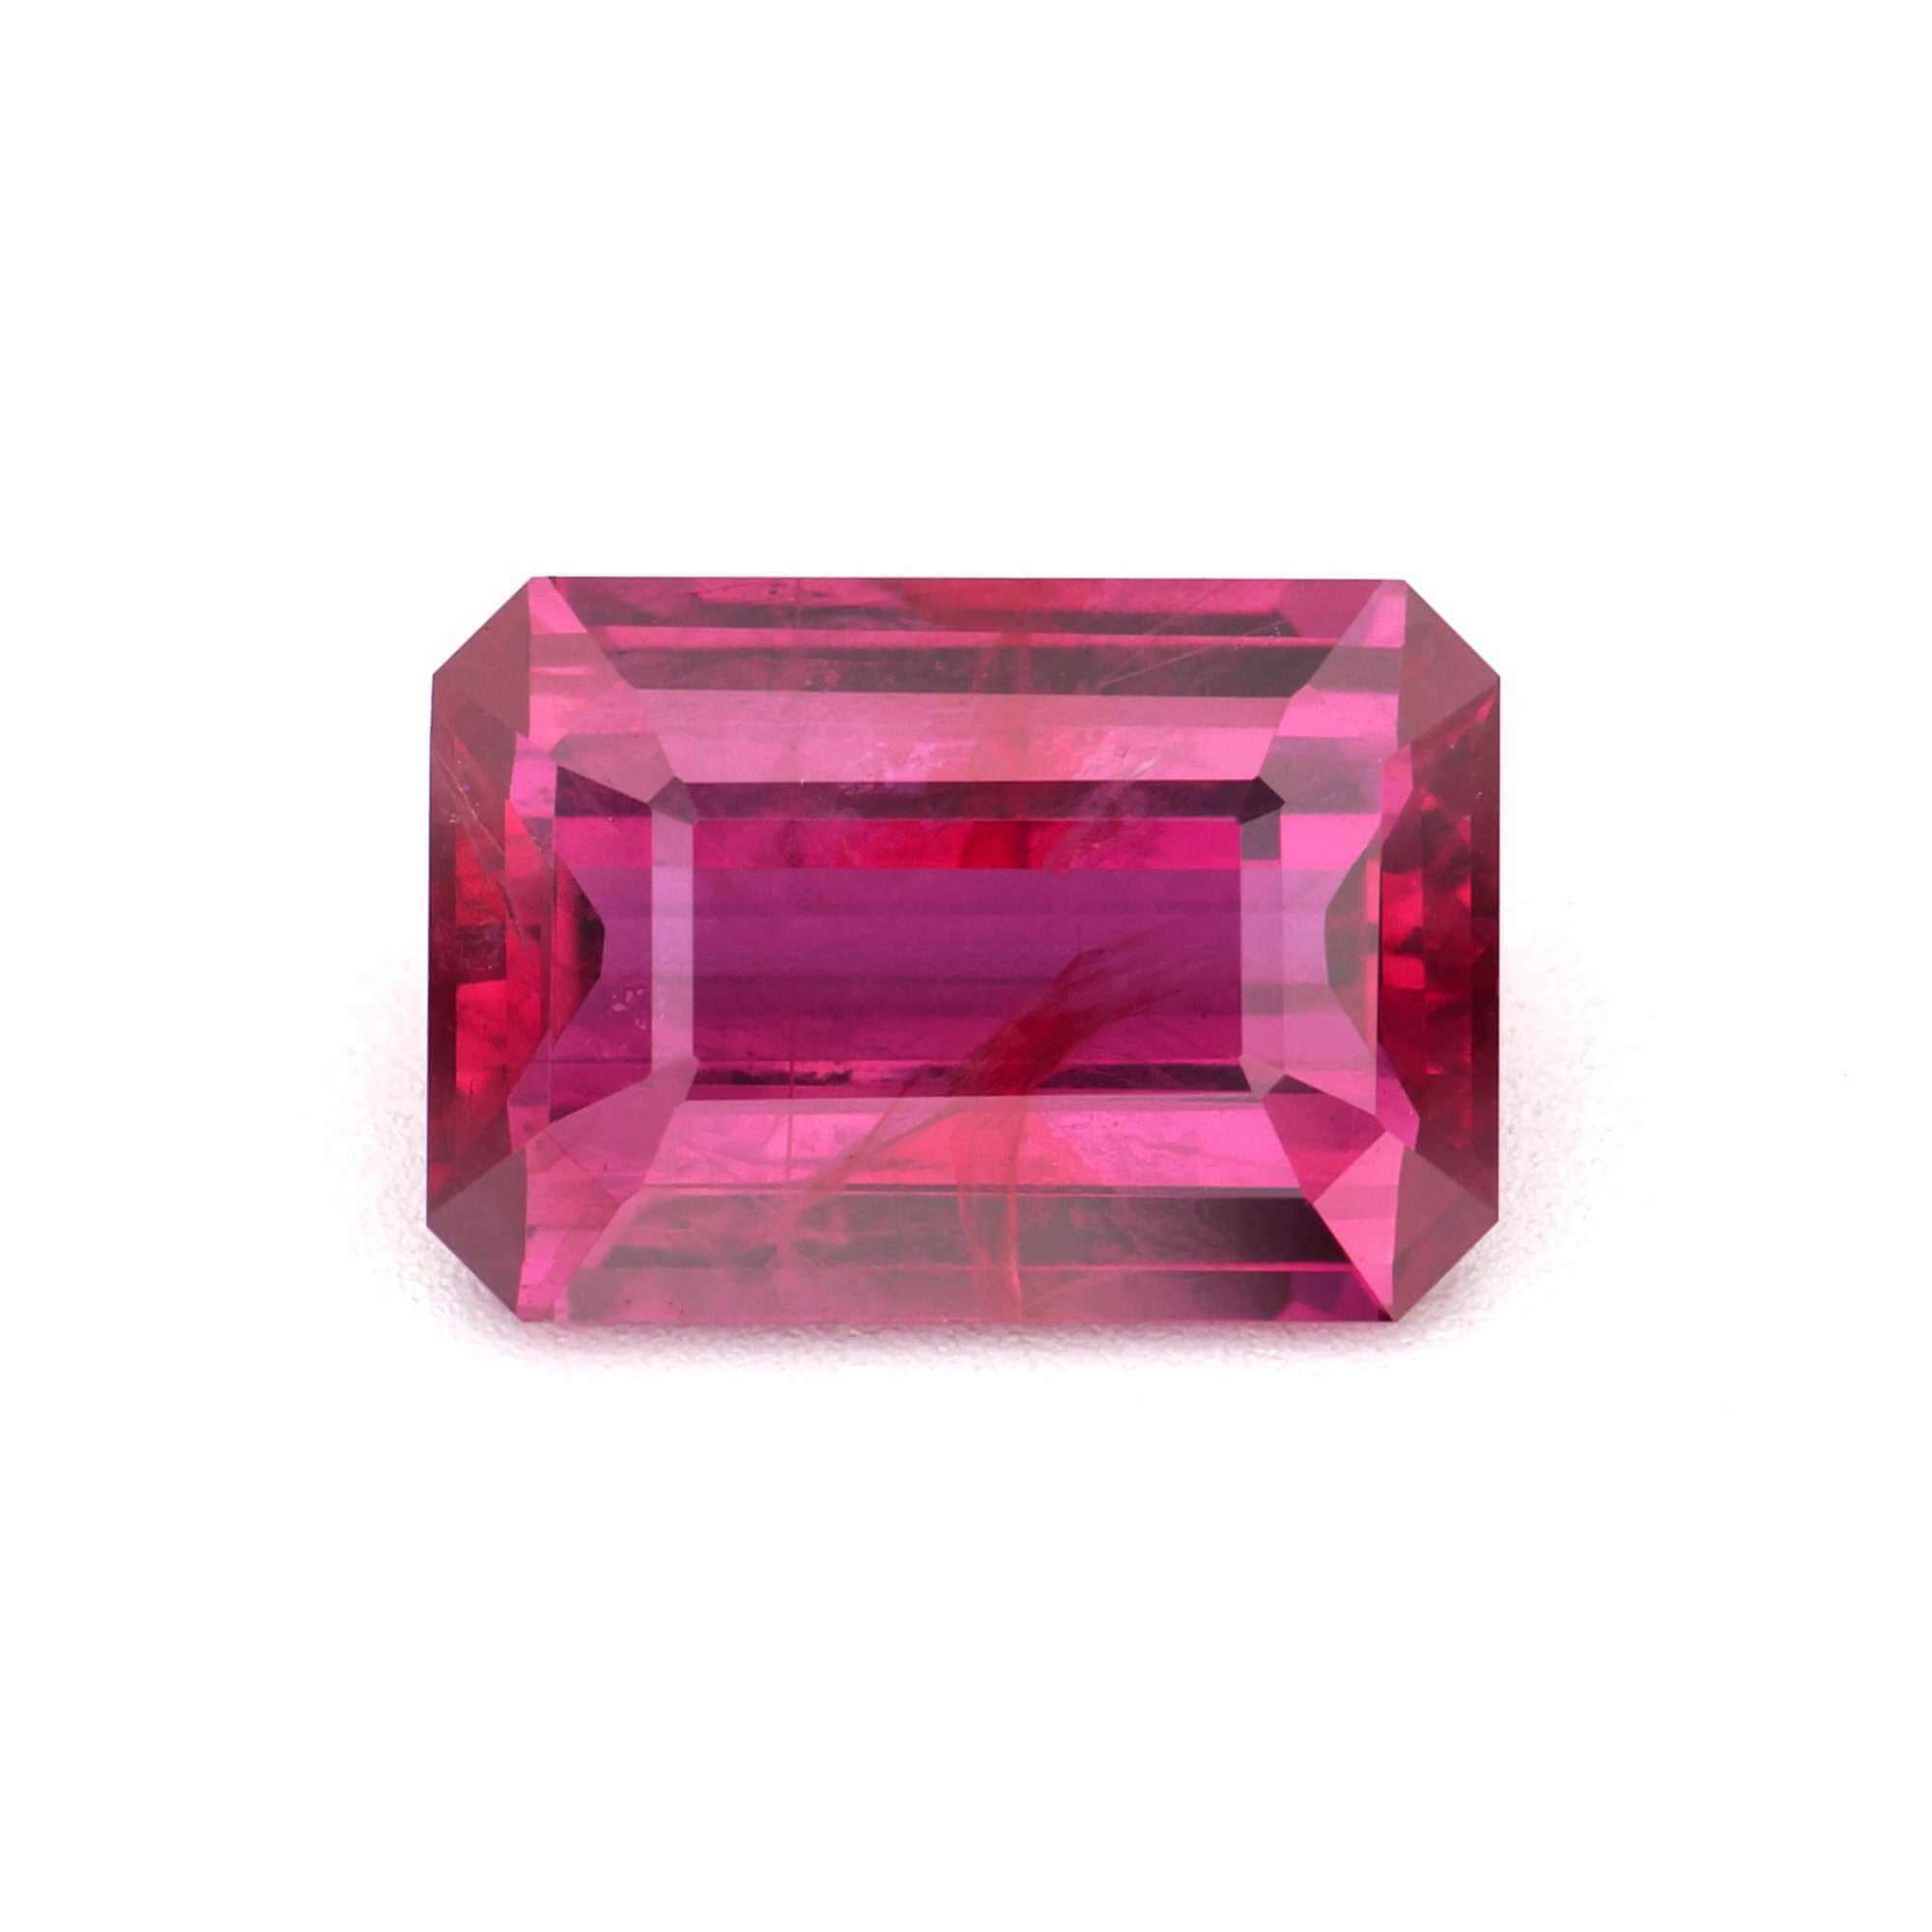
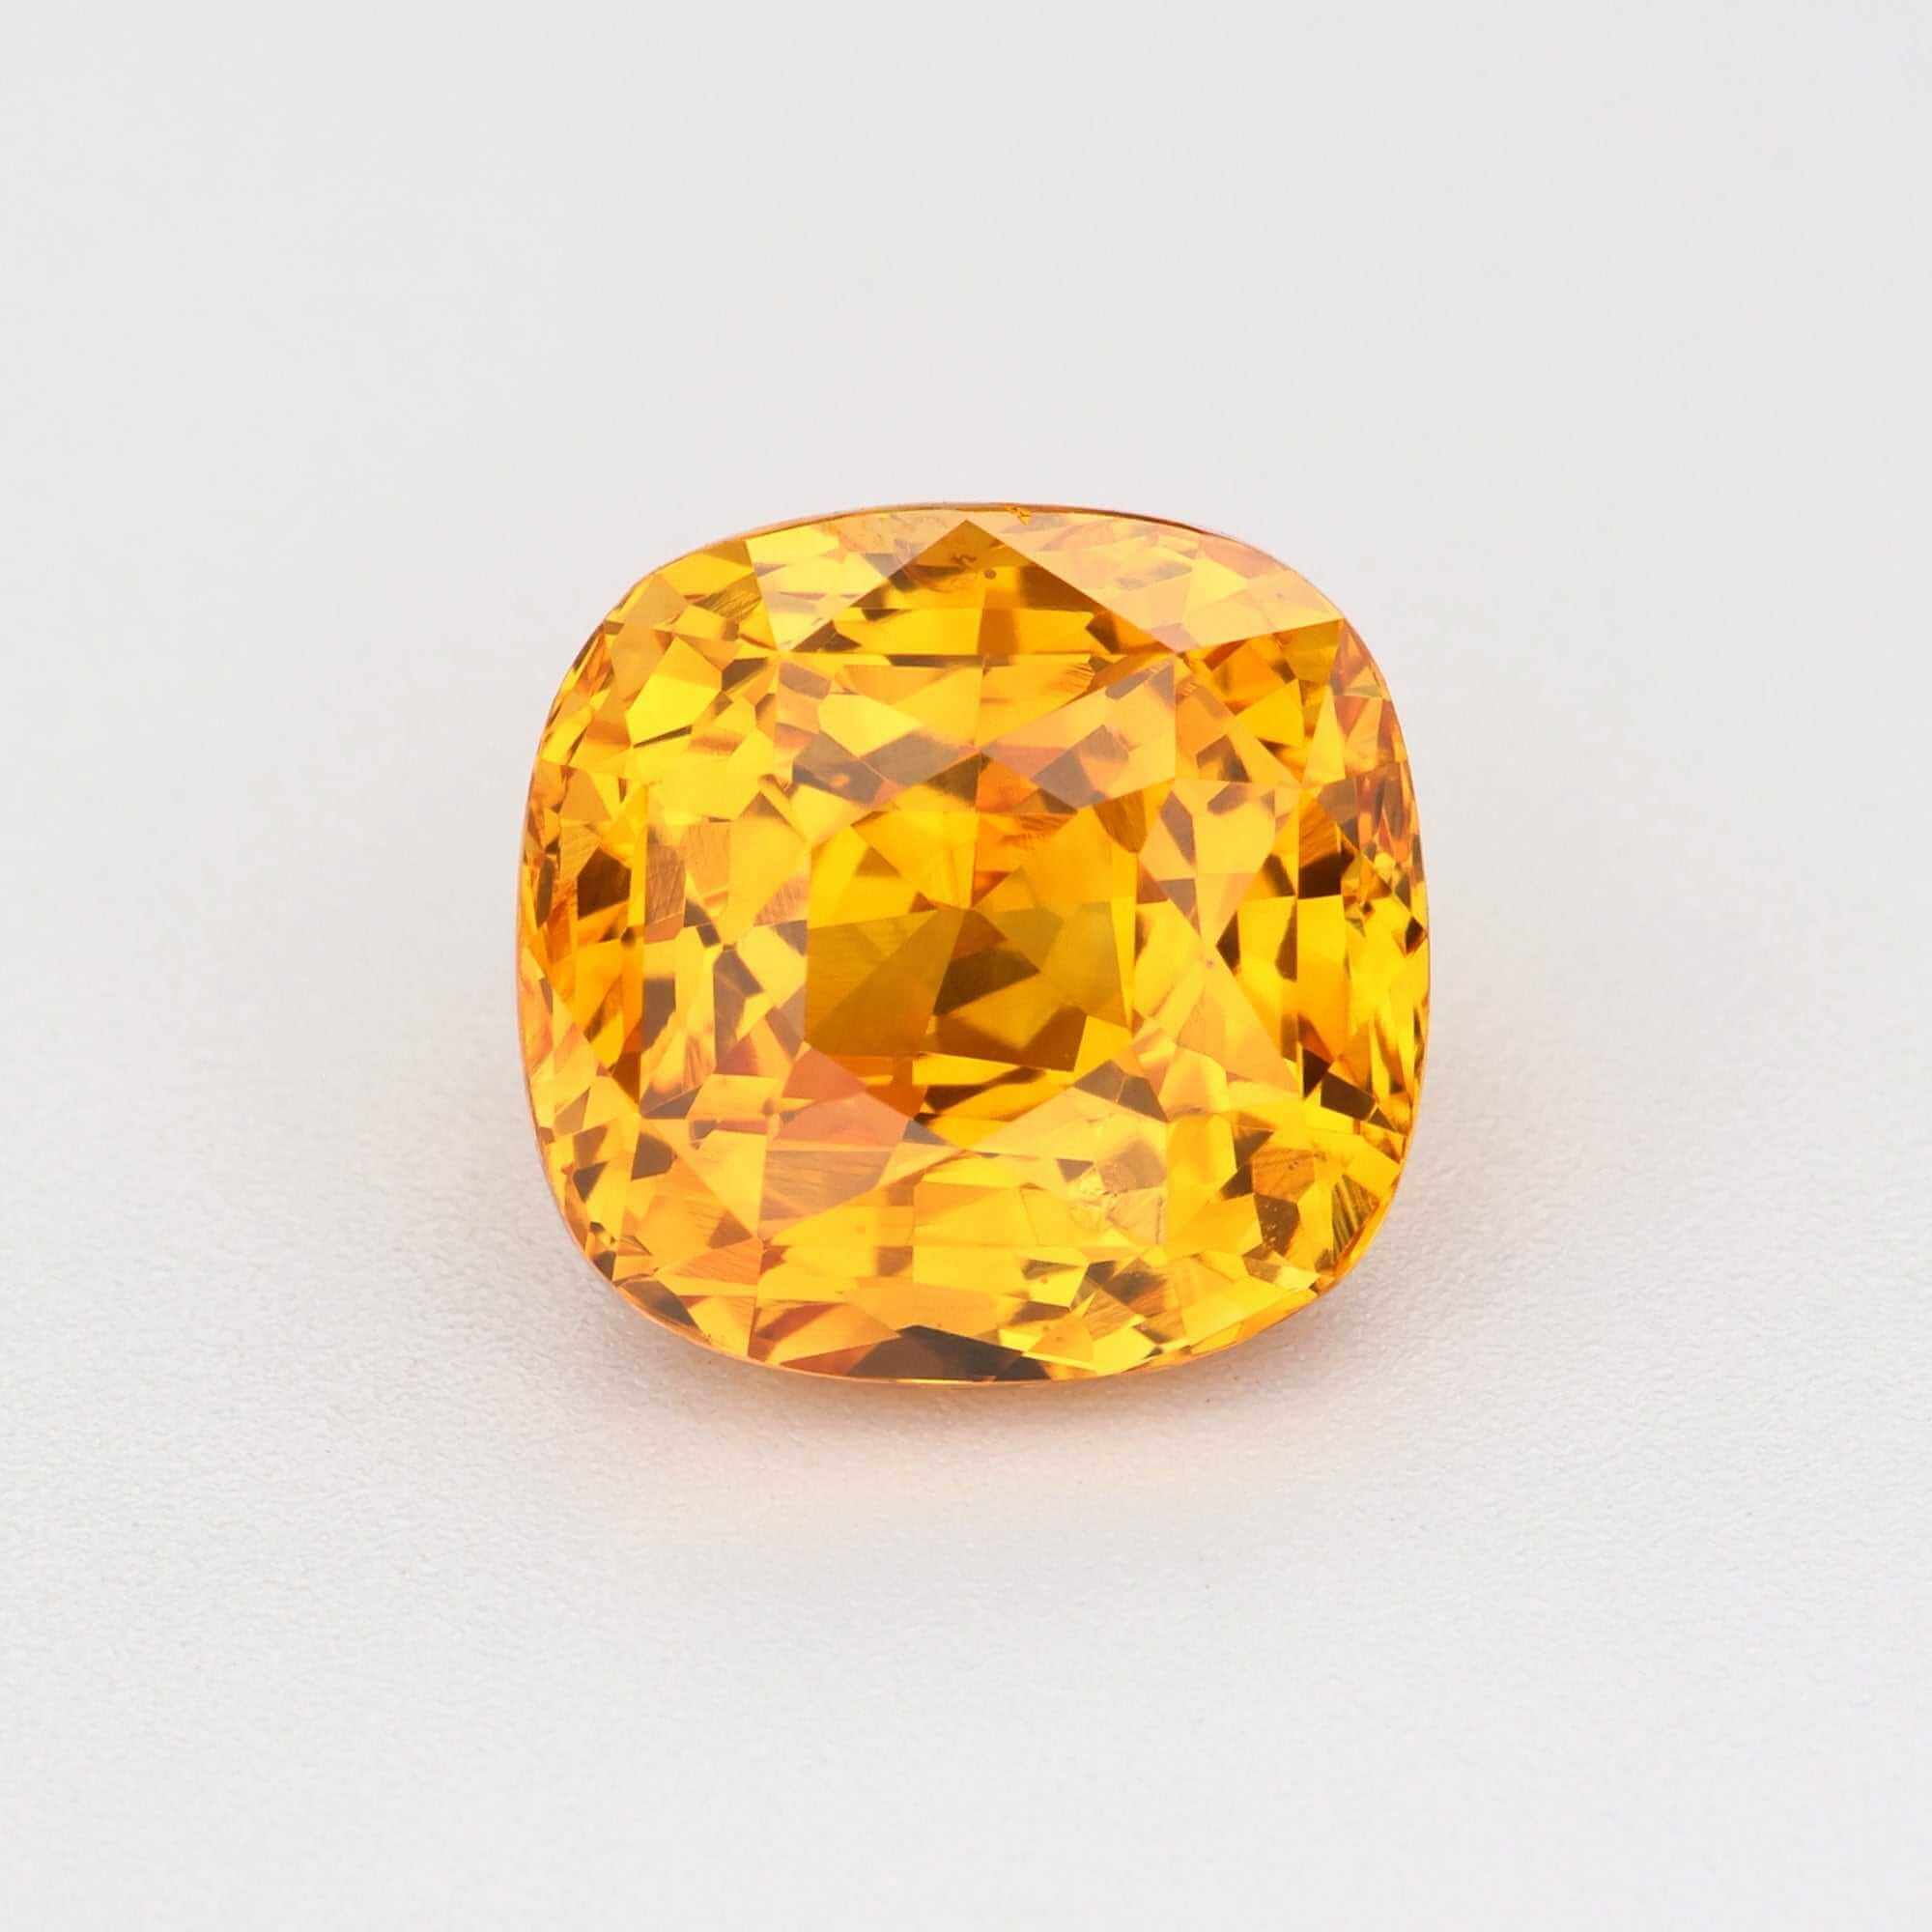
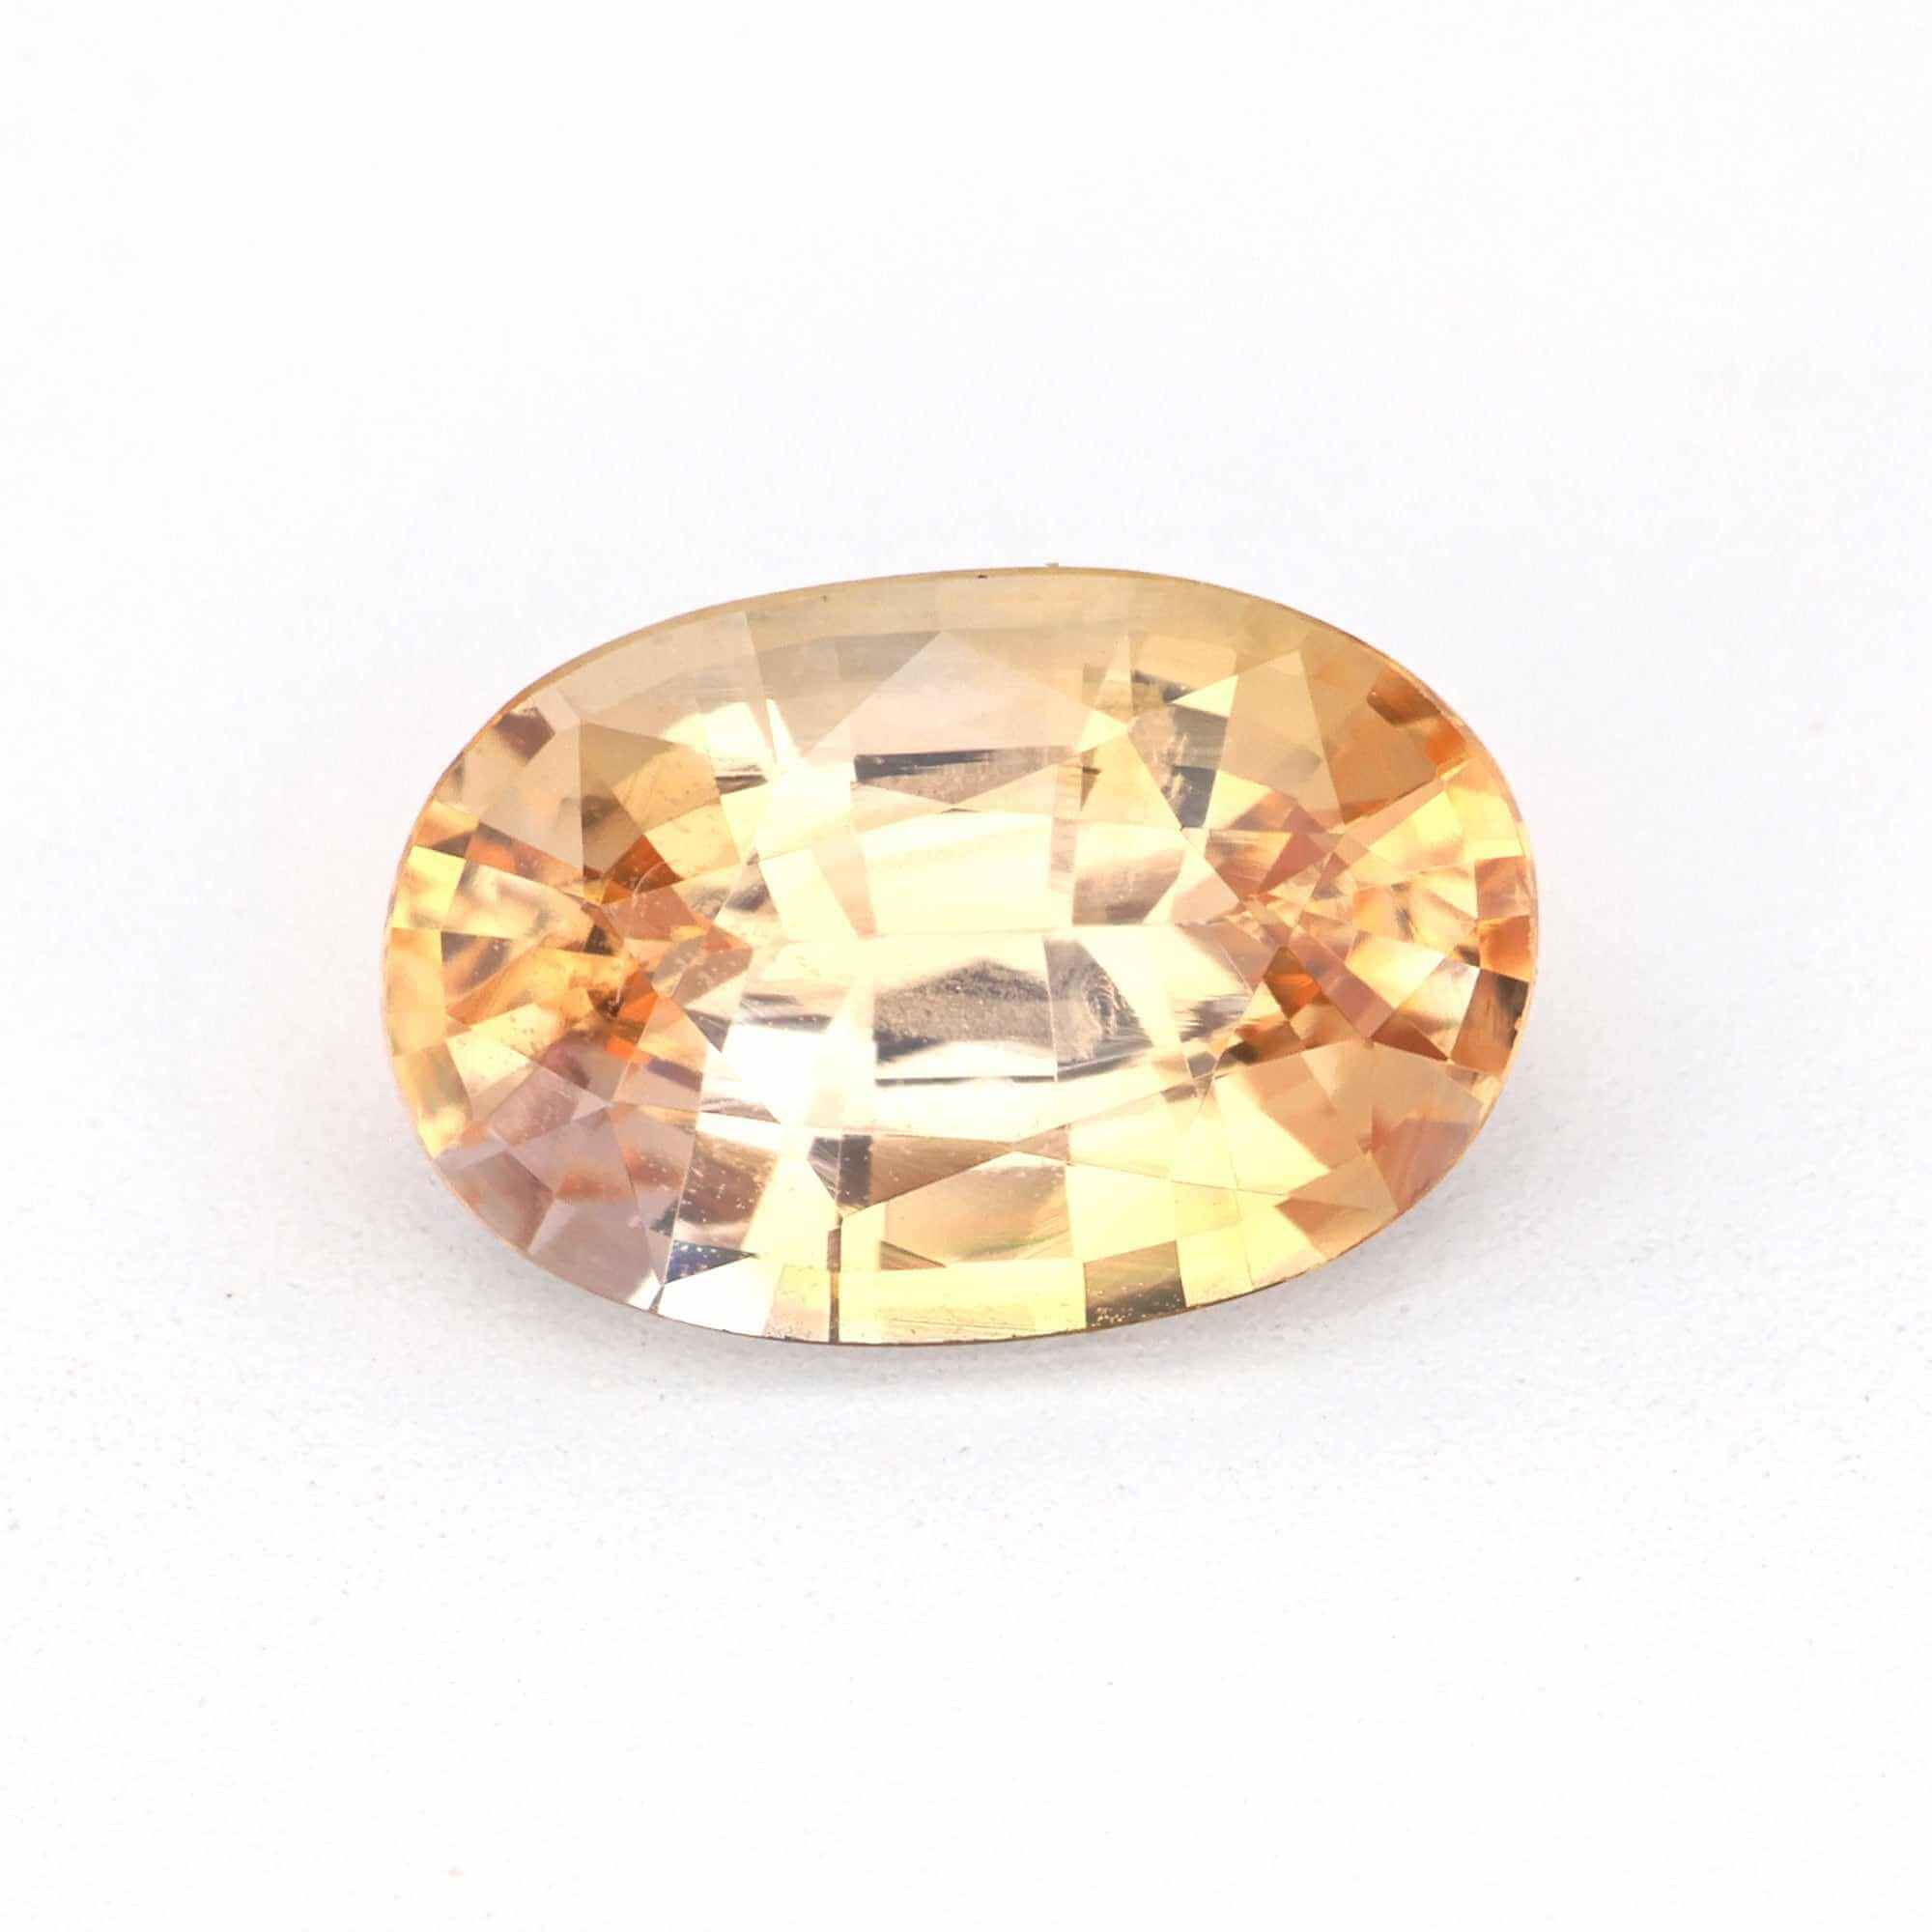
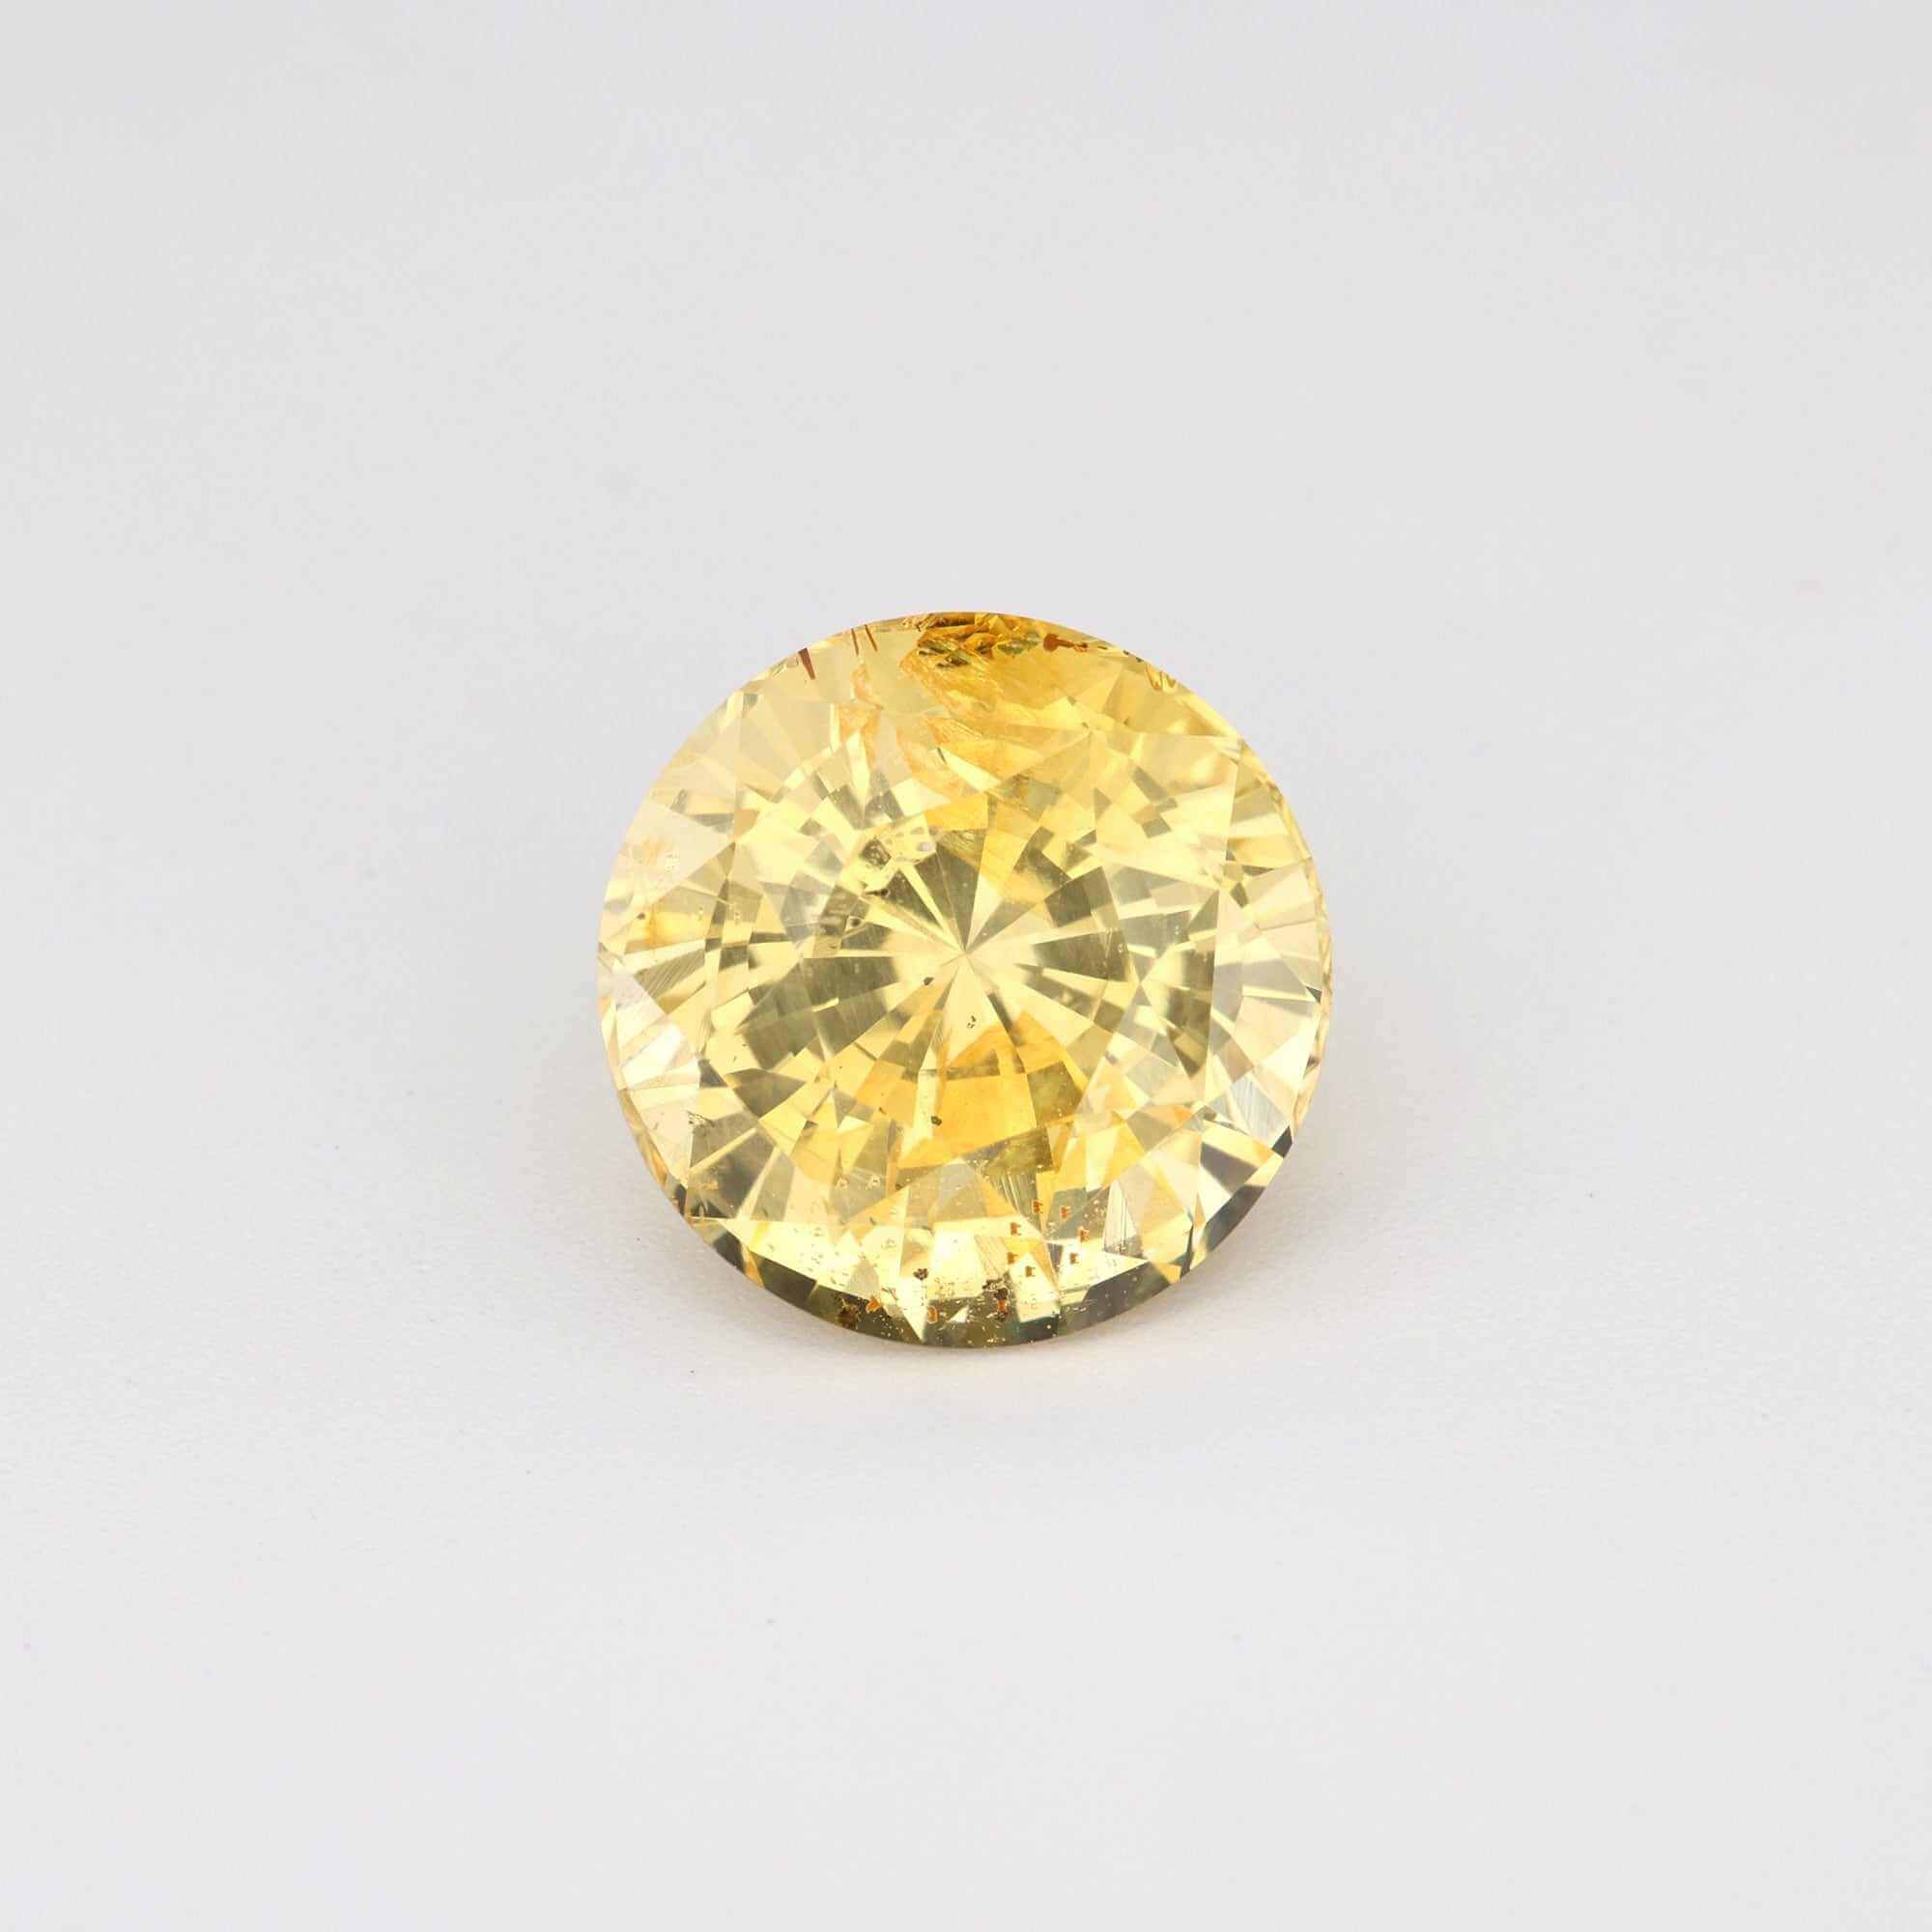
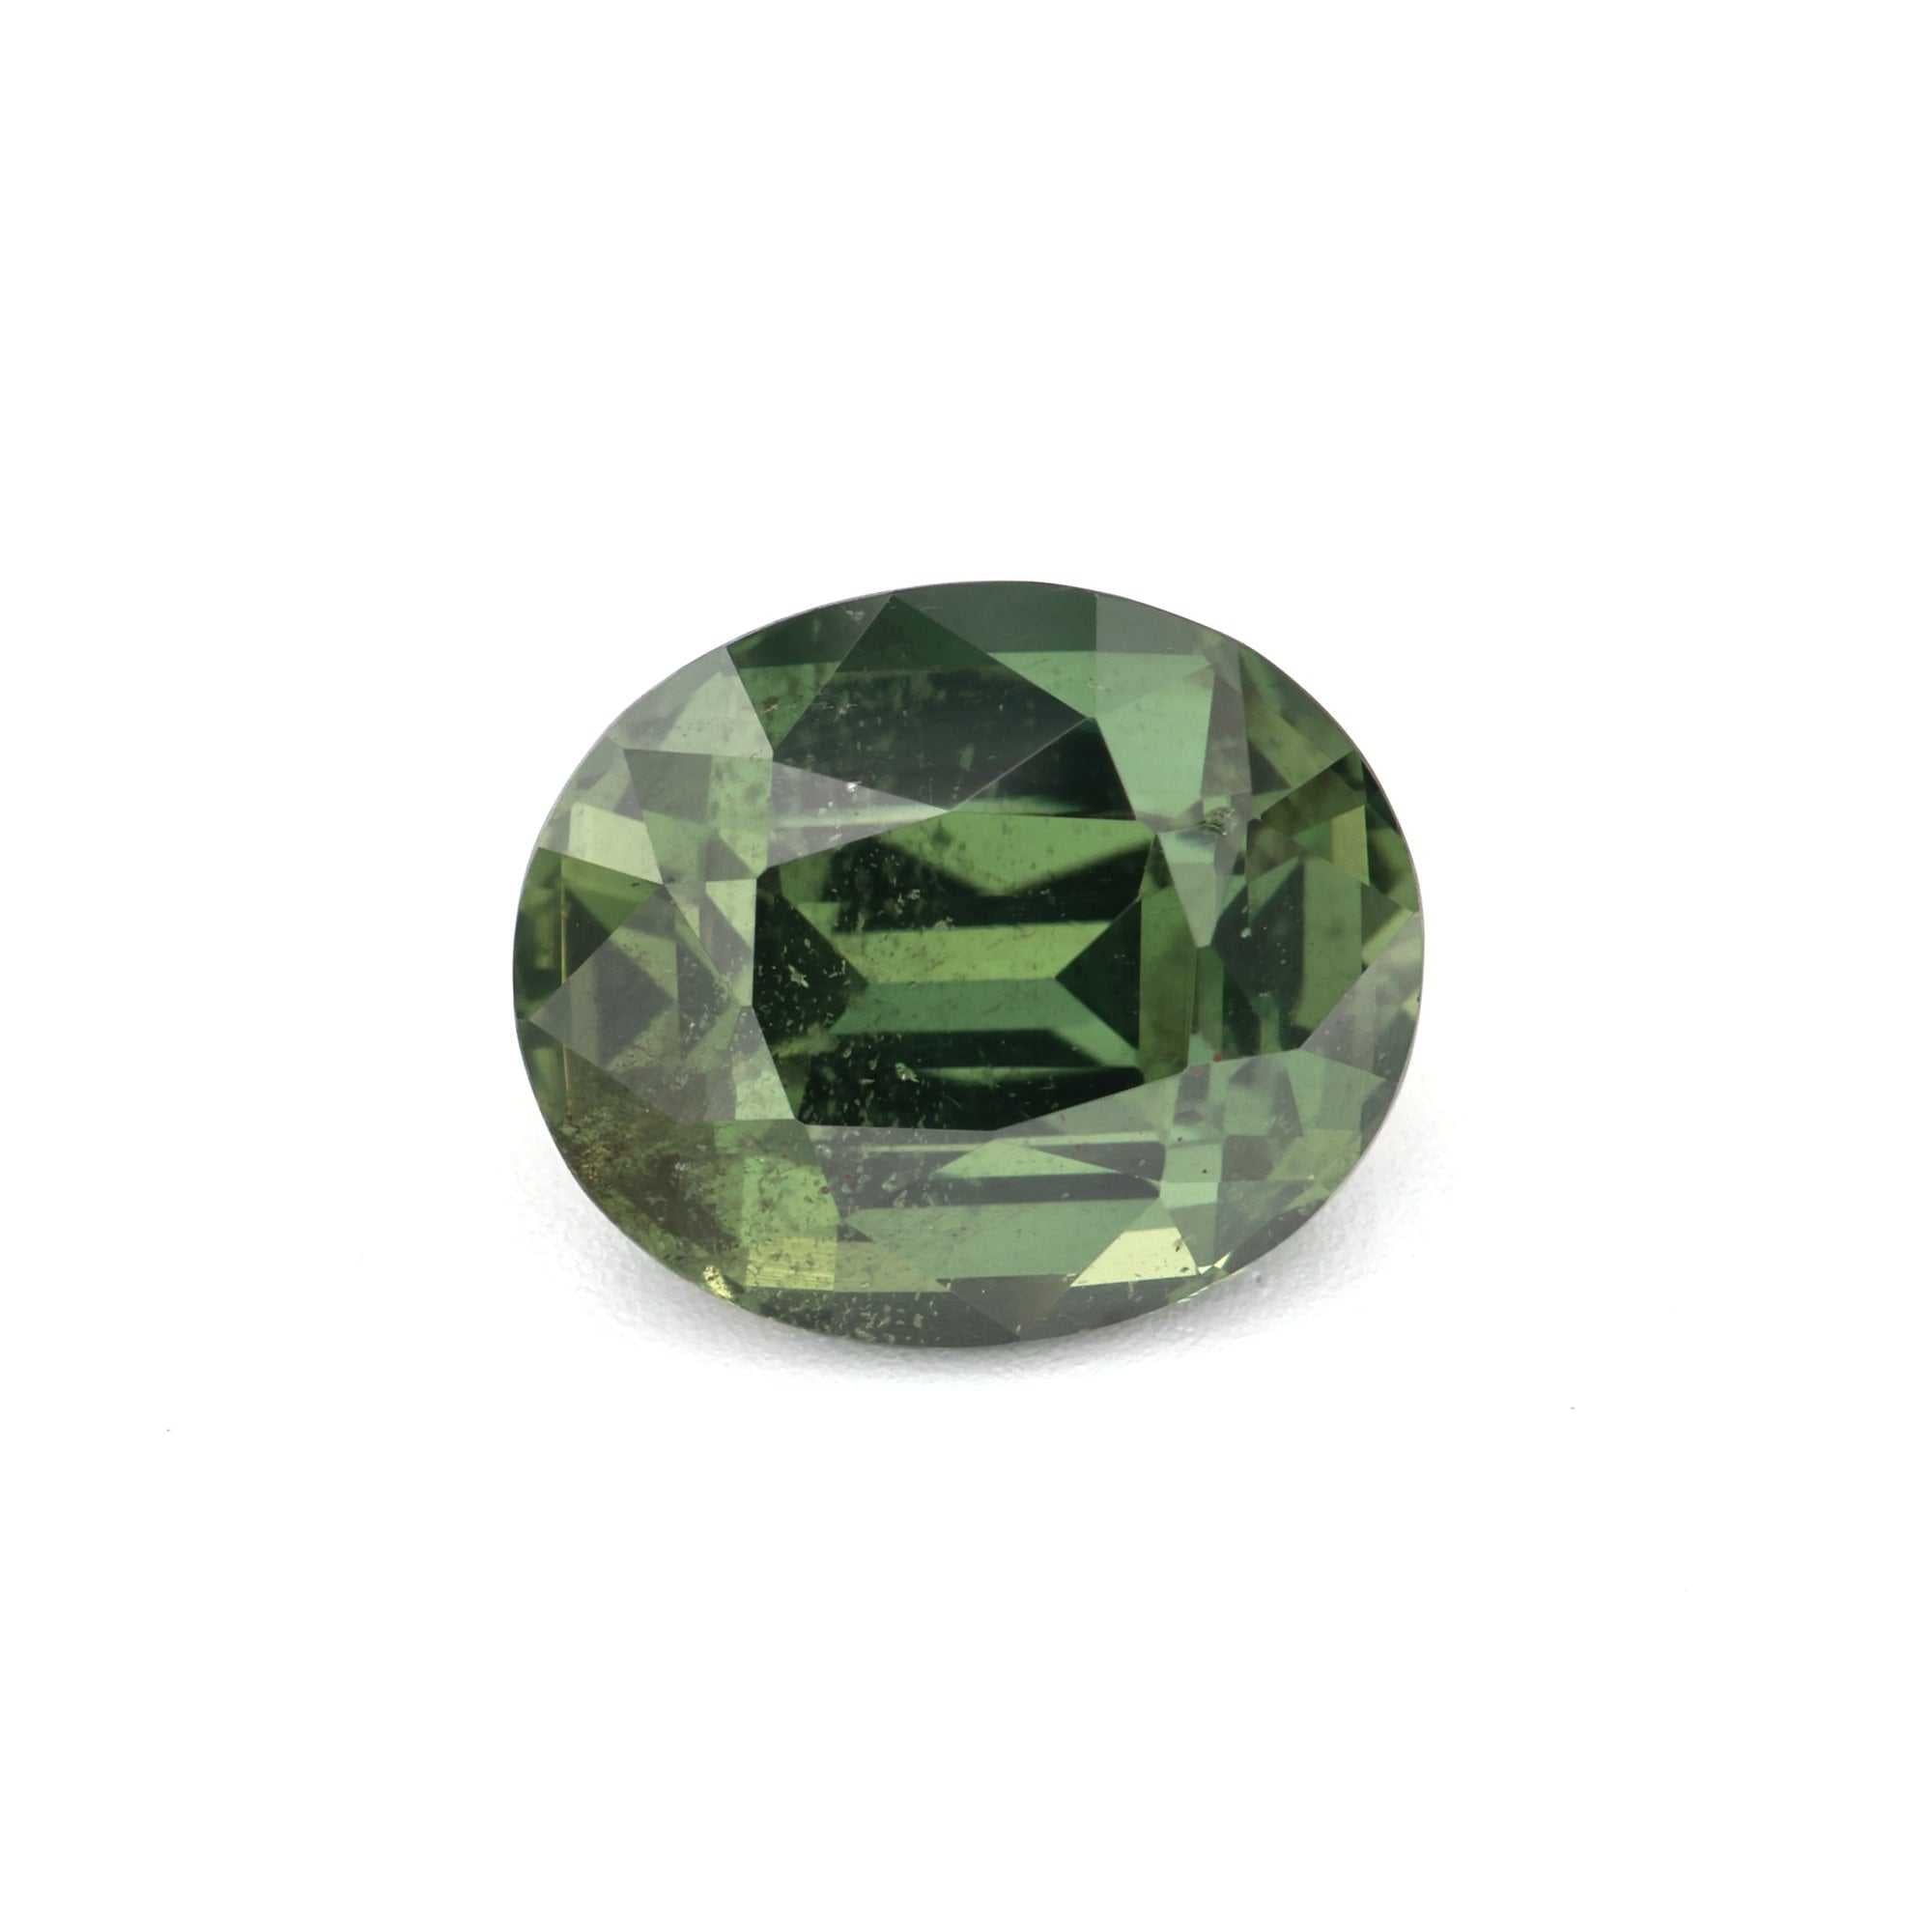
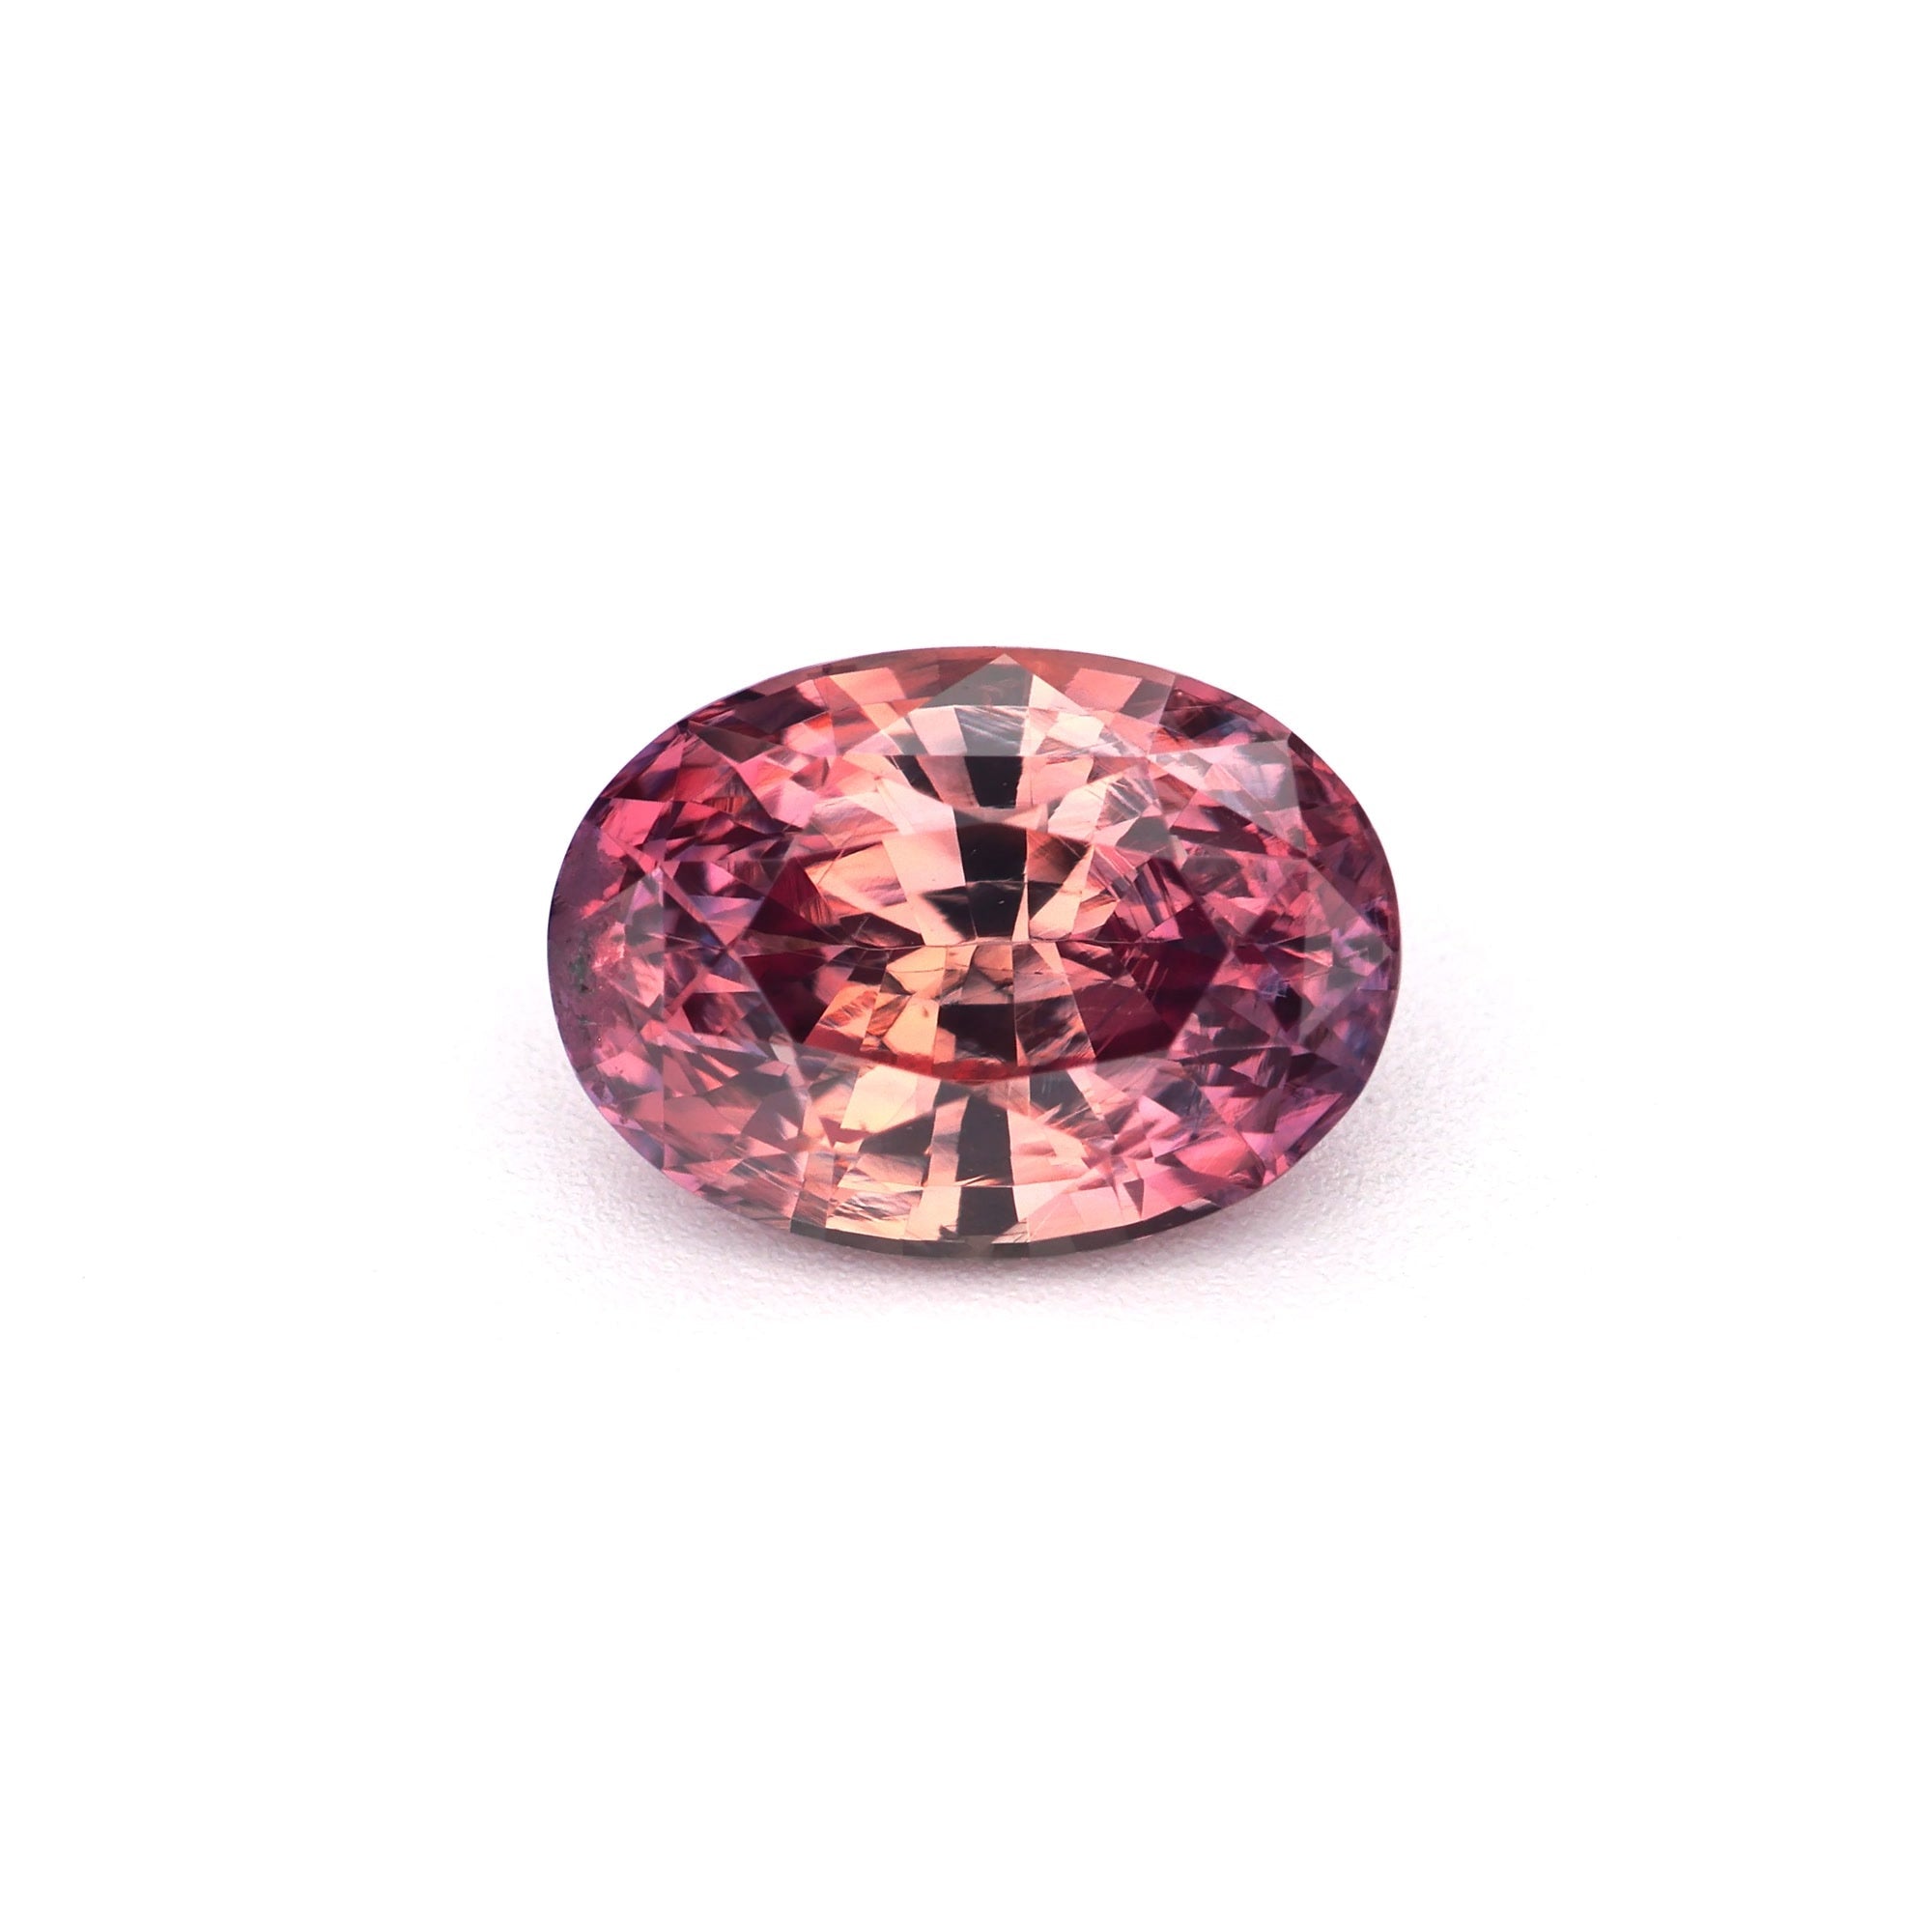
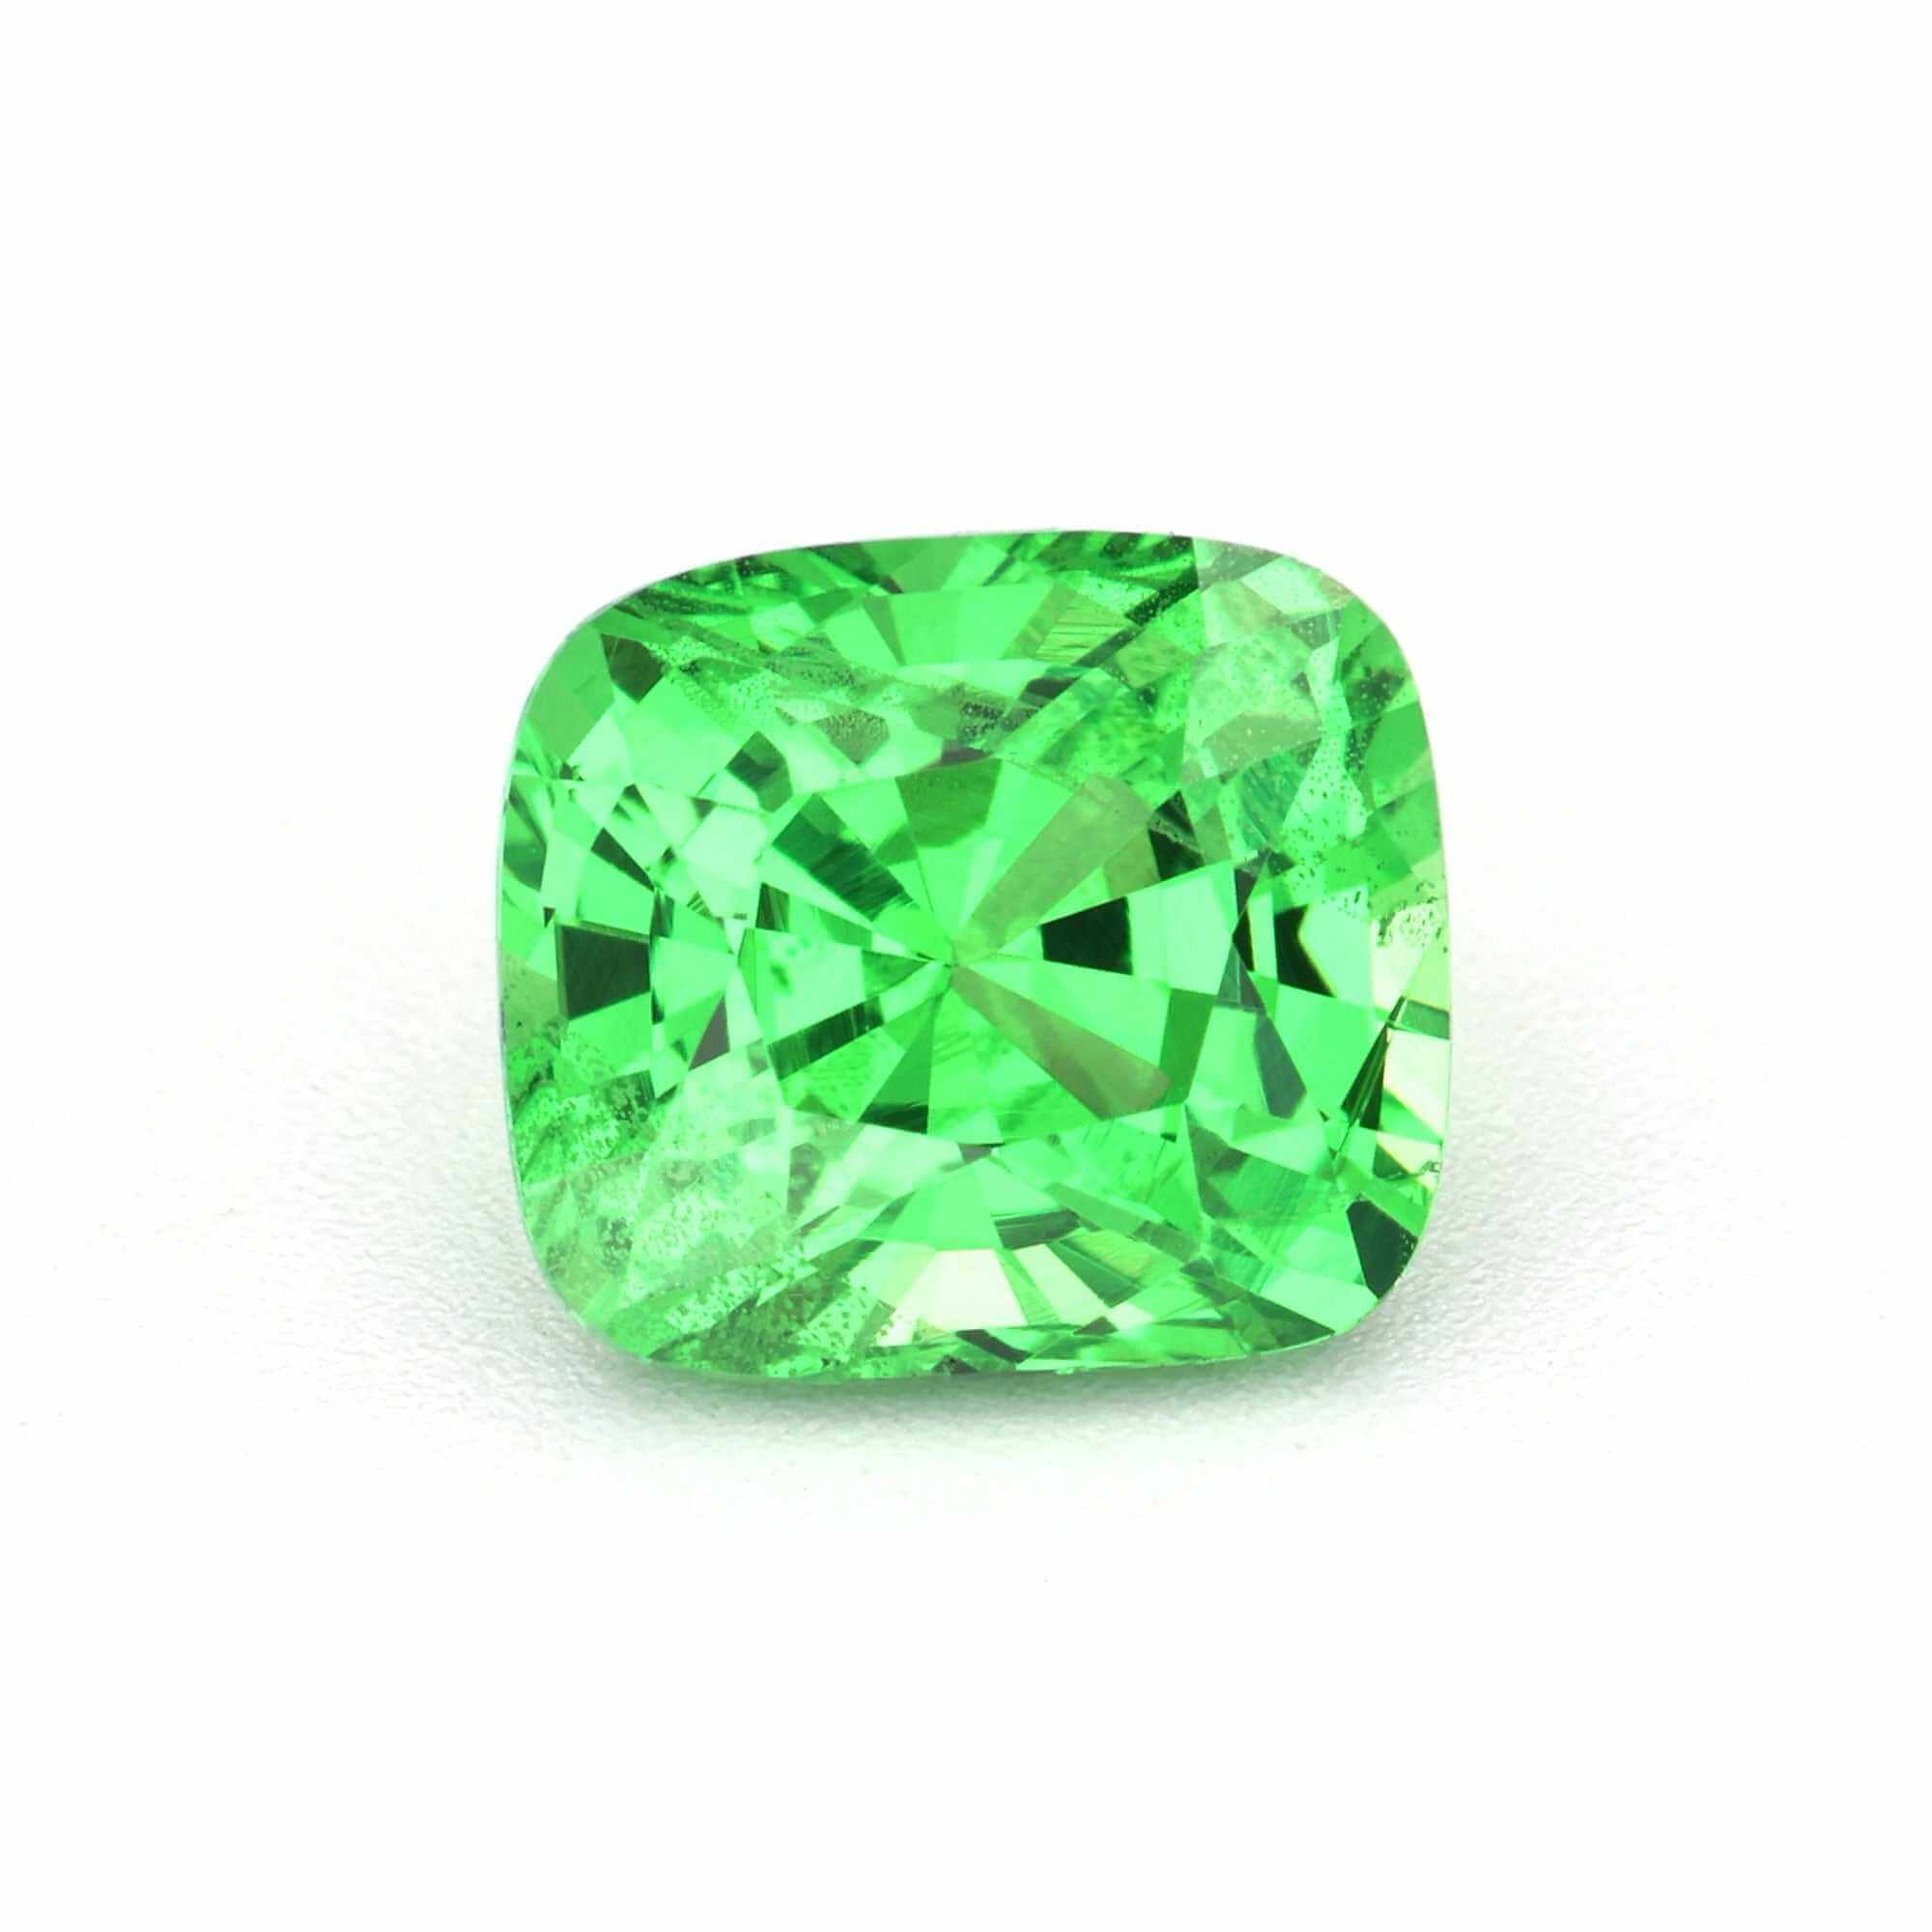
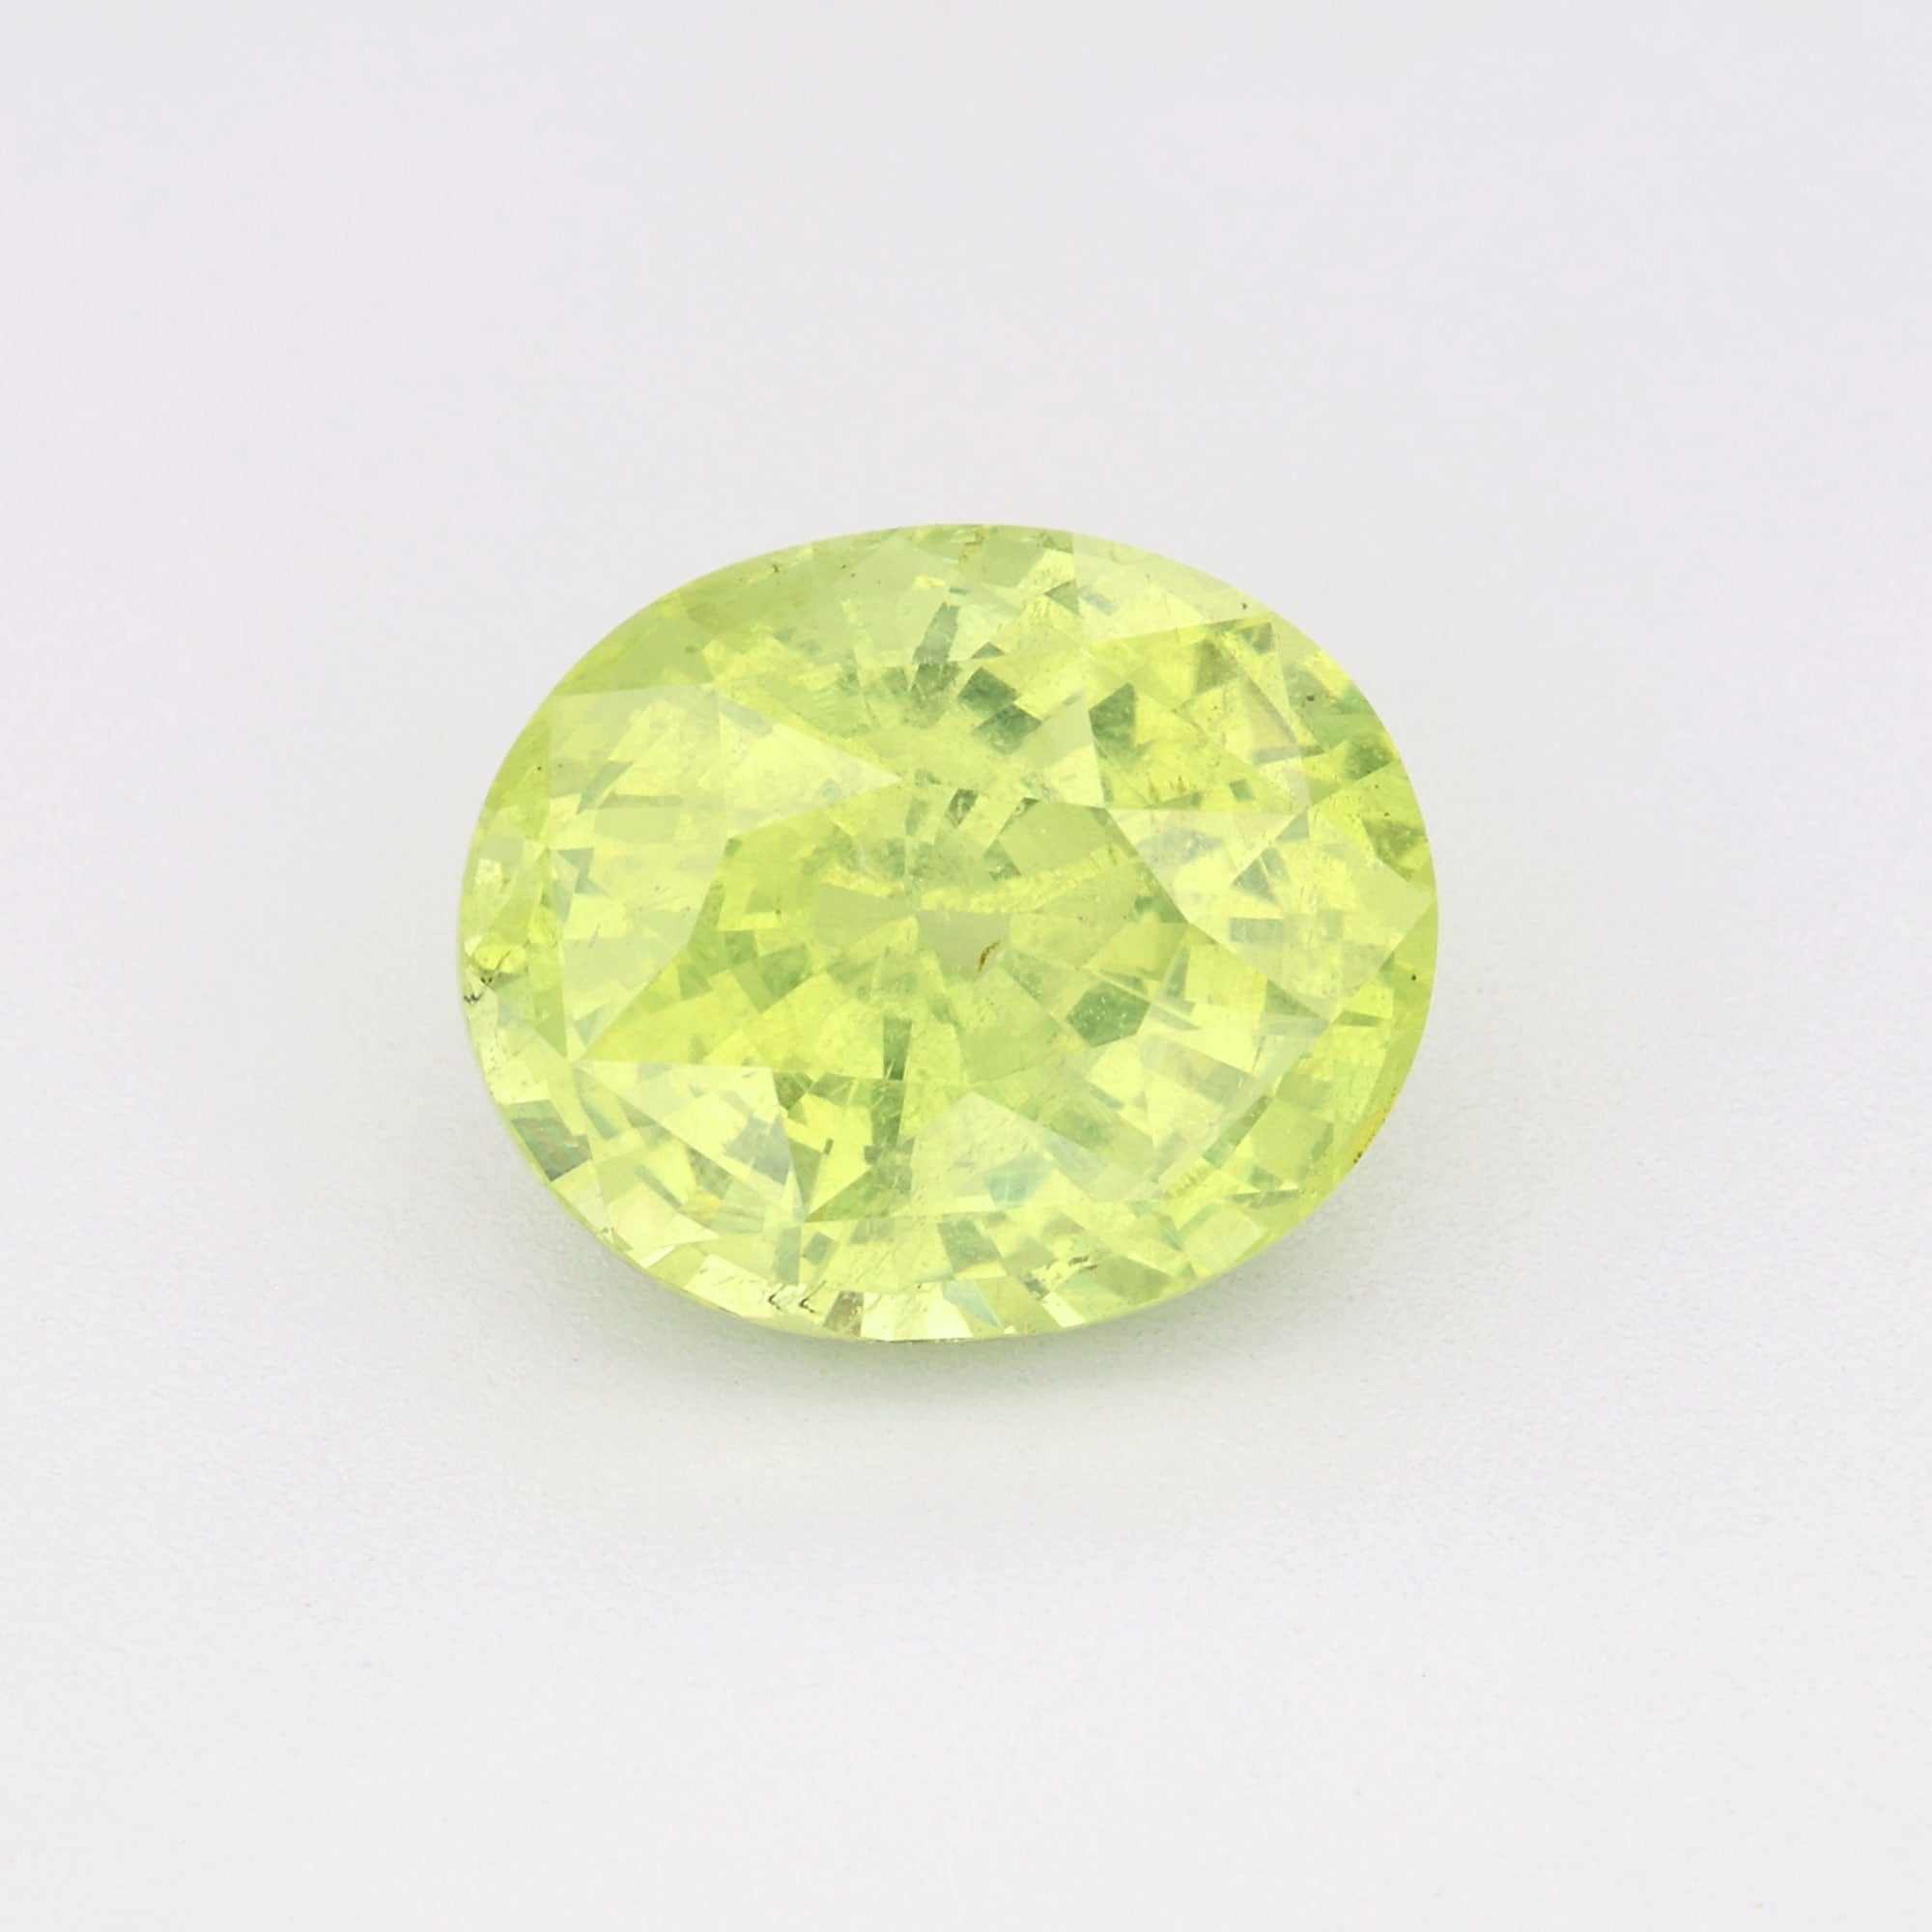
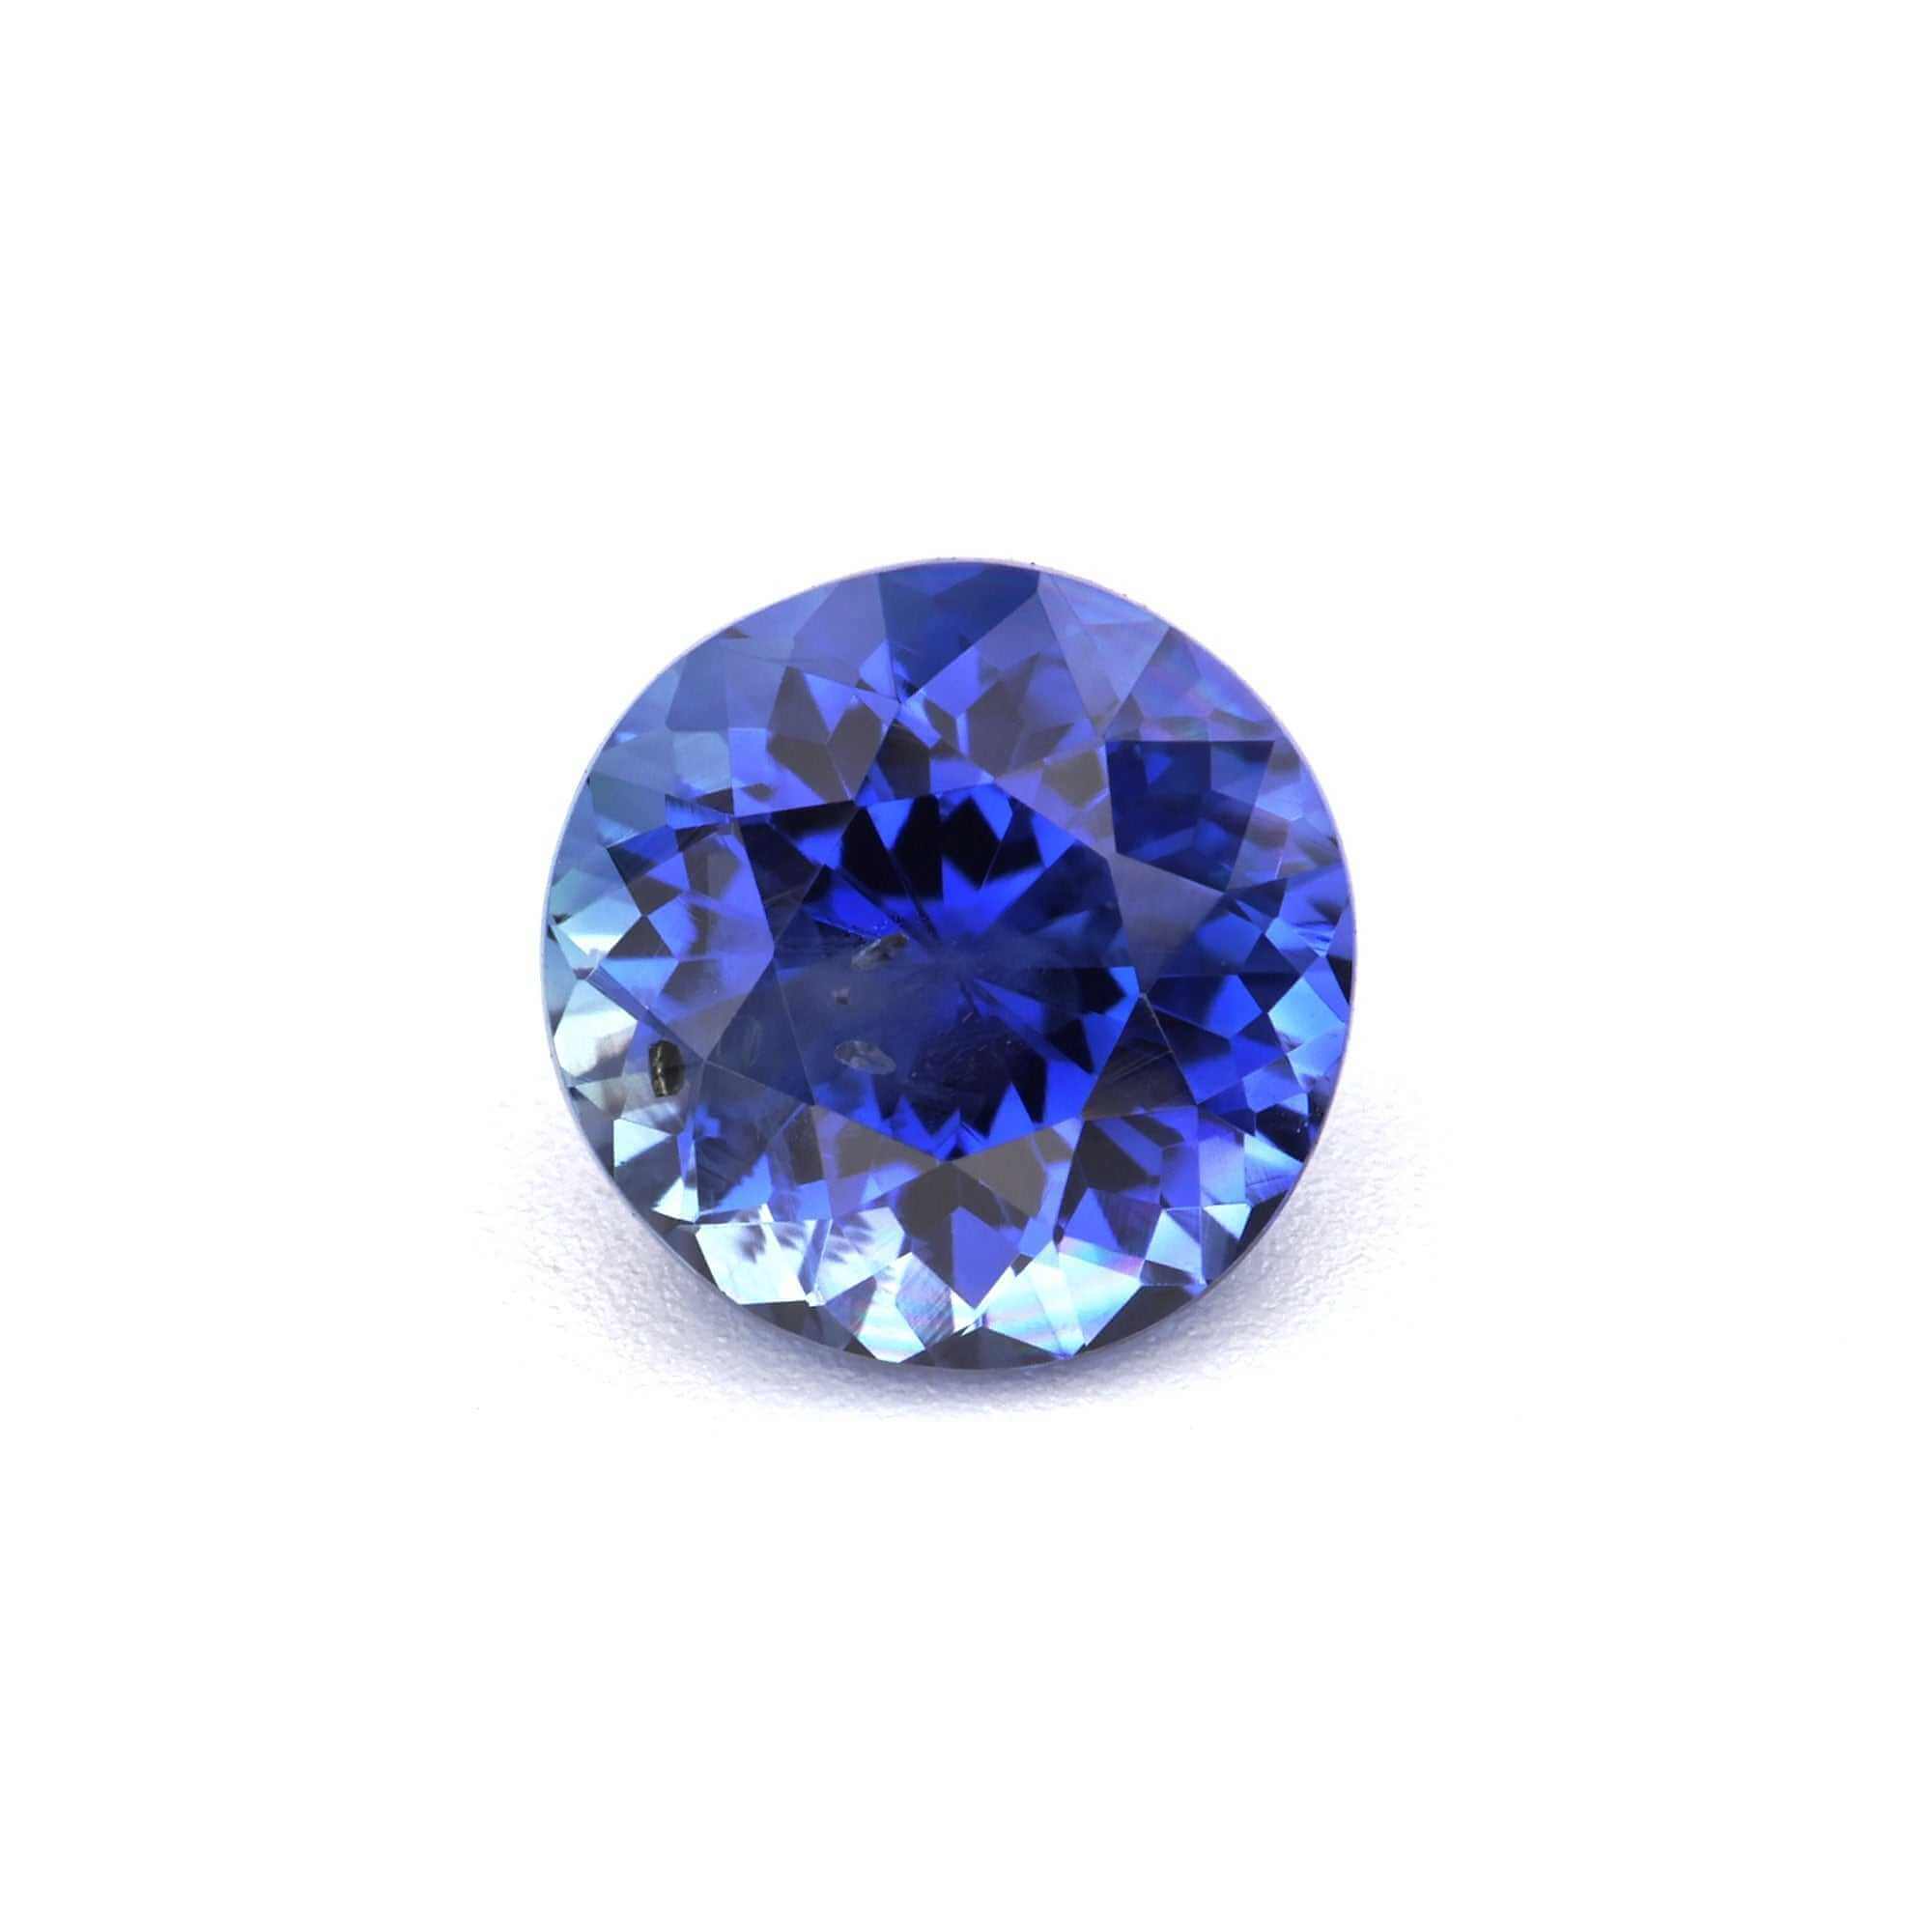
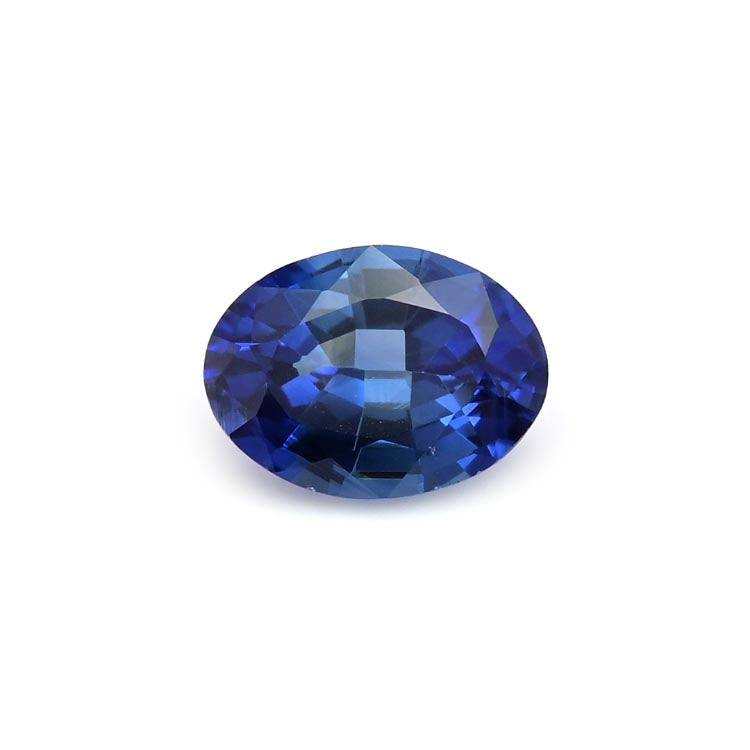
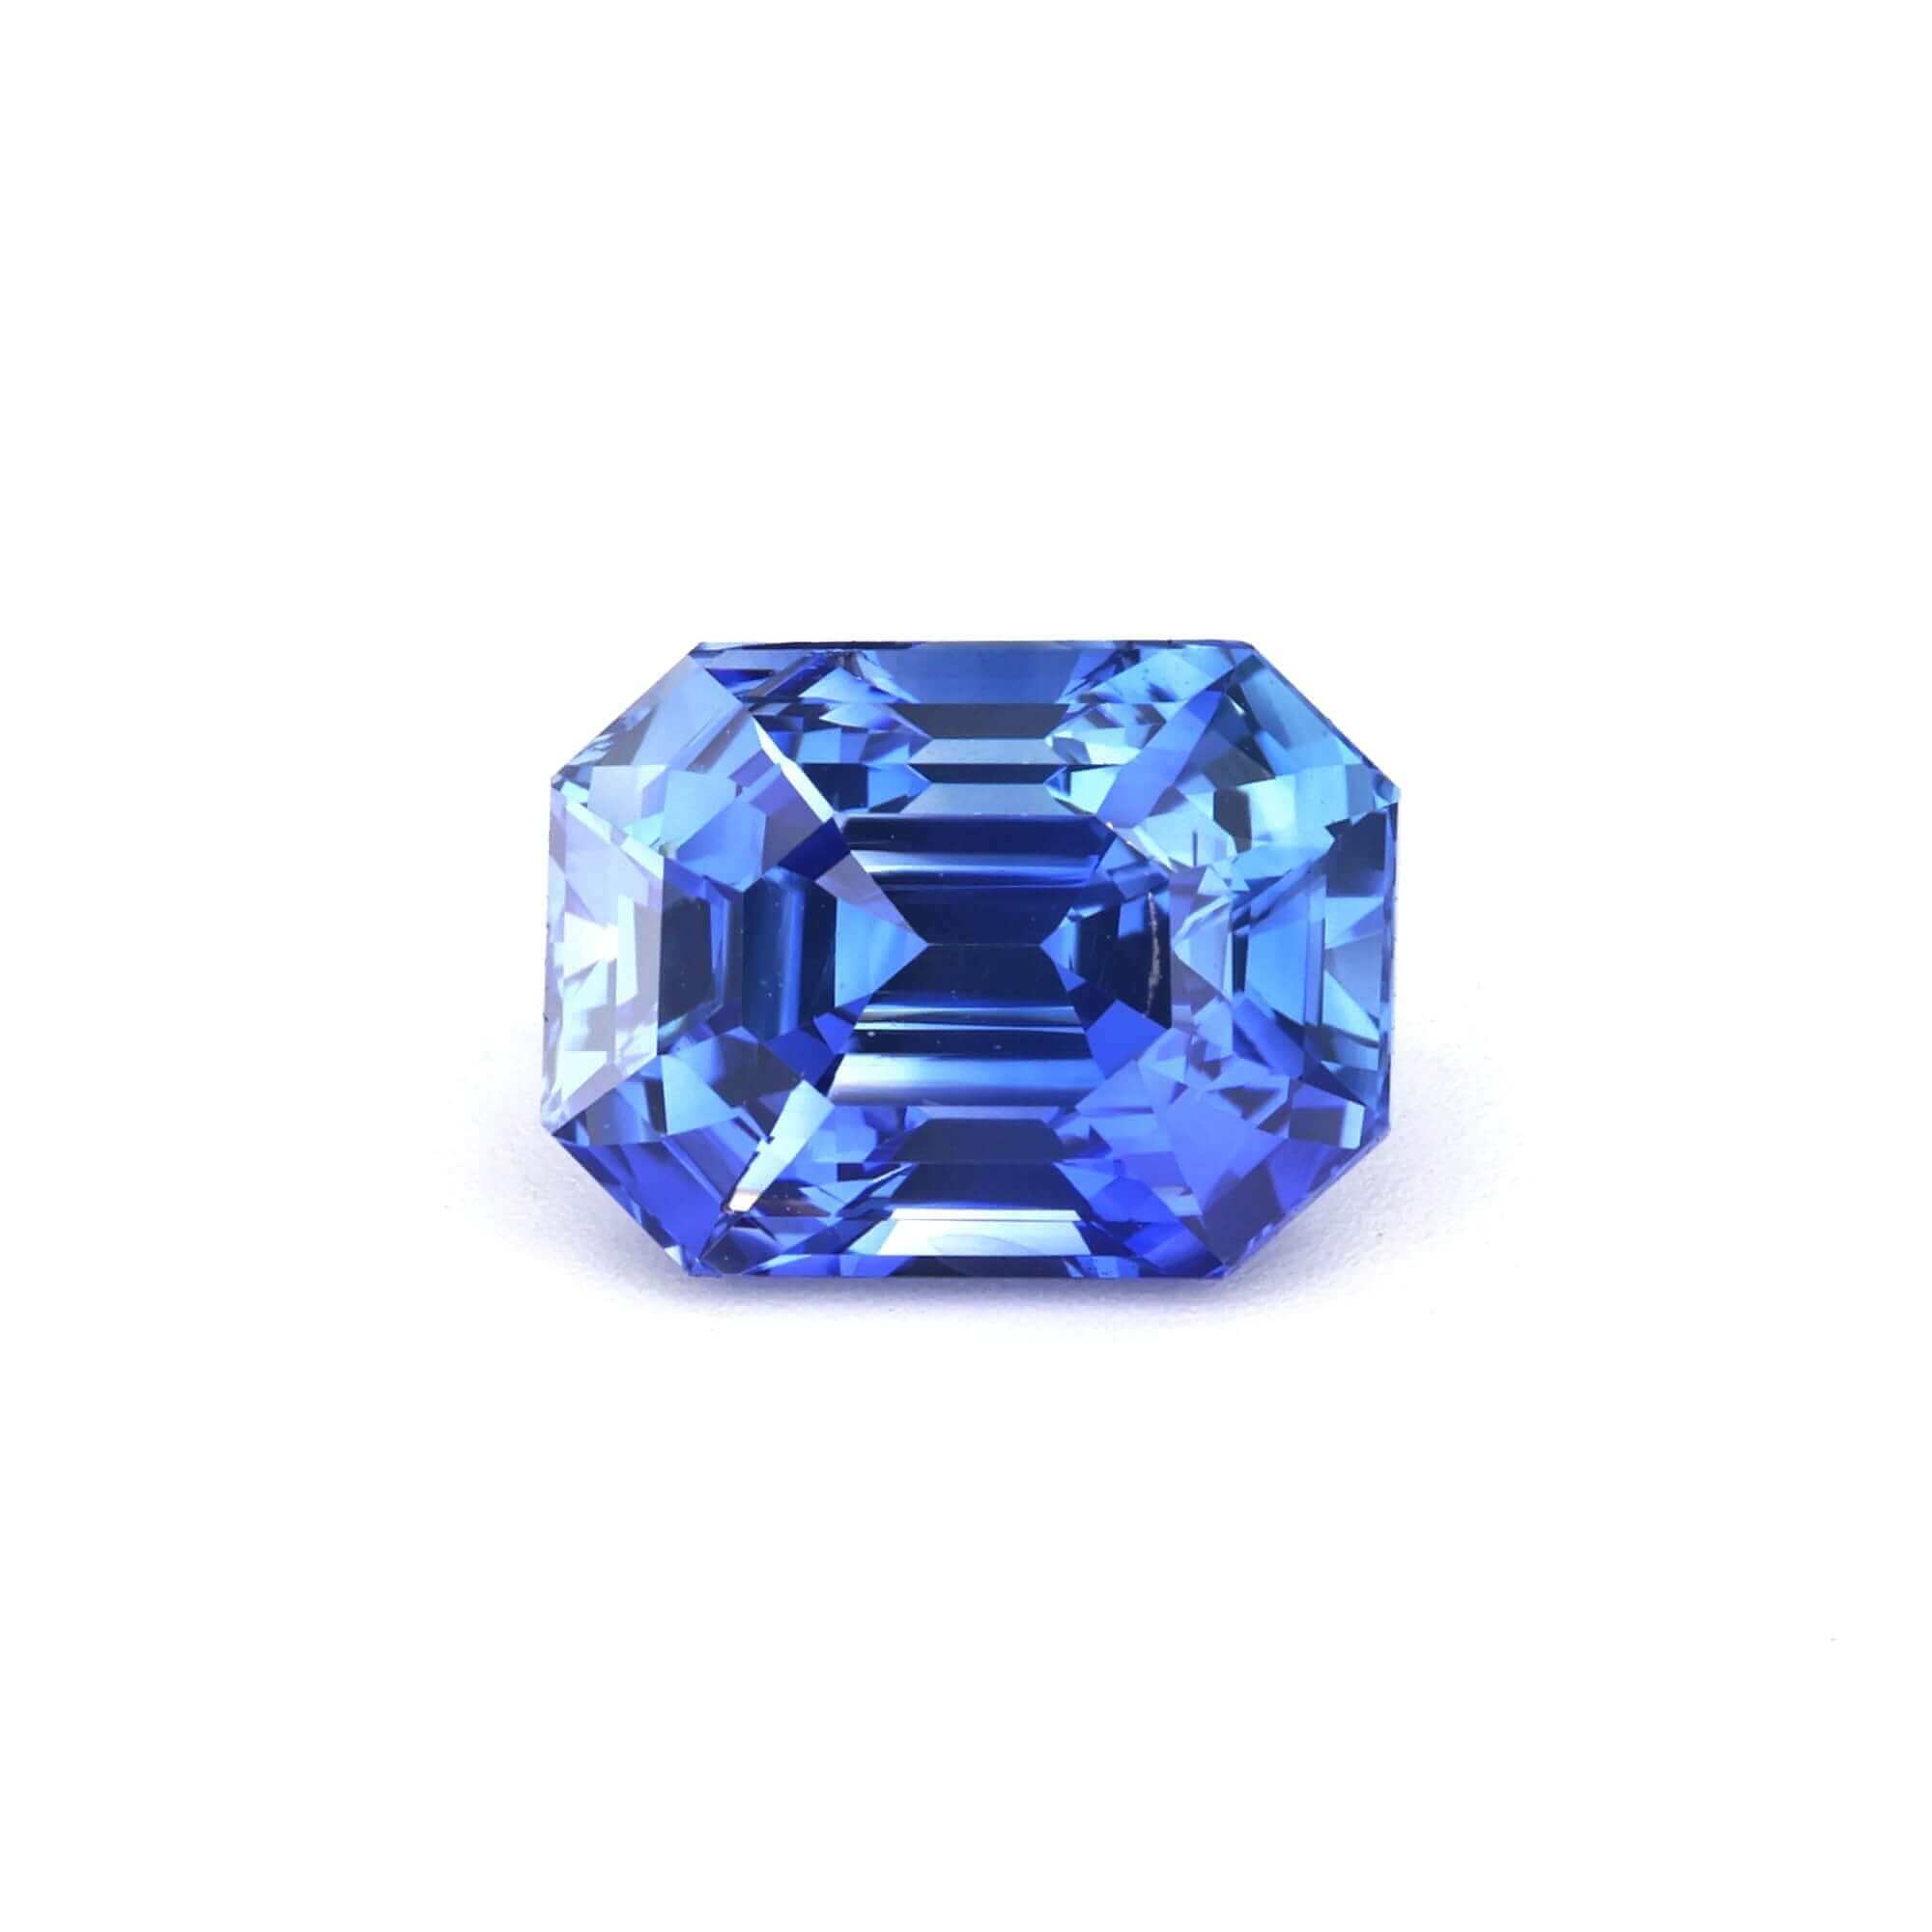
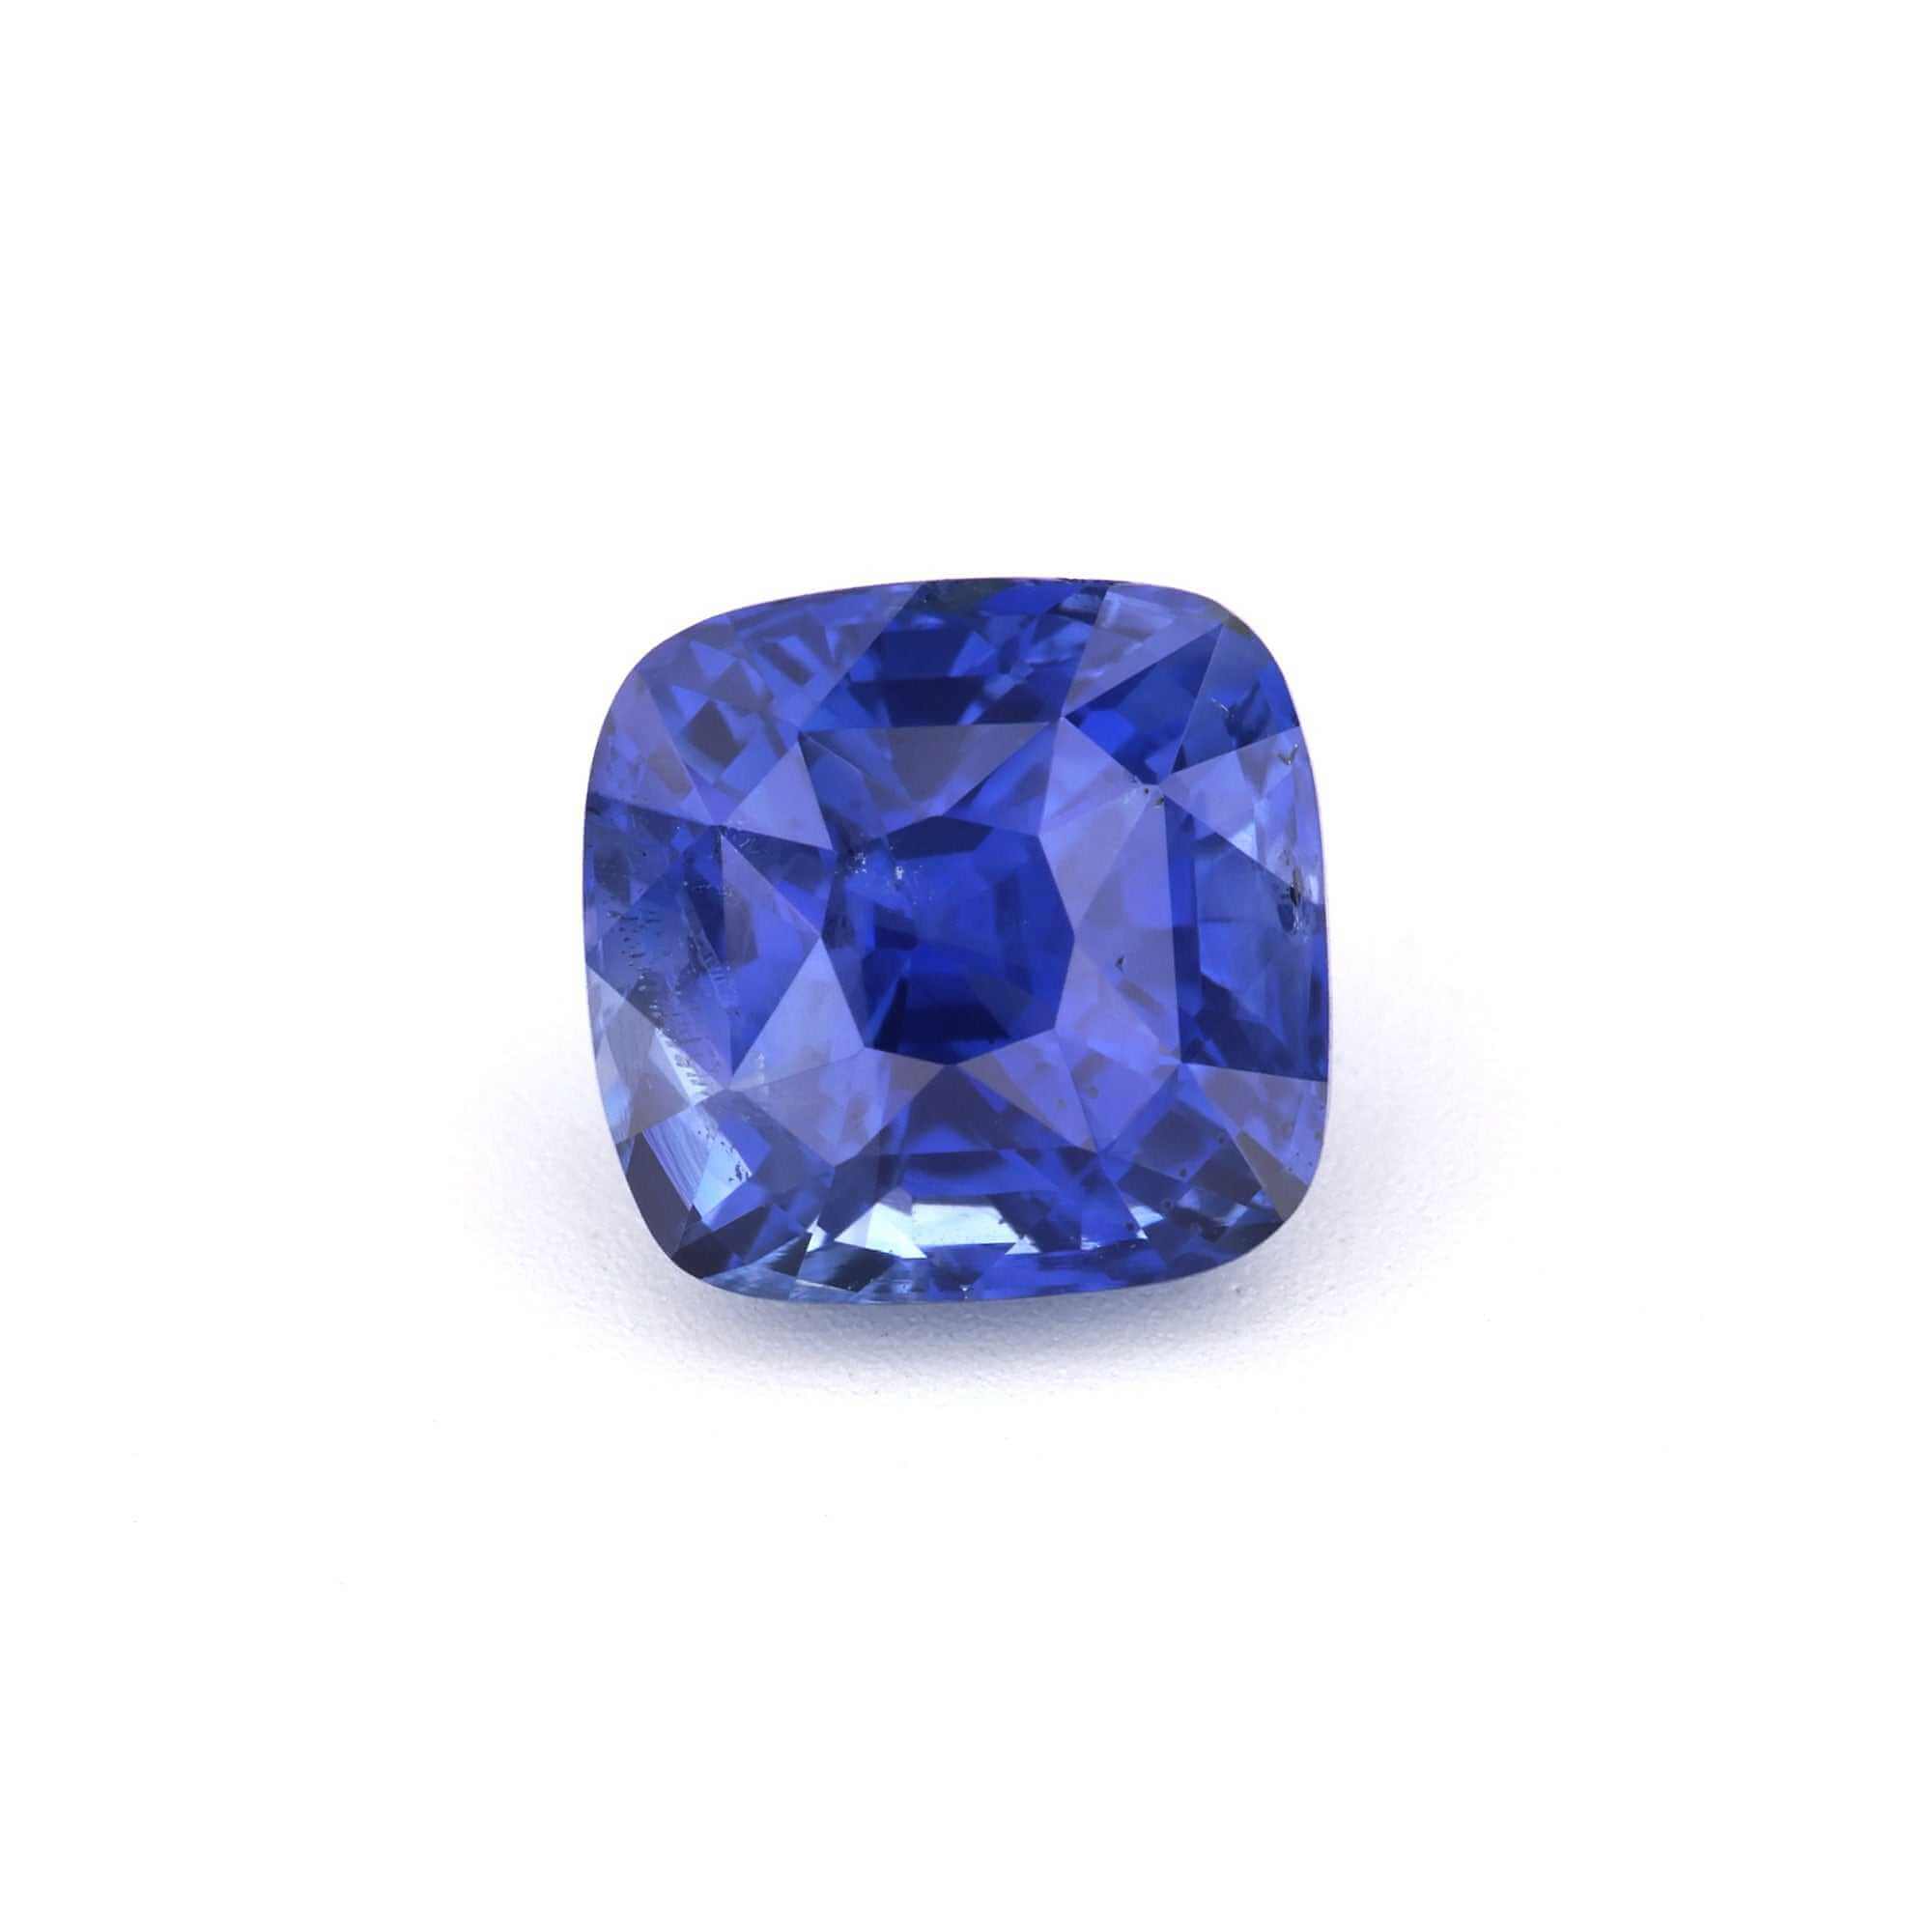
Oval — the most popular sapphire cut; maximizes face-up size per carat; susceptible to bowtie effect. Cushion — rounded corners concentrate and deepen color saturation; ideal for vivid, saturated material. Round — maximum brilliance but higher rough weight loss during cutting. Emerald cut — step facets create interior depth; requires excellent clarity and strong color saturation. Pear and marquise — maximize face-up length relative to weight; see our best elongated shapes guide.
Browse by cut: oval · cushion · round · emerald cut. Email crescentgems@gmail.com with your specifications — we respond within one business day.
Browse the full Ceylon sapphire catalog — every stone cut or recut in Sri Lanka with complete treatment disclosure — or email crescentgems@gmail.com with your specifications. We respond within one business day.
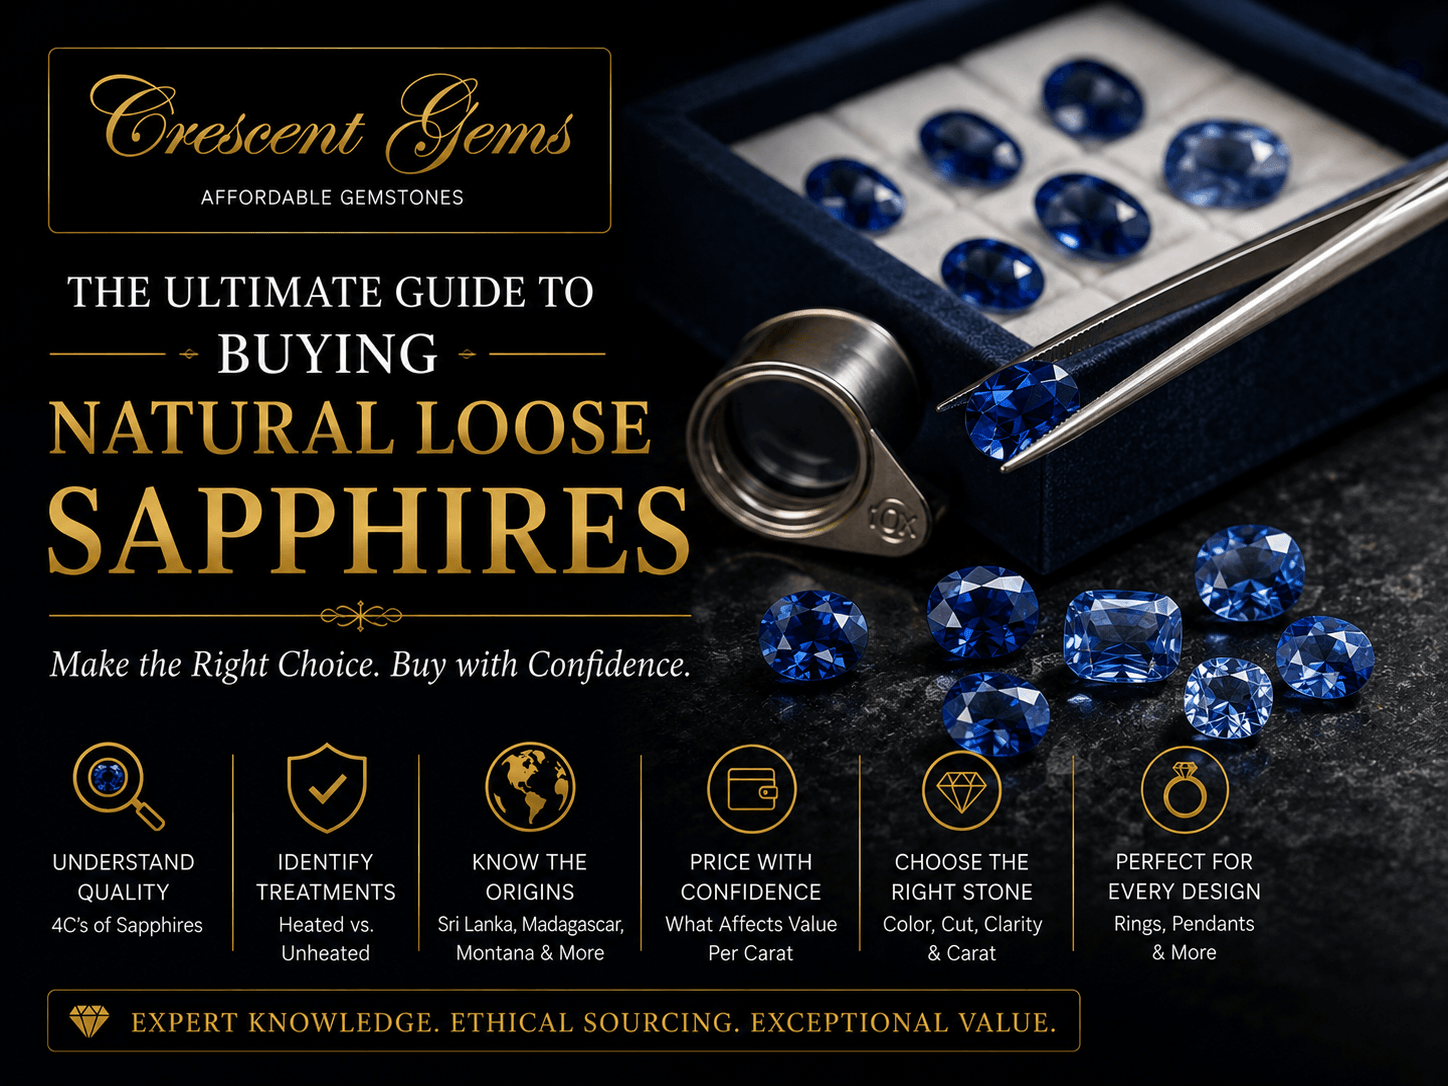
The Ultimate Guide to Buying Natural Loose Sapphires
The definitive guide to buying a natural loose sapphire: colour, origin, treatment, cut, shape, certification, pricing, and engagement rings, with links to every Crescent Gems guide and collection.
Read moreabout The Ultimate Guide to Buying Natural Loose Sapphires
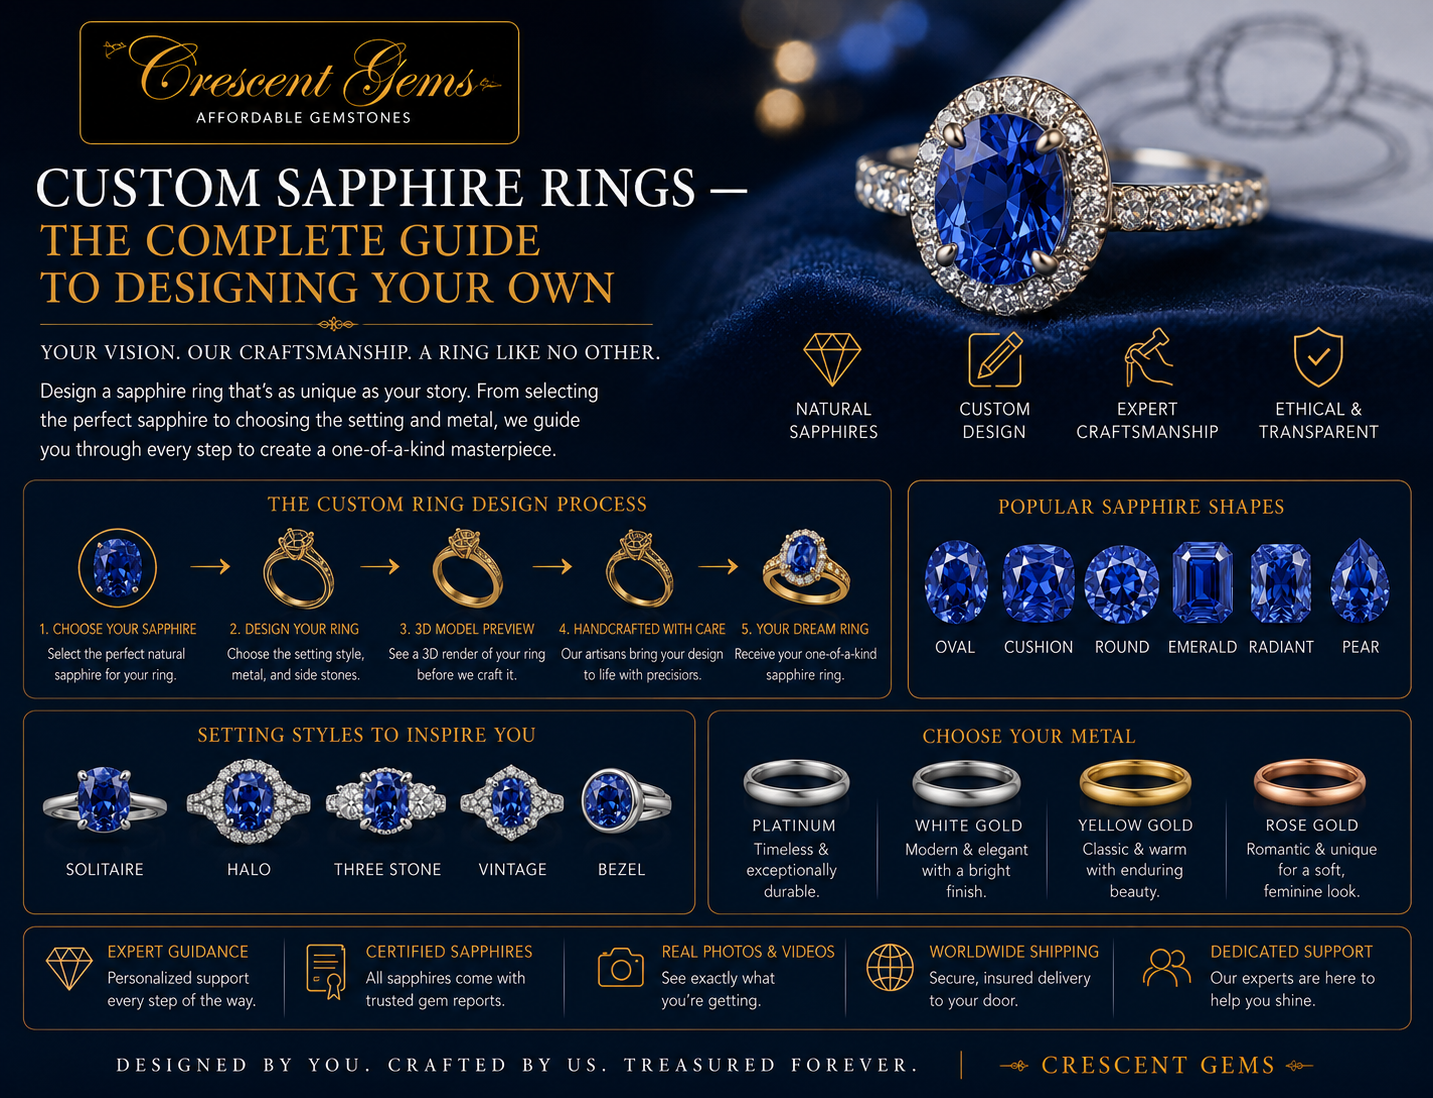
Custom Sapphire Rings — The Complete Guide to Designing Your Own
Read moreabout Custom Sapphire Rings — The Complete Guide to Designing Your Own

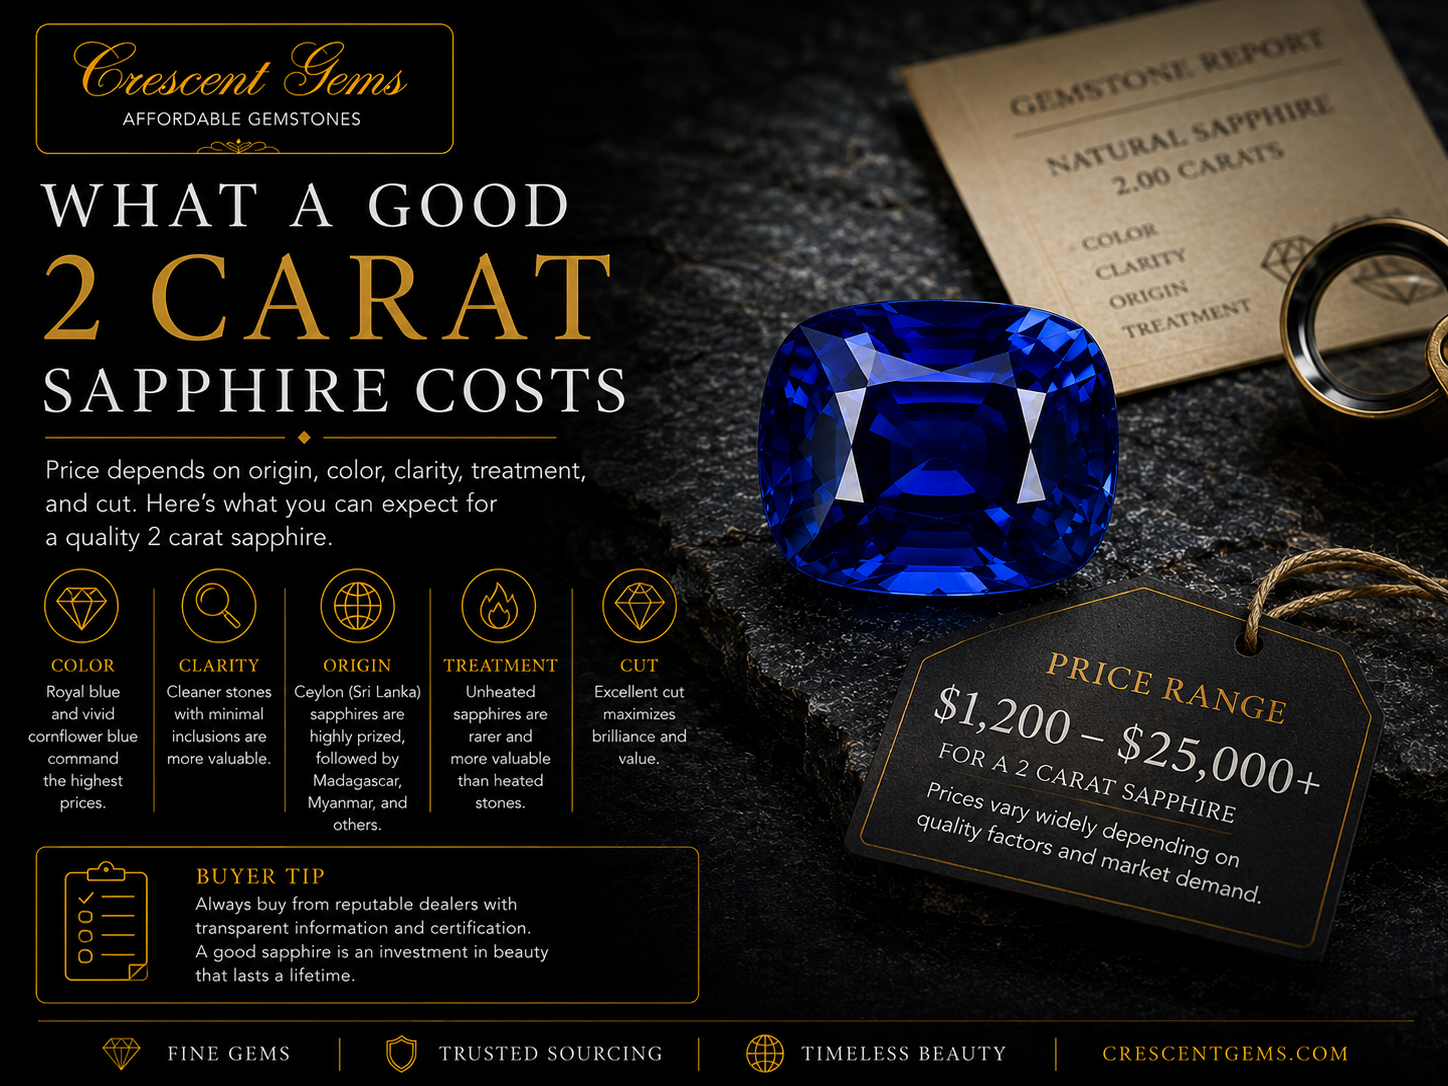
Cost of a 2 Carat Sapphire — Pricing, Scarcity, What Your Budget Buys
Read moreabout Cost of a 2 Carat Sapphire — Pricing, Scarcity, What Your Budget Buys
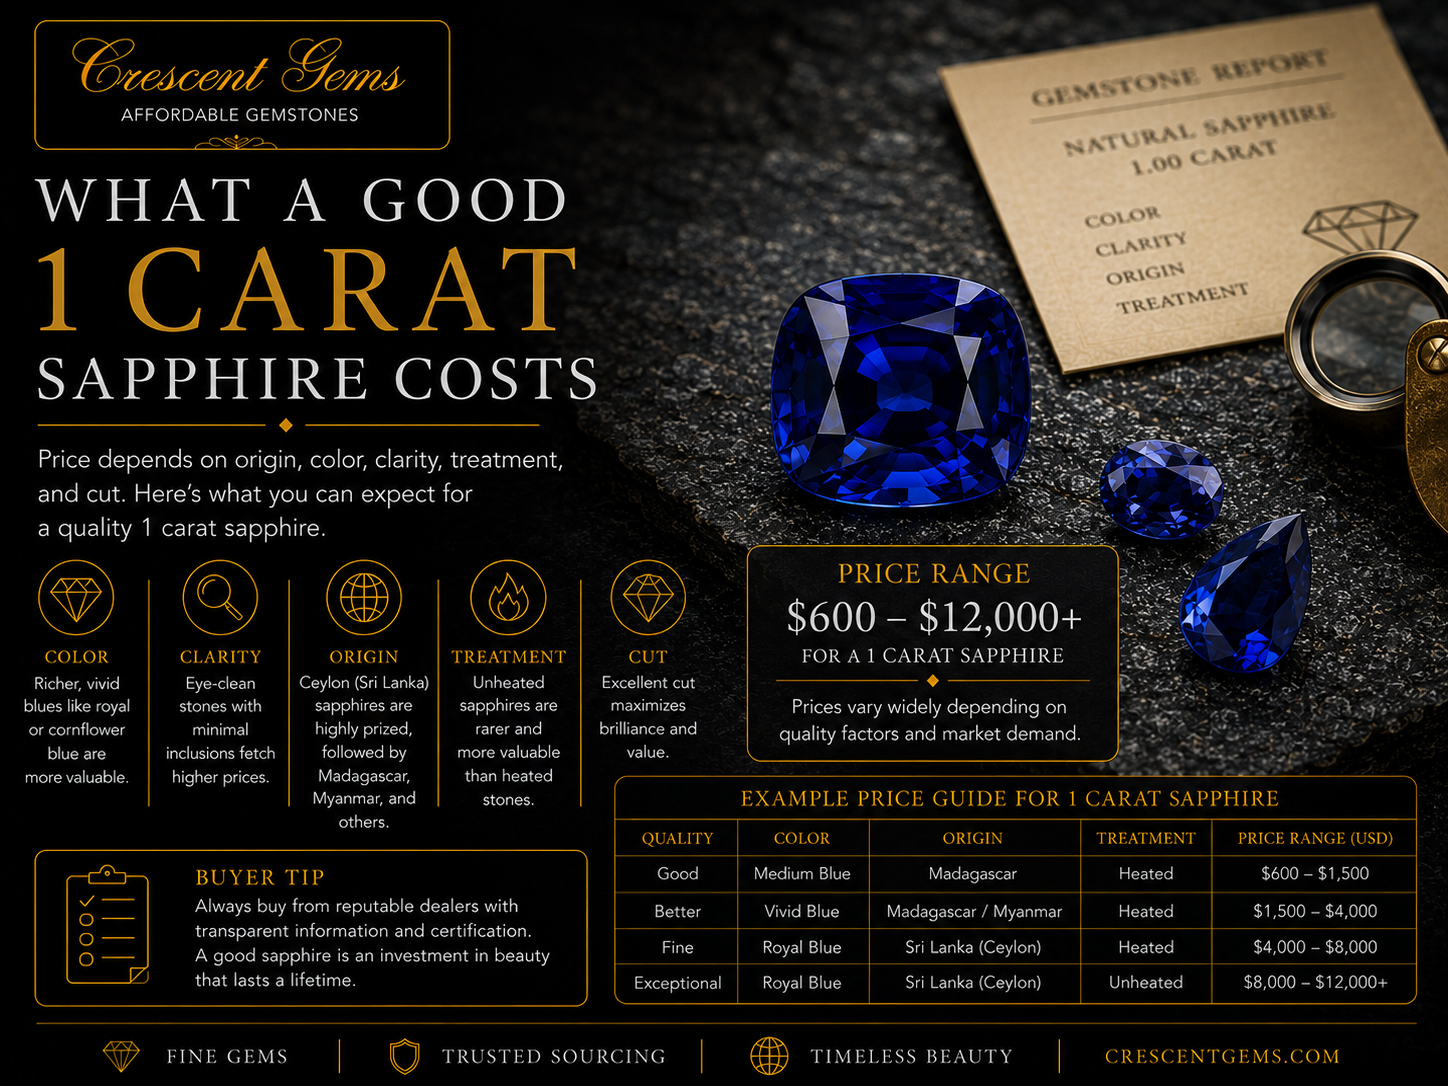
Cost of 1 carat Sapphire — Honest Pricing

Share: