

- by Ahmed Shareek
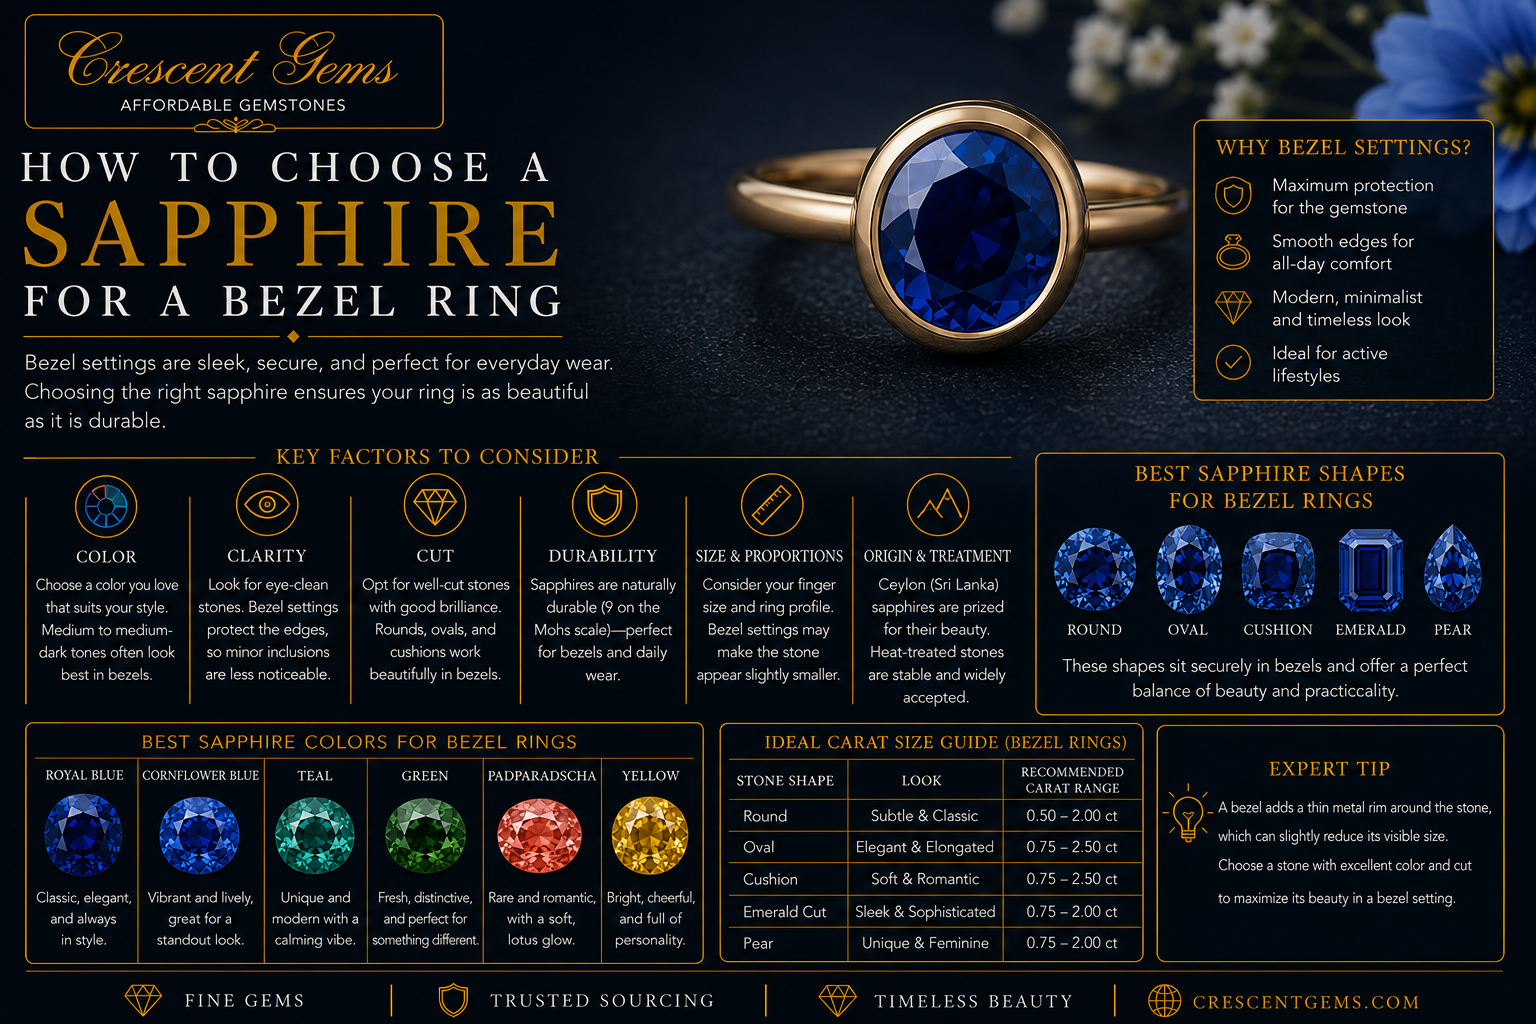
How to Choose a Sapphire for a Bezel Ring — What Works and What to Look For
- by Ahmed Shareek
For corner protection alternatives: How to Choose a Setting That Protects Sapphire Corners. For custom ring design: How to Design a Custom Sapphire Ring. For the buying foundation: Ultimate Sapphire Buying Guide.
The bezel setting — in which a continuous metal rim encircles the entire girdle of the gemstone, holding it in place without individual prongs — has experienced a significant commercial revival in the engagement ring market over the past decade. Its appeal is understandable: a bezel-set sapphire ring is sleek and modern in aesthetic, provides the maximum physical protection of any setting style, does not snag on fabric, and requires less maintenance than prong settings because there are no individual prongs to bend or break. For buyers who want a low-maintenance, active-lifestyle ring with a clean, contemporary look, the bezel is the most practical setting choice available.
But the bezel setting changes the visual equation of a sapphire in ways that affect which stone qualities matter most. A stone that performs beautifully in a four-prong solitaire may not be the right choice for a bezel — and vice versa. This guide covers what the bezel does to a sapphire's appearance, which shapes work best, what quality standards are more and less important in this setting, and how to choose a stone specifically for a bezel ring.
The metal rim of a bezel setting covers a portion of the sapphire's crown and girdle — typically 1–2mm of the stone's upper edge all the way around its circumference. This has several visual consequences:
Apparent size reduction. The bezel rim covers part of the stone's face-up area, making the sapphire appear slightly smaller than its actual dimensions. A 7×5mm oval sapphire in a prong setting shows nearly its full face-up area; the same stone in a bezel shows approximately 6×4mm of visible face area. This is the bezel's primary visual trade-off — maximum protection comes at the cost of some face-up size. Choose a slightly larger stone for a bezel than you would for a prong setting to achieve equivalent apparent size.
Color concentration at the center. With the girdle and lower crown covered by metal, the light entering the stone is more controlled — primarily through the table facet directly above. This can concentrate color toward the center of the stone's face-up area, which is generally flattering for vivid, well-saturated material. However, it can also make edge-to-edge color evenness less critical — the bezel's rim naturally frames the stone's center display area.
Clean, uninterrupted outline. The bezel creates a continuous, unbroken border around the stone that emphasizes its shape cleanly and elegantly. For oval and round stones, the bezel creates a particularly clean silhouette. For shapes with interesting outlines (pear, marquise), the bezel follows and emphasizes the outline in a graphic, modern way.
Girdle quality less critical. Since the bezel covers the girdle entirely, girdle irregularities, roughness, or color zoning at the girdle edge are hidden. This is one area where a stone chosen specifically for a bezel can save money versus a stone chosen for a prong setting — girdle perfection is simply not visible.
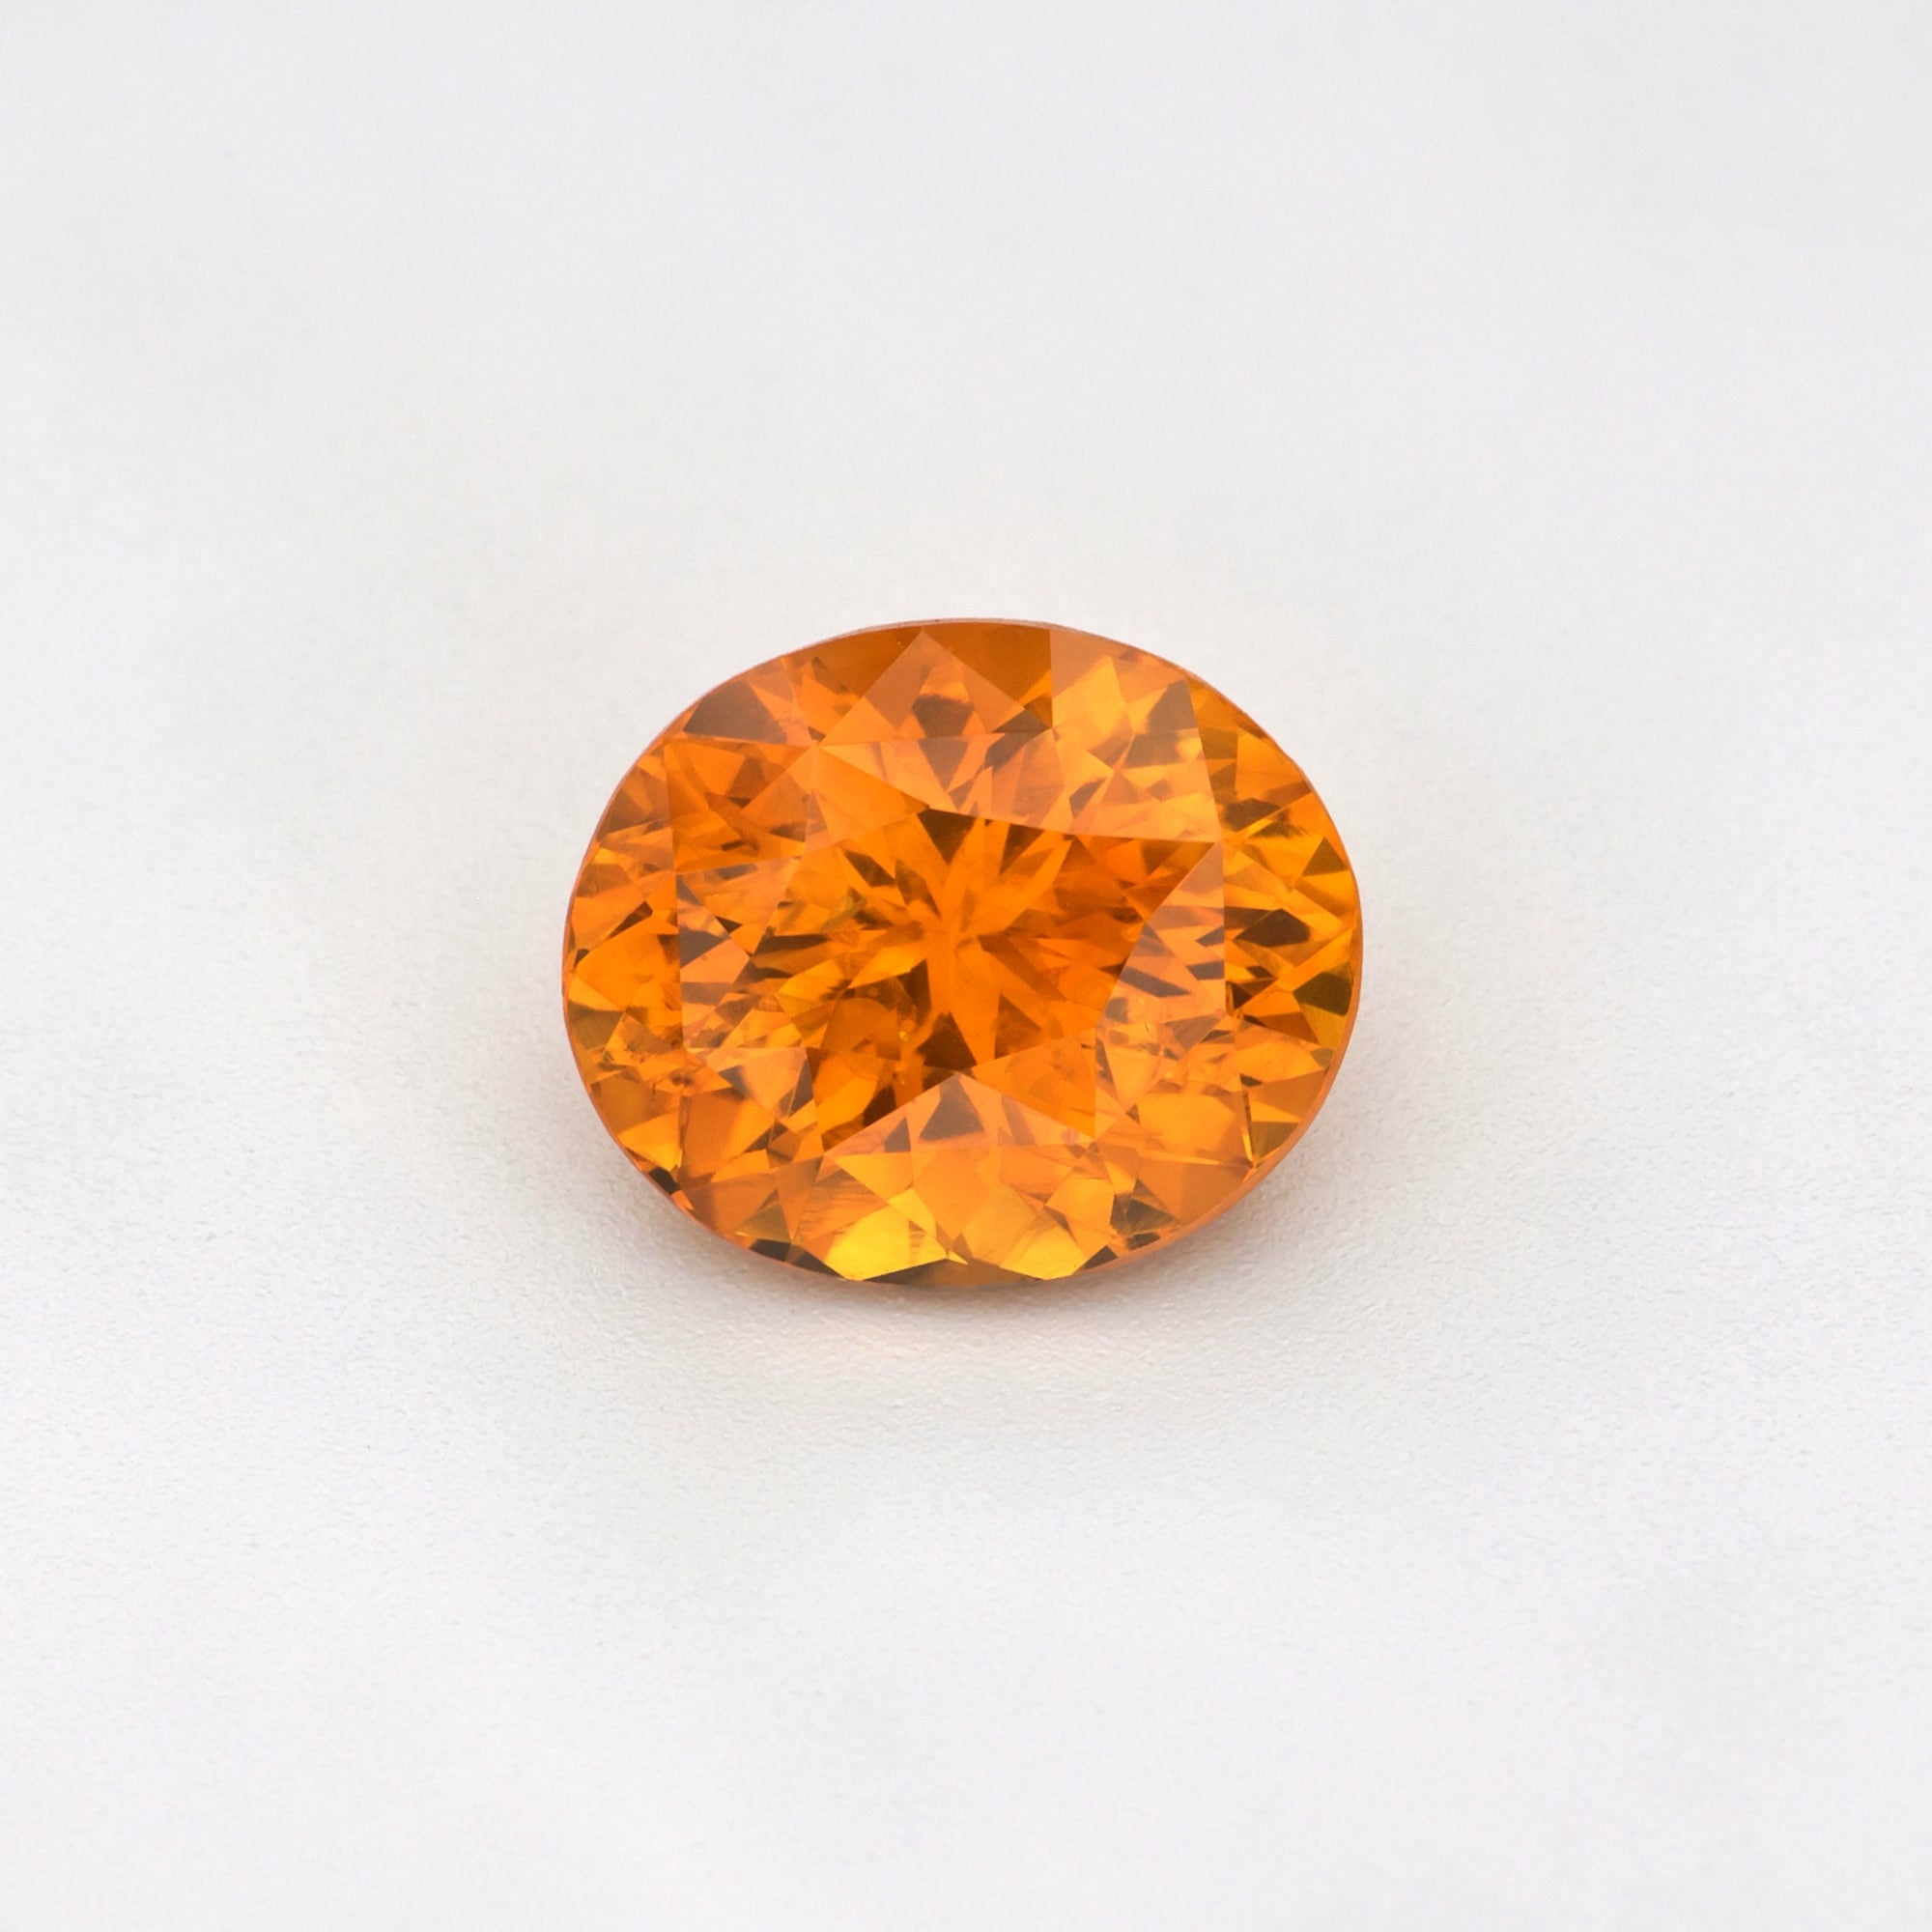
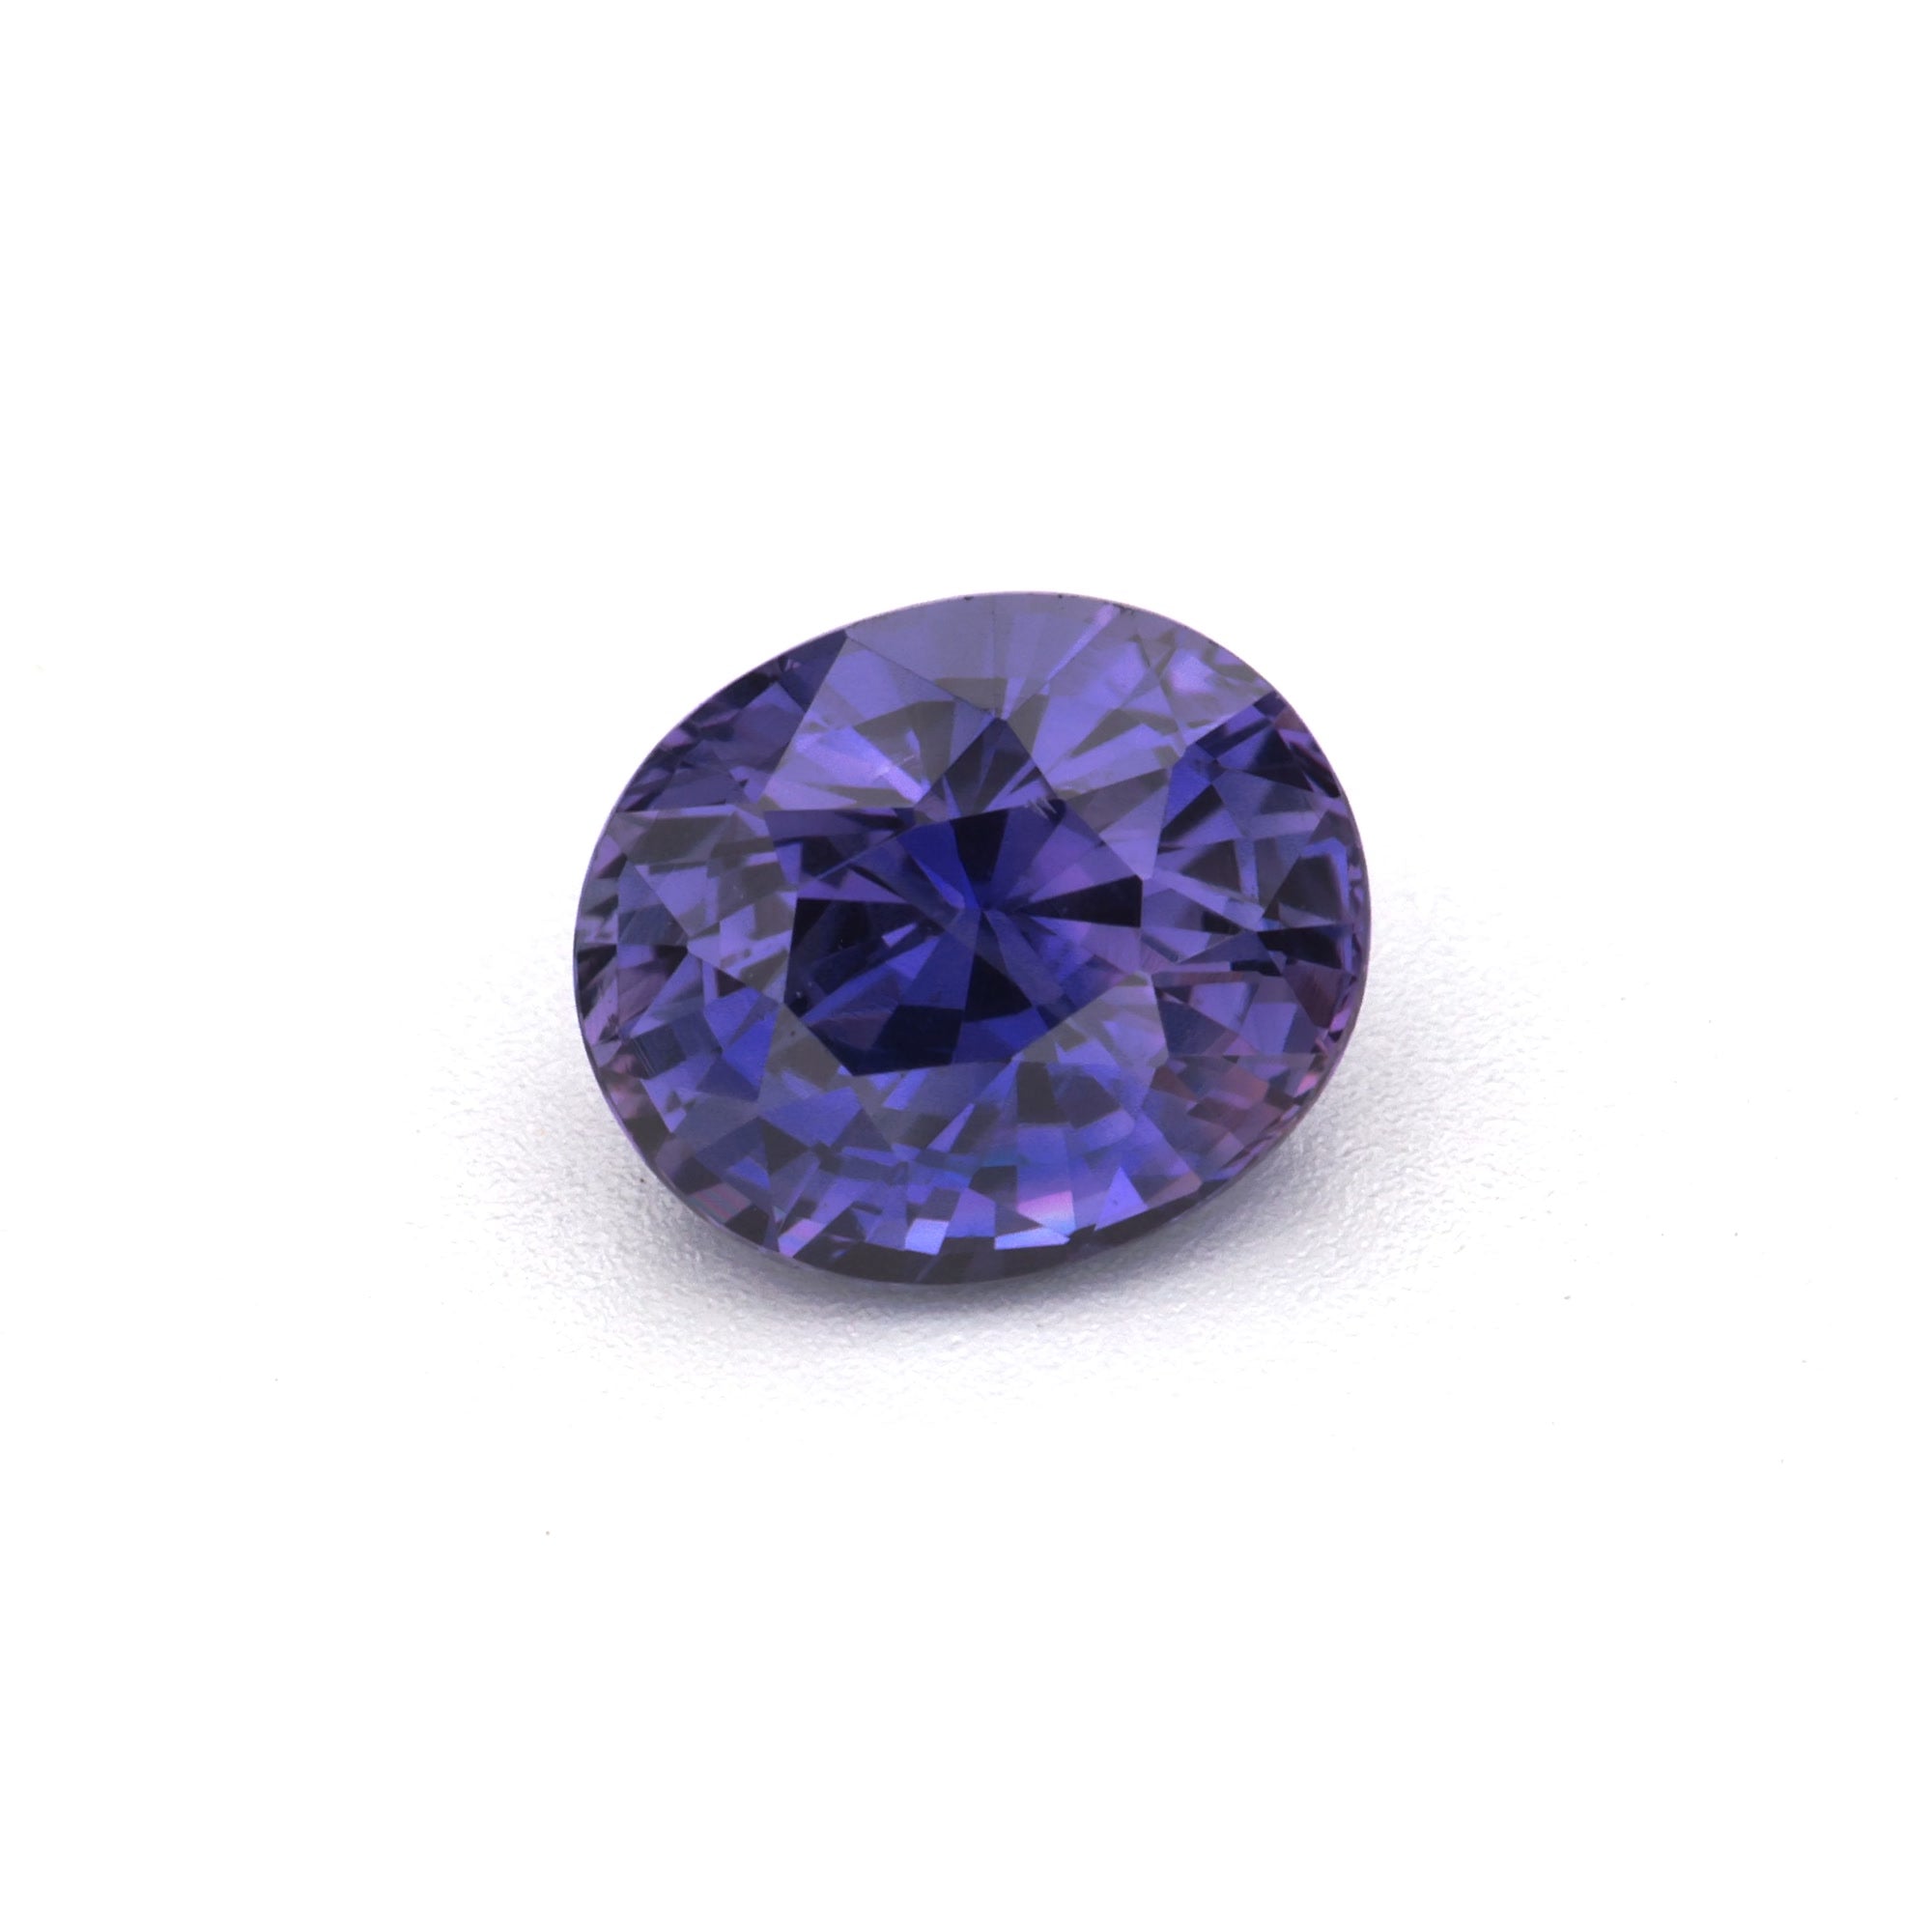
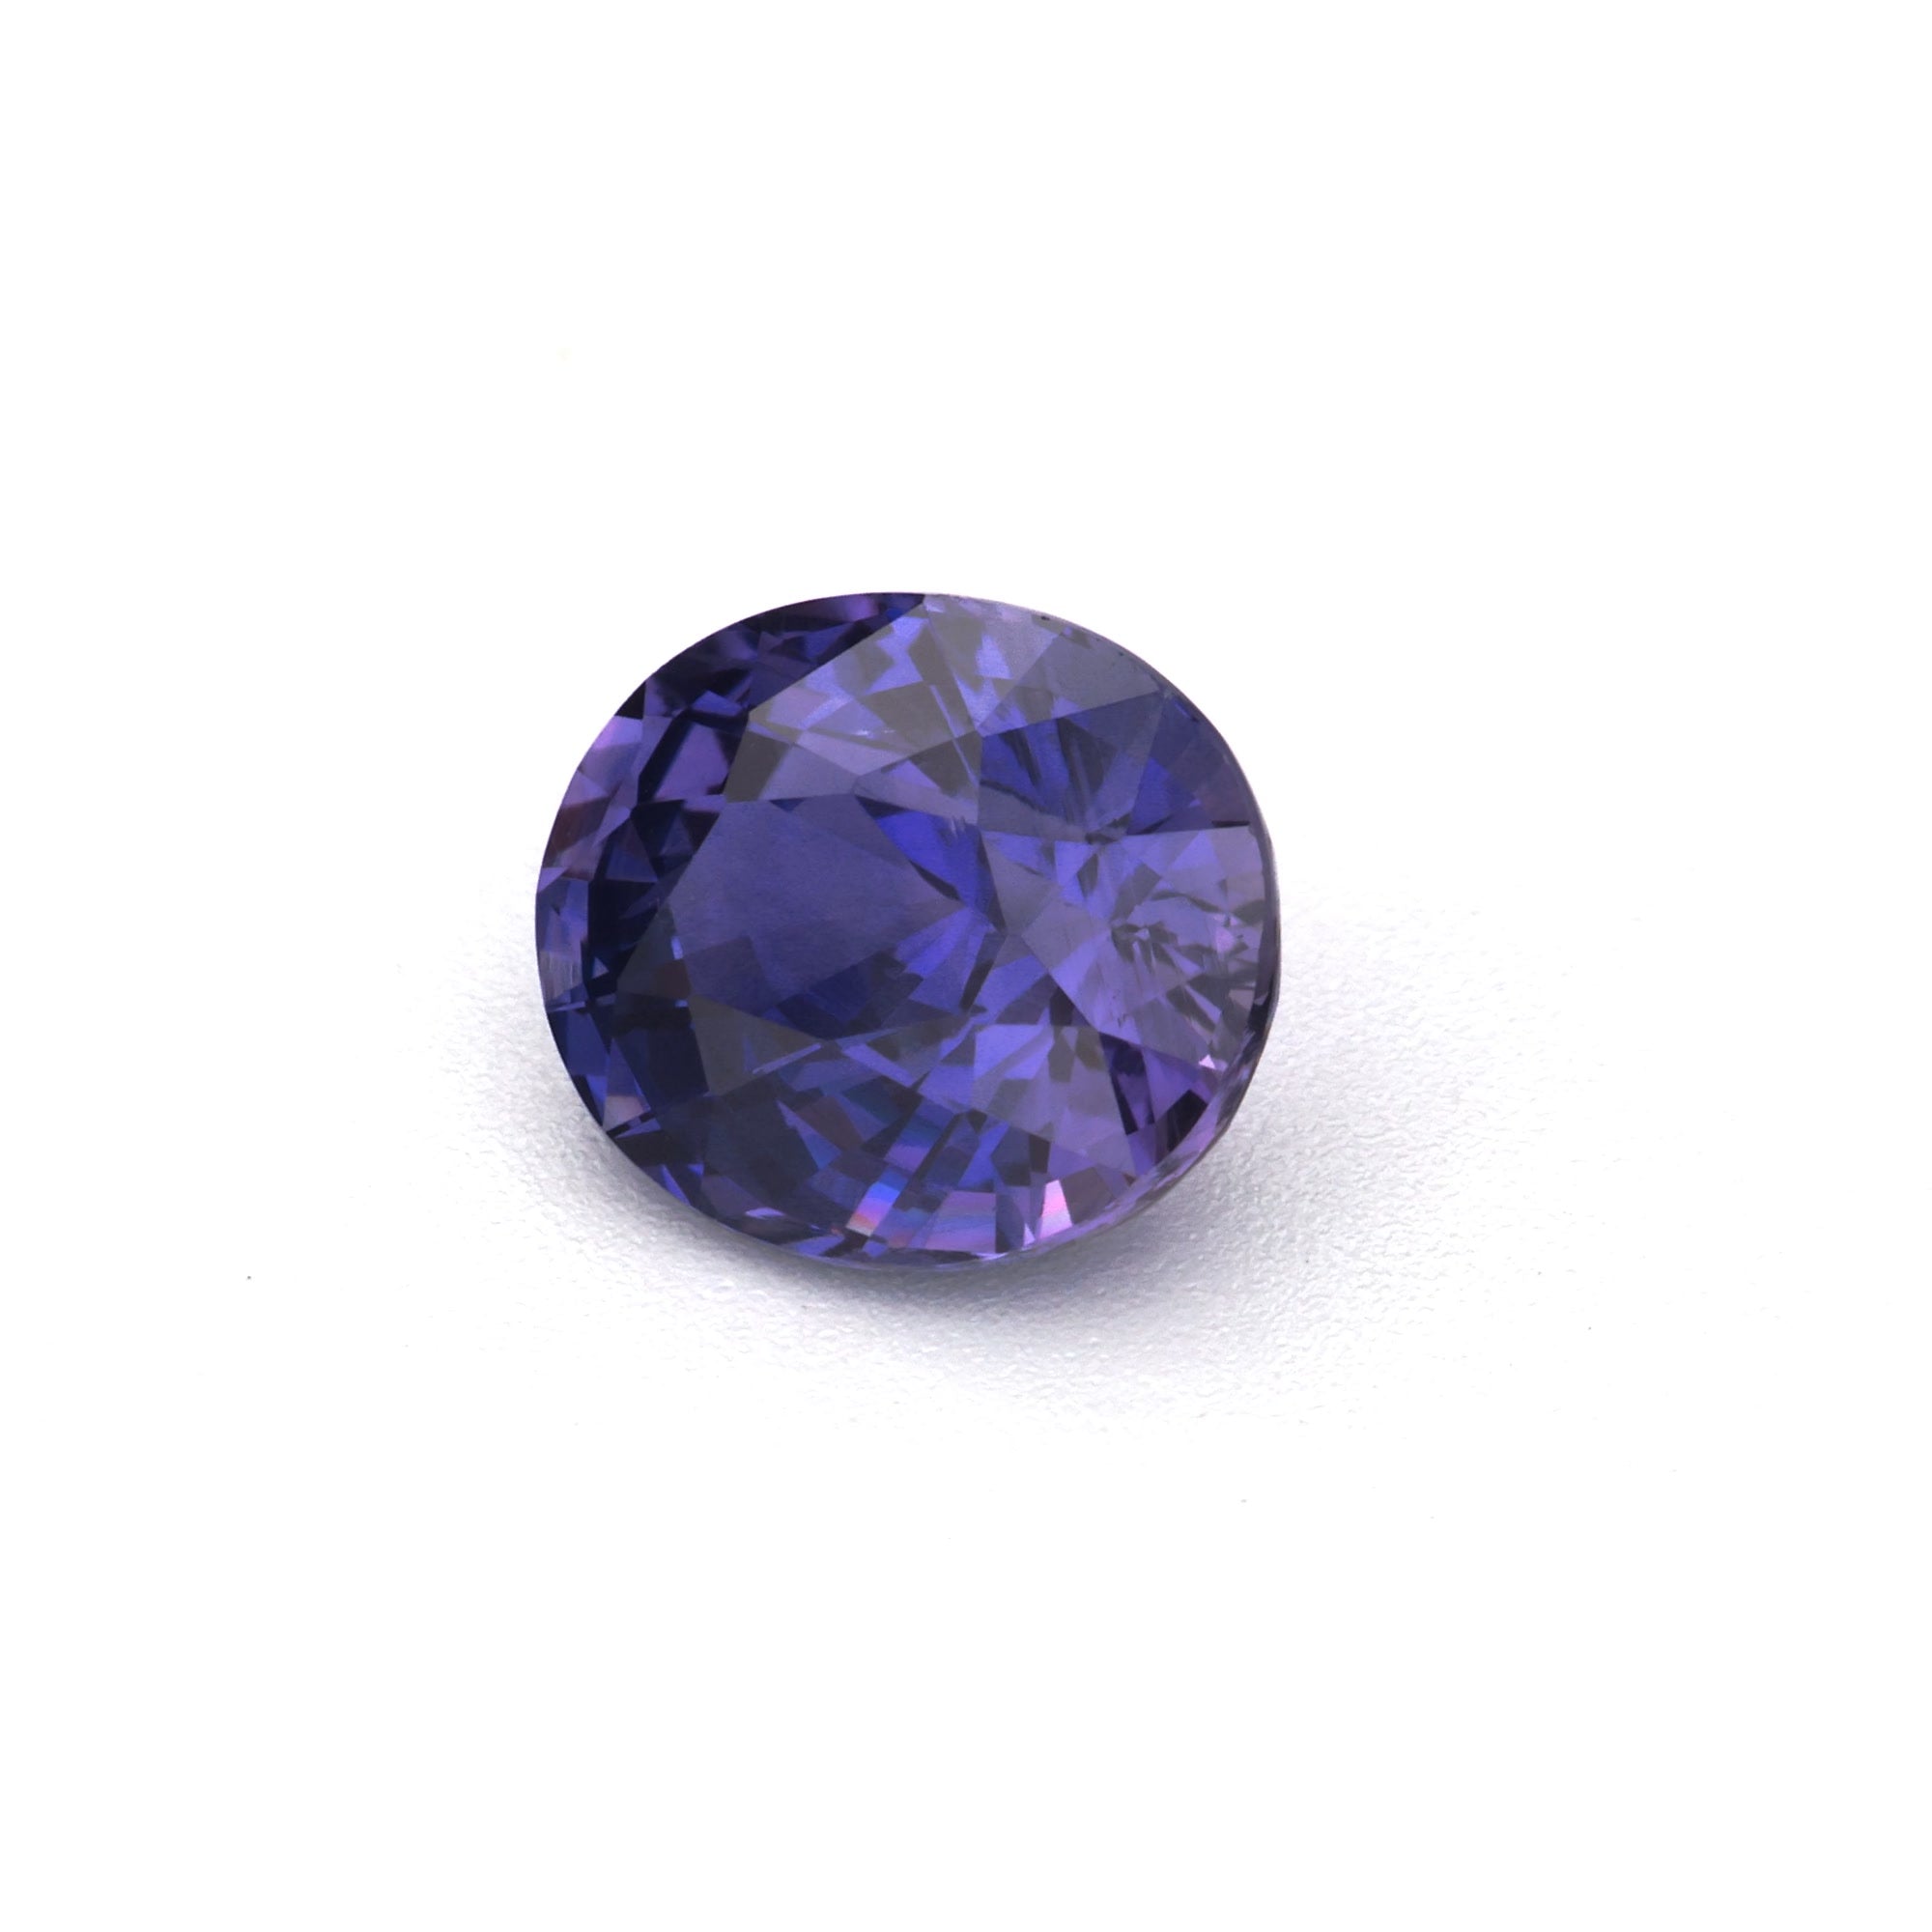
The oval is the strongest shape for a bezel setting. The oval's elongated outline reads cleanly and elegantly within a continuous metal rim, the shape's inherent safety (no sharp corners to protect) is ideal for a bezel context, and the oval's face-up size advantage means the bezel's slight size-reduction effect is well-managed. A well-cut oval sapphire in a slim oval bezel in platinum or yellow gold is one of the most striking contemporary ring configurations available. Browse our oval sapphire collection.
A round sapphire in a round bezel creates the most symmetrical, minimal, and architectural bezel ring possible. The round-in-round bezel is graphic and clean — a circle of color within a circle of metal — and is one of the simplest, most enduring ring designs available. The round bezel is also the most secure configuration, as the circular rim provides uniform pressure around the entire girdle.
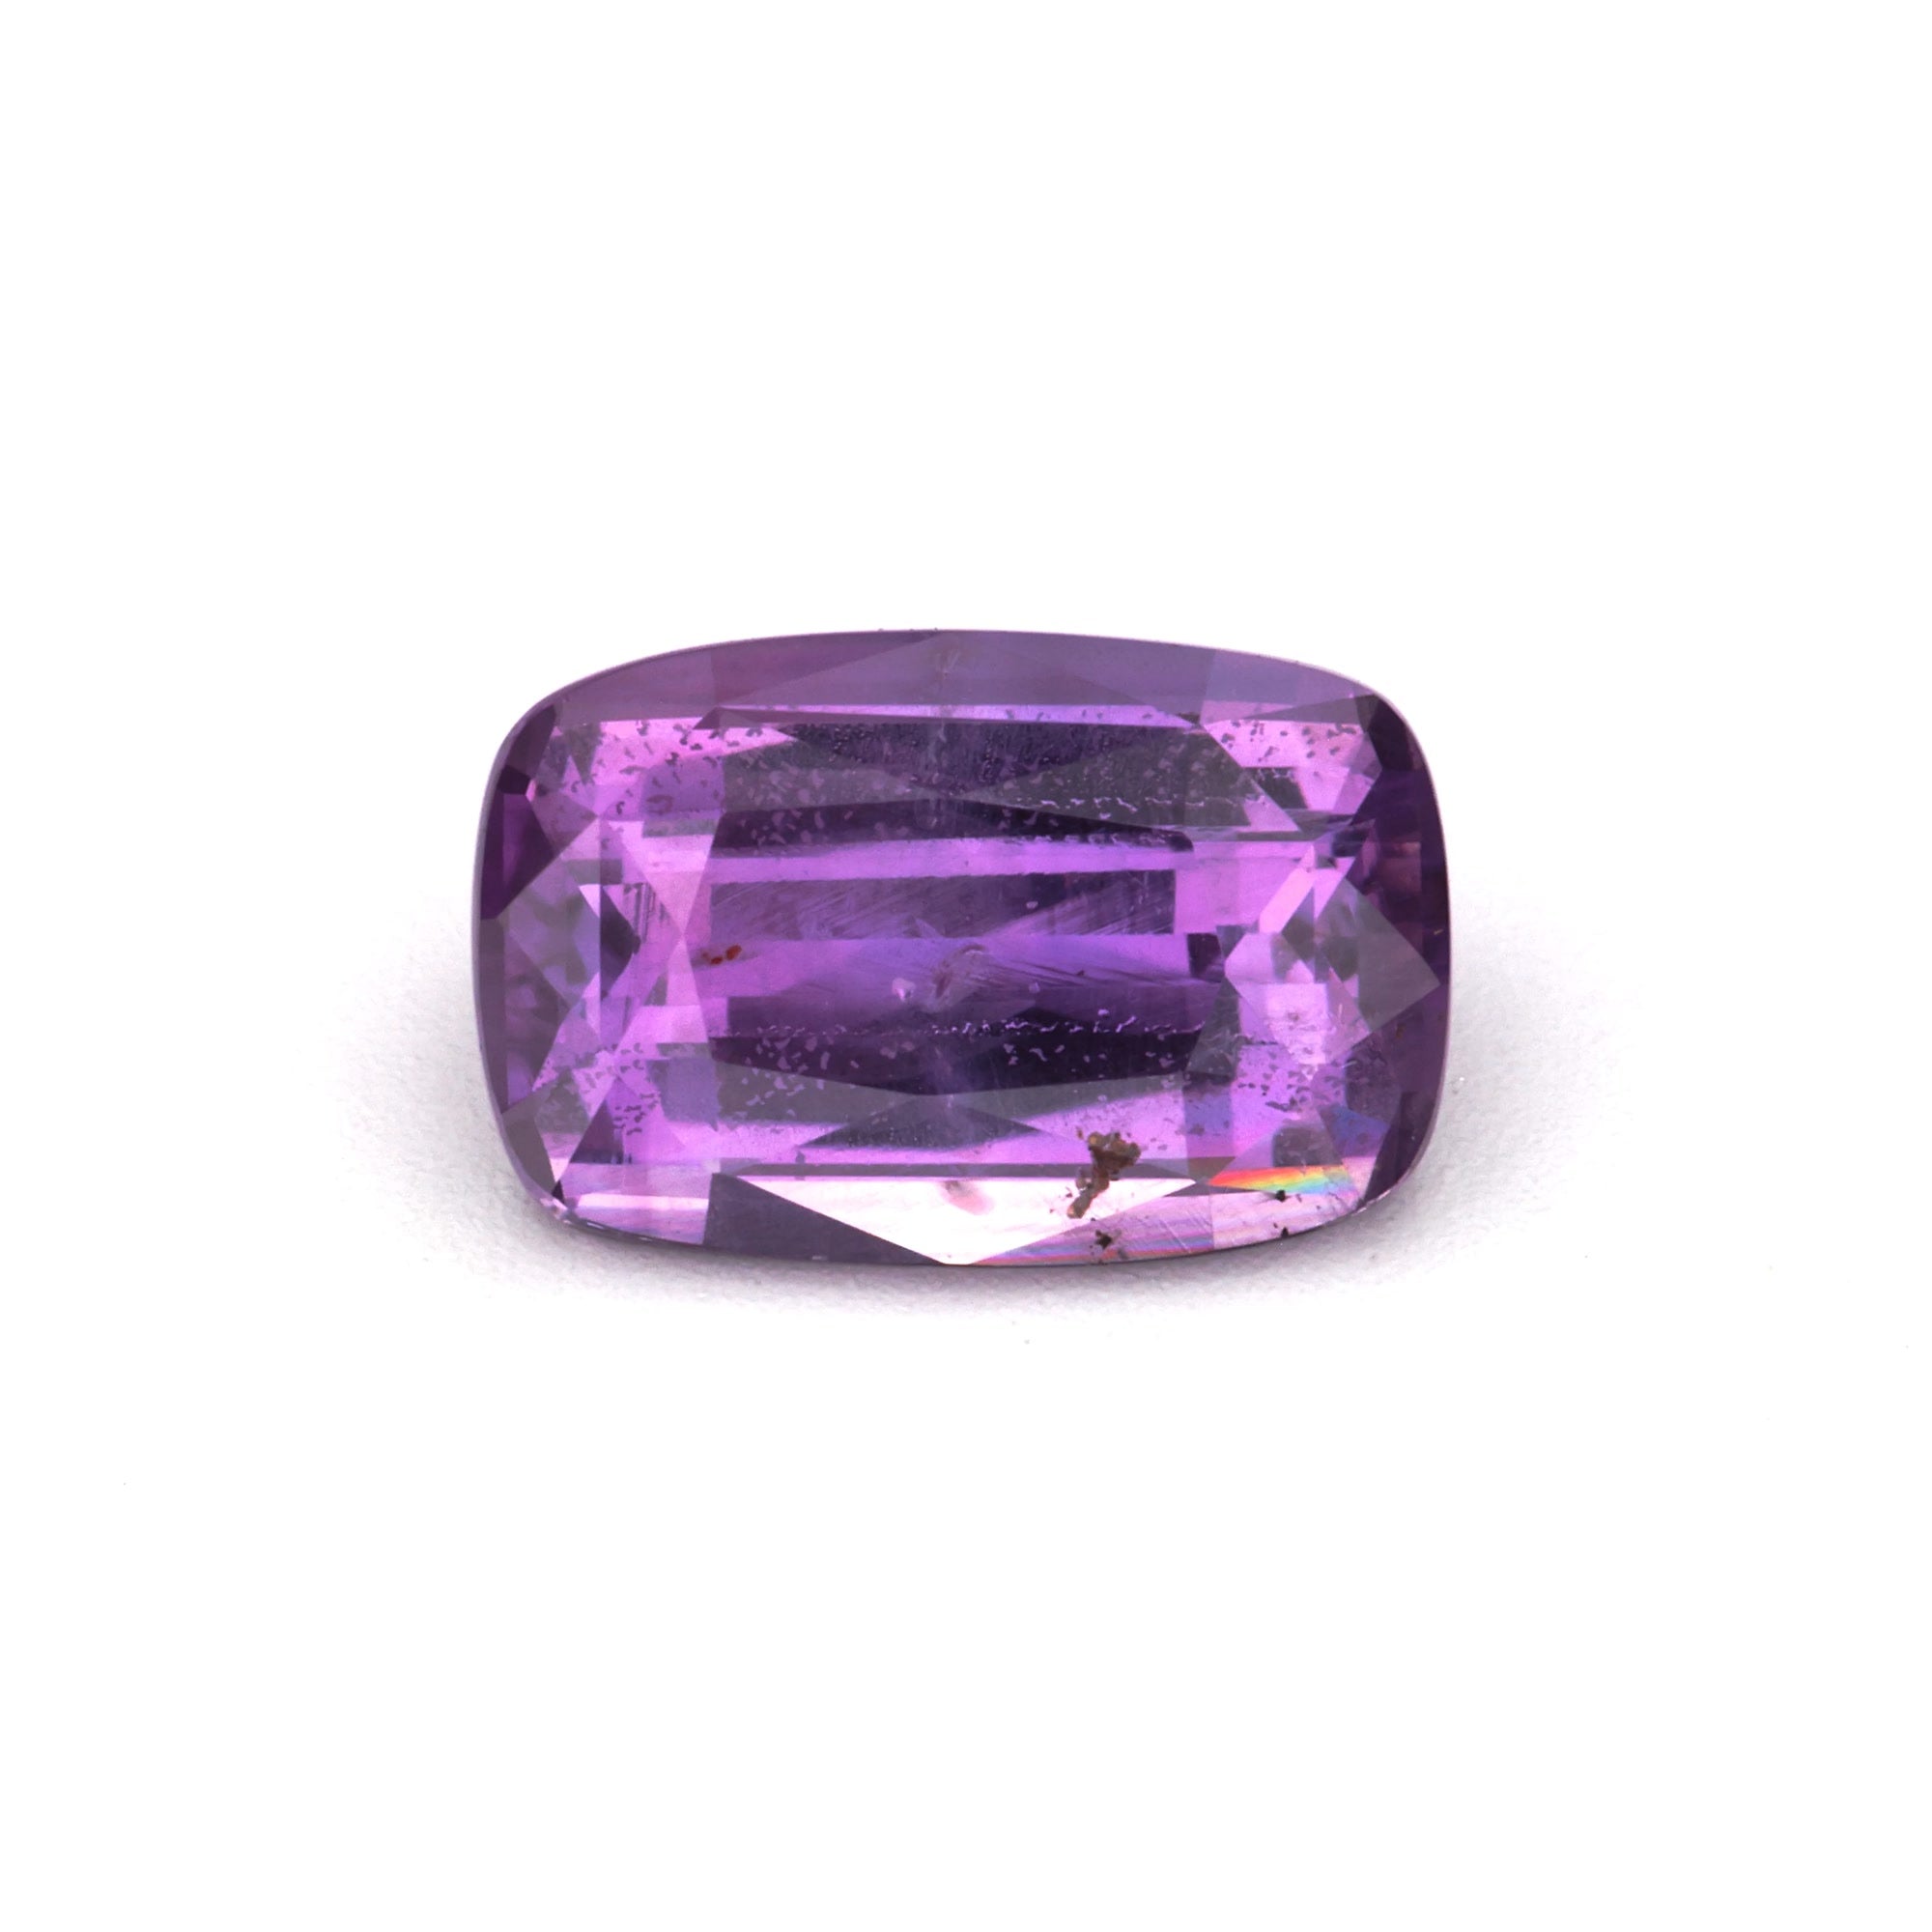
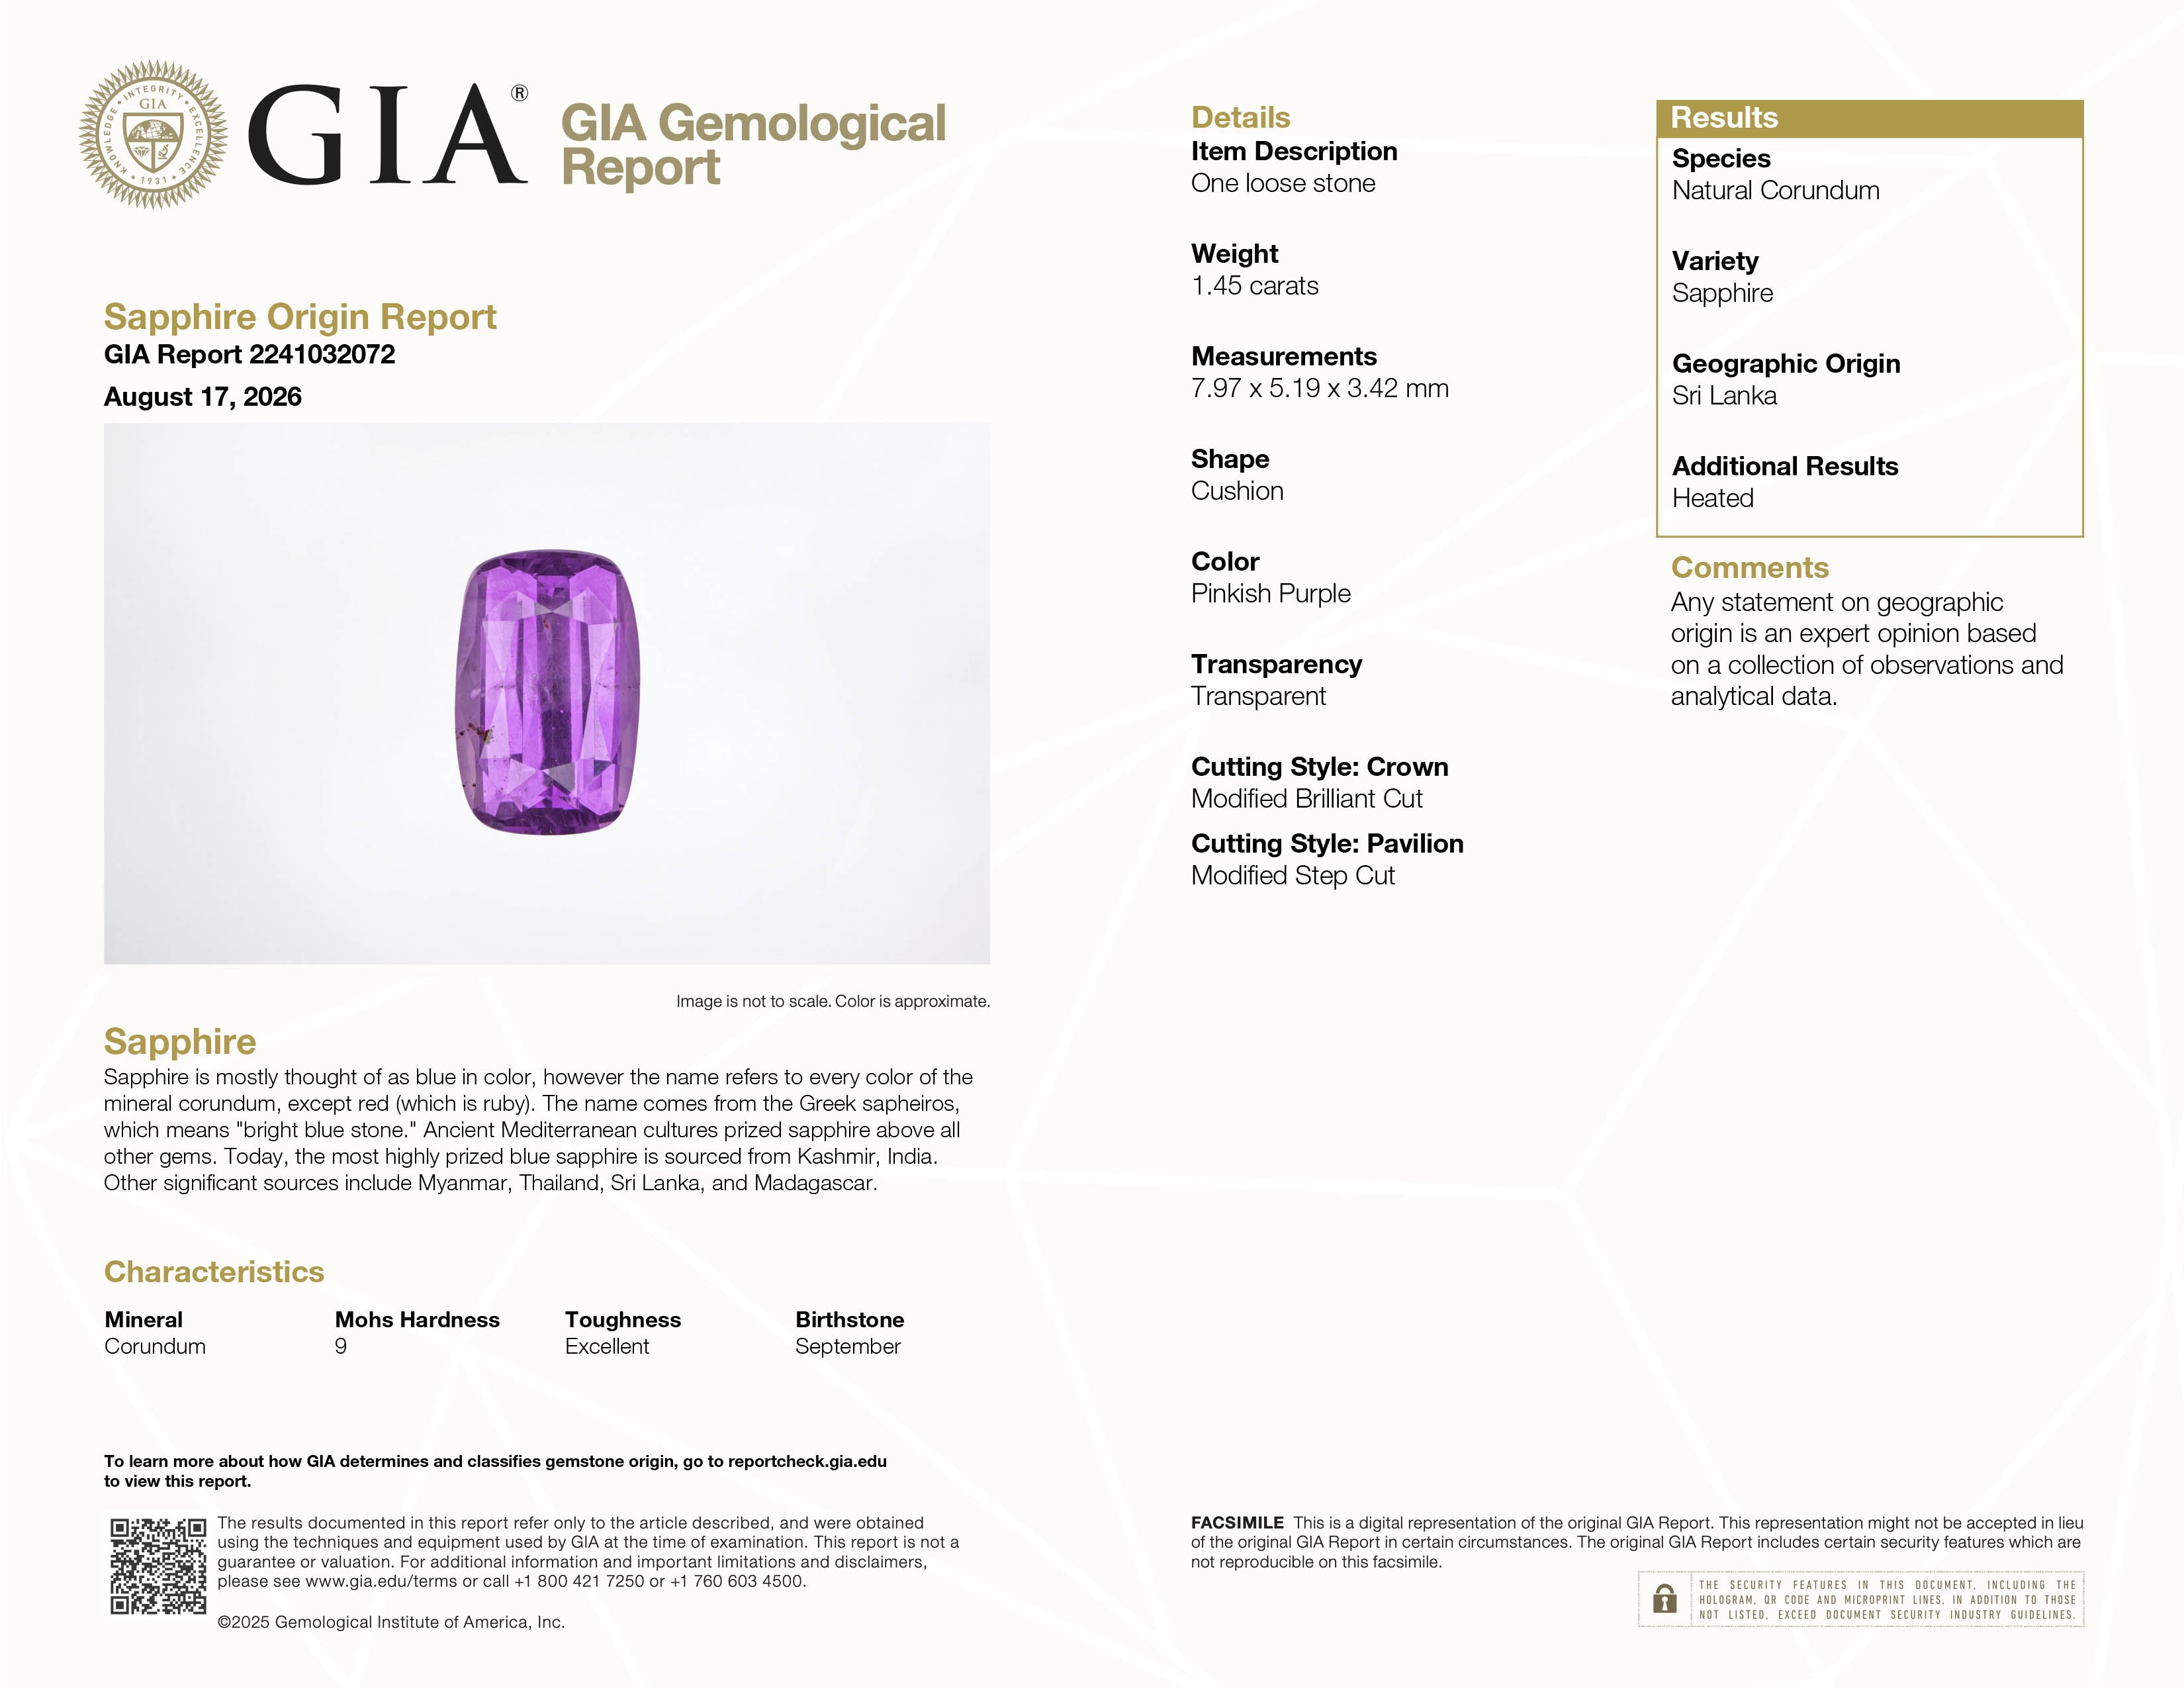
A cushion sapphire in a bezel with slightly rounded-corner rectangular outline creates a distinctive modern-vintage hybrid aesthetic. The cushion's soft corners suit the continuous bezel rim well — a cushion in a bezel has no sharp points to lose, and the soft outline transitions naturally into the metal frame. This configuration is particularly effective in rose gold or yellow gold where the warm metal and the stone's concentrated color create a rich, jewel-like composition.
For sapphires with pointed tips — pear and marquise shapes — a full bezel or partial bezel with a covered tip is the safest setting possible. The bezel eliminates corner chip risk entirely for these shapes by encasing the vulnerable tip within the metal rim. A pear sapphire in a full bezel with the pointed end fully enclosed provides the same corner safety as a round sapphire in any setting. The aesthetic is distinctive and graphic — the teardrop outline is visible through the top of the stone but the tip is protected within the metal.
The bezel setting shifts which quality factors are most important:
More important in a bezel:
Less important in a bezel:
Within the bezel category, two main styles exist:
Full bezel: A continuous metal rim surrounds the complete girdle circumference. Maximum protection, most distinctive aesthetic, slightly more reduction in apparent face-up size. The full bezel is the most practical choice for active-lifestyle wearers and for shapes with vulnerable corners.
Partial bezel (half-bezel or east-west bezel): Metal wraps around two opposing sides of the stone (typically the short sides for an oval, or the long sides) while the other two sides are open. More light enters the stone, the apparent face-up size is larger than a full bezel, and the stone has more visual openness — but the open sides provide less protection. A partial bezel oval sapphire ring with open long sides creates a particularly contemporary, architectural look that photographs beautifully.
The bezel's continuous metal presence makes metal choice more visually significant than in a prong setting where the metal is minimal. Key considerations:
For the full metal comparison see our Yellow Gold vs. White Gold vs. Platinum guide.
Yes, slightly — the metal rim covers a portion of the stone's crown and girdle, reducing the visible face-up area by approximately 1–2mm around the circumference. The practical solution is choosing a stone slightly larger than you would for a prong setting. A 1.2ct oval in a bezel presents similarly to a 1.0ct oval in a prong solitaire in terms of visible face area.
In terms of stone retention, yes — the continuous metal rim provides a more uniform grip on the stone's girdle than individual prongs, which can bend, break, or slip over time. However, bezel integrity itself must be checked periodically — a bezel that has been deformed or cracked can lose its grip. Annual professional inspection is still recommended.
Vivid, strongly saturated colors perform best in bezels — the controlled light entry through the table emphasizes the stone's inherent color concentration, making vivid blue, teal, and pink particularly striking. Light-toned or weakly saturated stones can look slightly pale in a bezel. Choose vivid to strong saturation for bezel settings. See our Sapphire Colors Explained guide for the full color framework.
Browse our oval and round sapphire collections, or email crescentgems@gmail.com for bezel-specific stone recommendations. We respond within one business day.

CG8465
CG8460
CG8456


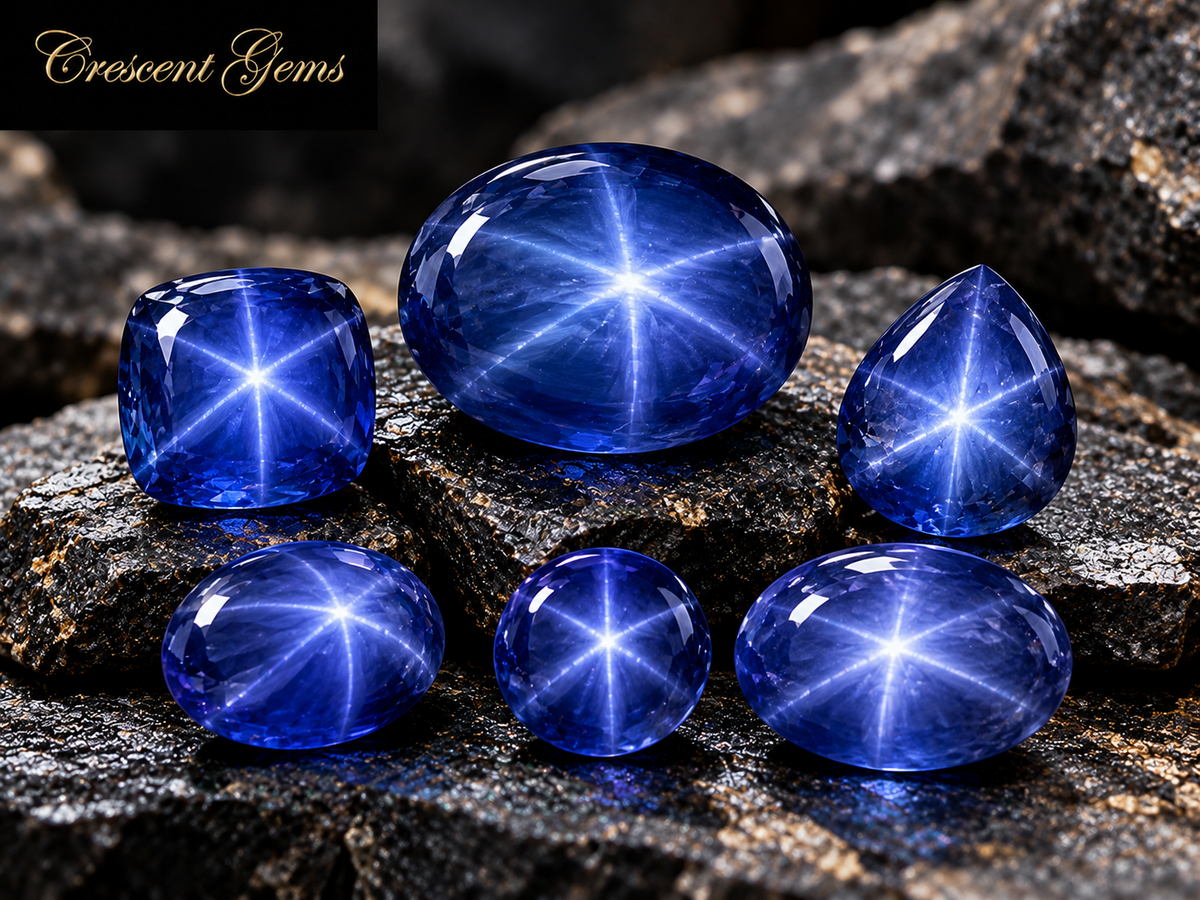
Blue Star Sapphire Price Guide — What They Cost and Why
Read moreabout Blue Star Sapphire Price Guide — What They Cost and Why
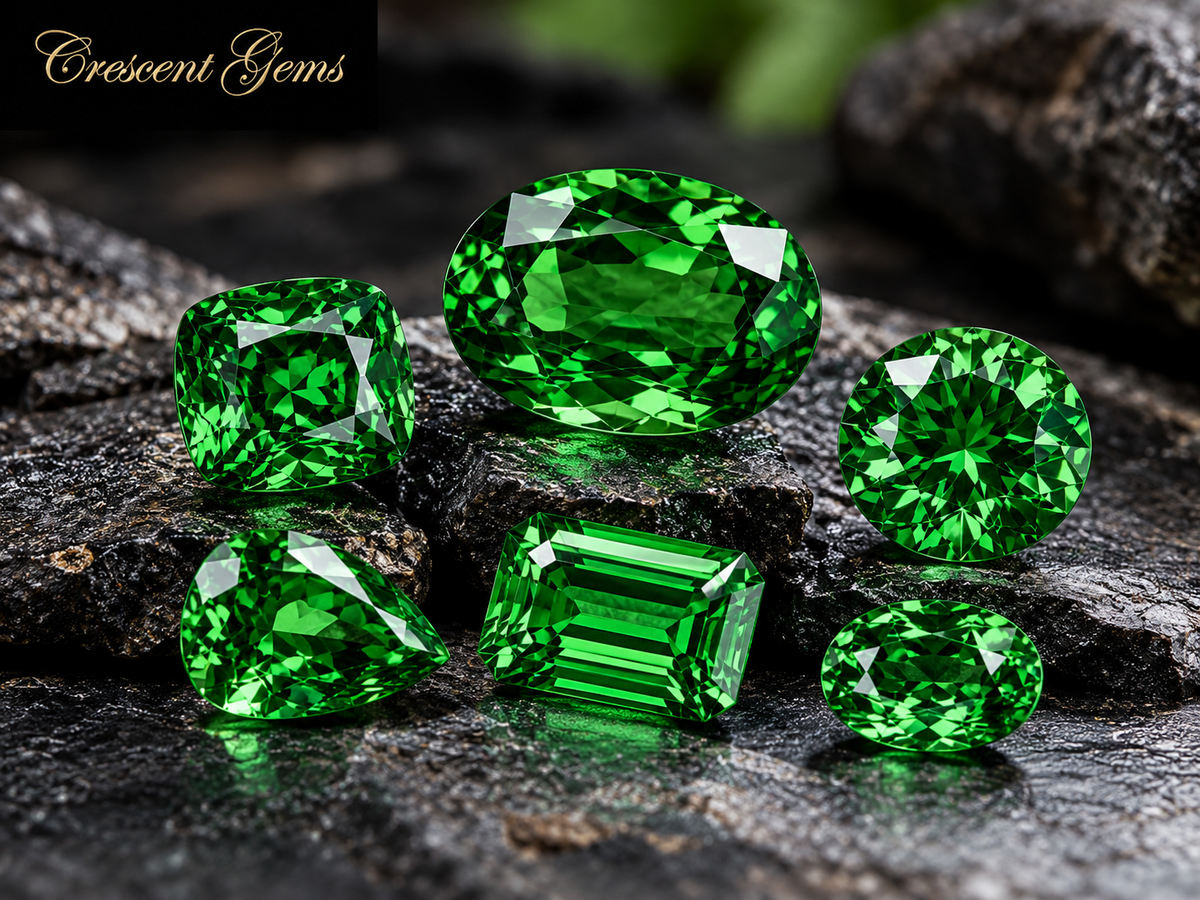
Tsavorite Garnet Price Guide — What They Cost and Why
Read moreabout Tsavorite Garnet Price Guide — What They Cost and Why
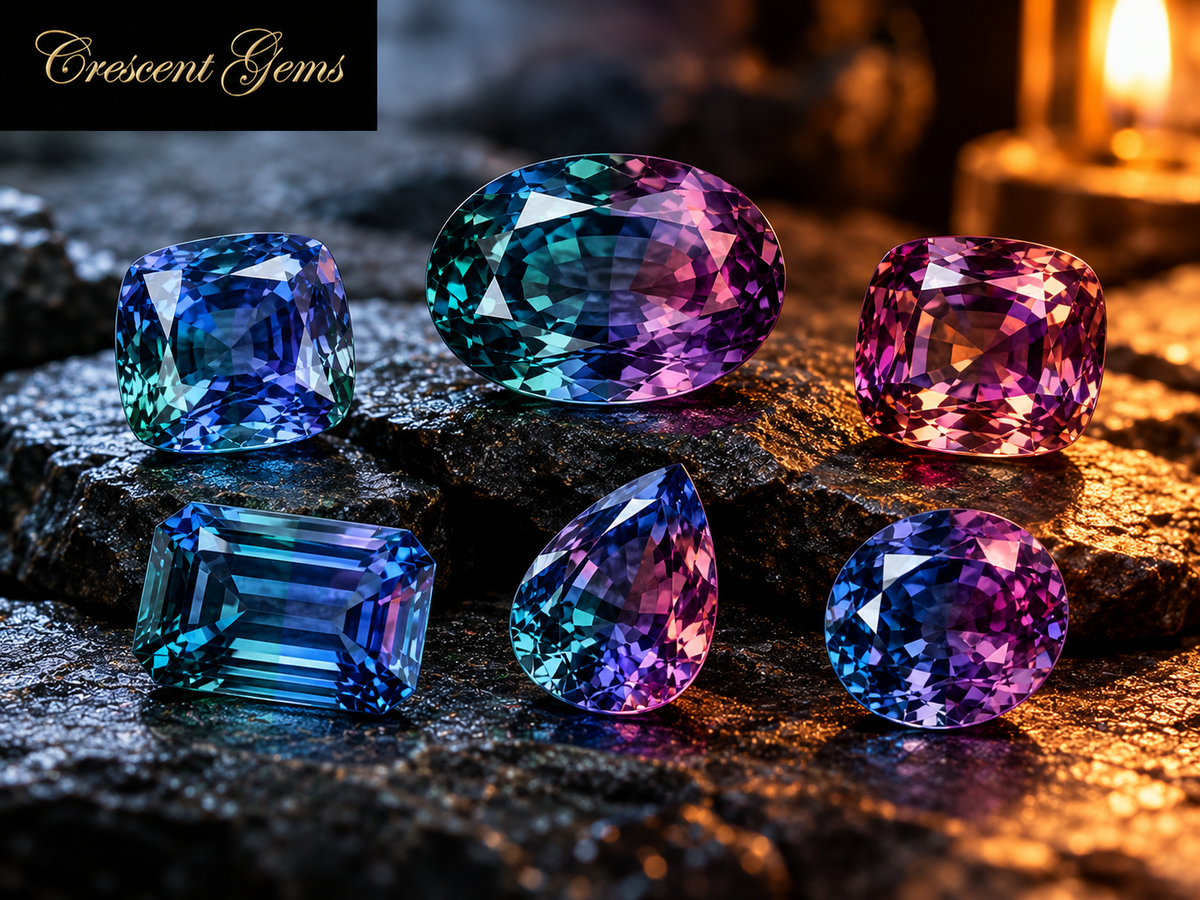
Color-Change Sapphire Price Guide — What They Cost and Why
Read moreabout Color-Change Sapphire Price Guide — What They Cost and Why
Is Cat's-Eye Chrysoberyl Good for an Engagement Ring?
Read moreabout Is Cat's-Eye Chrysoberyl Good for an Engagement Ring?
Cat's Eye Chrysoberyl Price Guide — What They Cost and Why
Read moreabout Cat's Eye Chrysoberyl Price Guide — What They Cost and Why















Share: